I want to start out by thanking everyone for the support and nice comments you all leave for me. I truly appreciate the support of this blog!! I enjoy card making and bringing my creations to you, this wouldn’t be possible without your support, so again, thank you!! *Affiliate links are used at no additional cost to you. When you purchase products through my links I receive a small commission from these sales, which helps me to purchase new products for the cards I share on my blog. Thank you so much for your support, it is greatly appreciated!! Don’t forget to check out my previous blog for MANY more card projects! You can find them HERE.
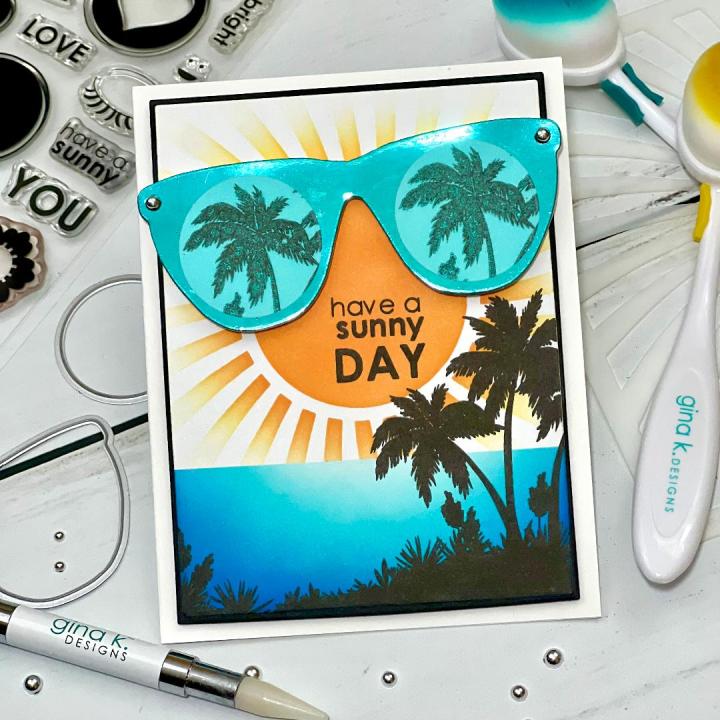
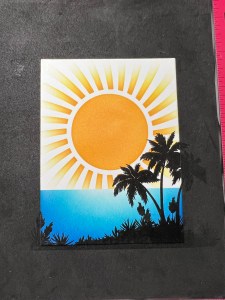
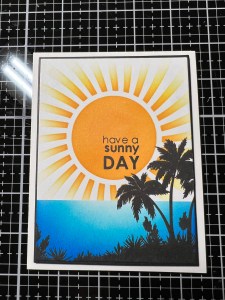
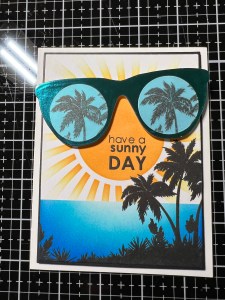
Today is the July release day over at Gina K. Designs!! Starting at 7:00pm tonight, CST Gina will go live showcasing all of the new products for the month of July… there’s even a new bundle and new Master Layouts die set this month!! All of the new products will be available in her shop at 7:00pm. Join Gina on her Facebook page and YouTube channel as she gives close up looks at all of the new products and creates a card at the end of her live! All of the new products can also be found HERE. Today, I have created a card using the Sunny Days stamp set and dies, illustrated by Melanie Muenchinger for Gina K. Designs. This set is filled with lots of solid images to create fun cards, including a pair of sunglasses that have images that can be added for the lenses! I chose to create my own lenses using vellum to stamp some palm trees onto, creating a beachy theme! There are also several images that you can stamp together for a fun look! Be sure to check out Gina’s Facebook page, “Gina K Designs & StampTV Friends” for tons of inspiration!! All of the stamps, dies, cardstock, inks and embellishments I use are from Gina K. Designs. Let’s get started!!

I will be doing all of my work today on my Tim Holtz Glass Media Mat.
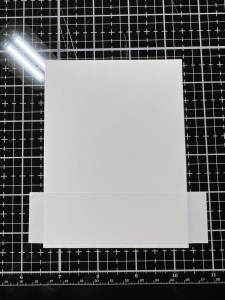
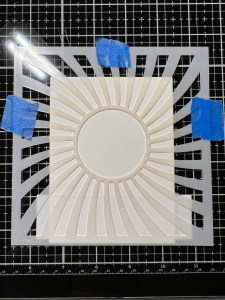
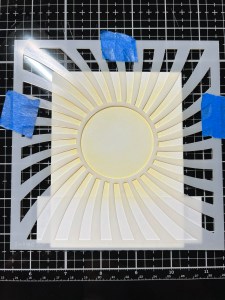
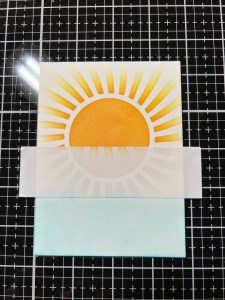
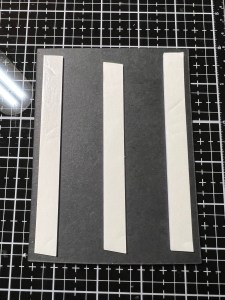
To create a background for my card, I take the second largest die from the Master Layouts 1 Die Set and cut out of White Cardstock, running them through my Platinum 6 Die Cut Machine. Next, I cut a strip of Masking Magic and stick it along the bottom edge of the panel. I then take the Swirled Sun Stencil and adhere it over the panel and tape it onto my work surface.
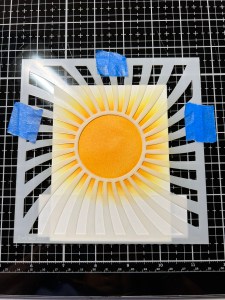
Using my Blending Brush, I blend Sweet Corn Ink over the stencil, fading the ink out towards the edges of the panel. I then blend Wild Dandelion Ink over the center of the stencil and blend it out into the previous color. Next, I blend Sweet Mango Ink over the center of the stencil and out just a bit, fading into the previous color.

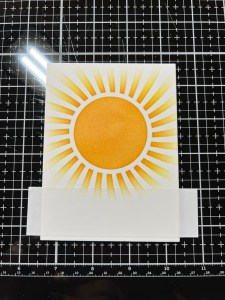
I remove the stencil and Masking Magic strip then stick it over the edge of my stenciled design.
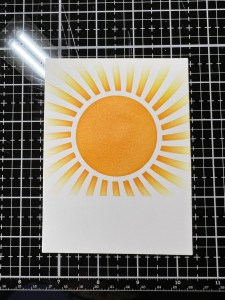

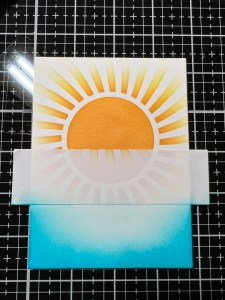
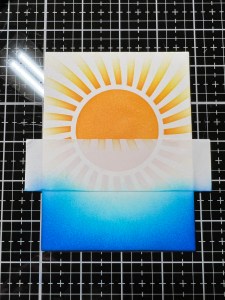
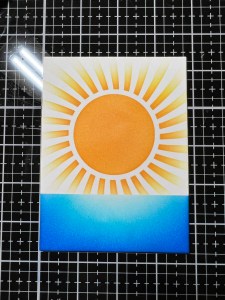
Using my Blending Brush, I blend Sea Glass Ink over the bottom portion of the panel. I then blend Turquoise Sea Ink over the bottom edge and sides, fading into the previous color leaving a highlighted area just below the strip. Next, I blend Blue Lagoon Ink to the bottom and side edges, fading into the previous color. To add some vibrancy and depth, I blend Blue Denim Ink to the bottom and side edges, fading into the previous color. Now that my ink blending is finished, I remove the mask strip.

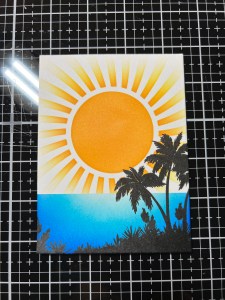
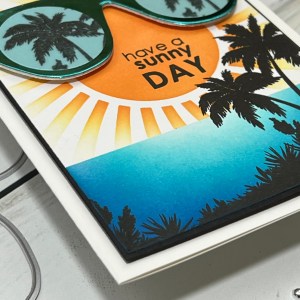
I now place my blended panel into my MISTI Stamp Positioner and choose an image from the Ocean Silhouettes Stamp Set and stamp it onto the bottom of the panel using Amalgam Obsidian Black Ink. I set the panel aside to dry while I work on my next piece.
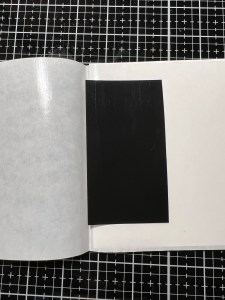
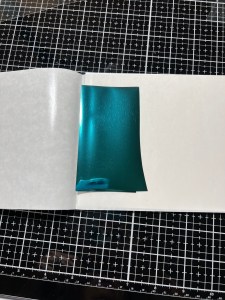
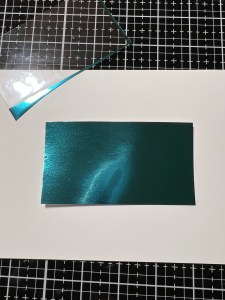
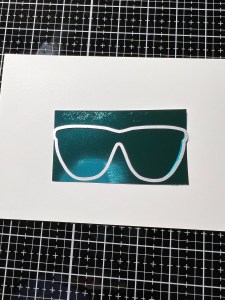
Next, I cut a piece of Toner Sheet using my Guillotine Paper Trimmer and place it into a Carrier Sheet then place a piece of Turquoise Sea Fancy Foil over the top of the toner piece. I close the carrier sheet then run them through my laminator. I remove the foil sheet and am left with a beautiful foiled toner piece. I then take the sunglasses die from the Sunny Day Die Set and cut out of my foiled piece, running them through my P6.

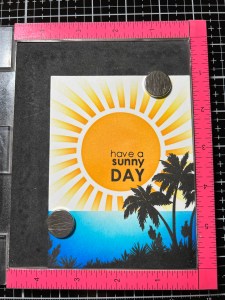
Now that my panel has dried, I place it into my MISTI and arrange my glasses to figure out my stamp placement. I take a couple of sentiments from the Sunny Days Stamp Set and place them just under the glasses. I then remove the glasses and upper sentiment then stamp the lower sentiment onto my panel using Amalgam Obsidian Black Ink. I then stamp the upper sentiment just above the previous one and stamp it onto my panel.
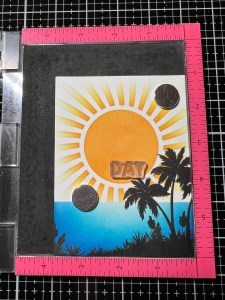

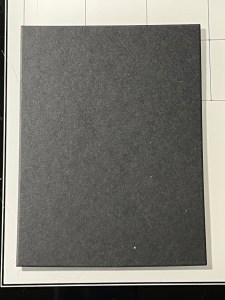
Next, I take the largest die from the Master Layouts 1 Die Set and cut out of Black Cardstock, running them through my P6. Using Liquid Glue, I adhere the two panels together. I then place a 5 1/2″ x 8 1/2″ piece of White Cardstock into my Scor Buddy and score it at 4 1/4″, creating a side folding card base. I then add Foam Tape to the back of the panel and mount it onto my card base.

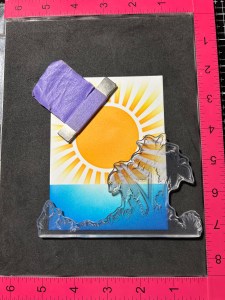
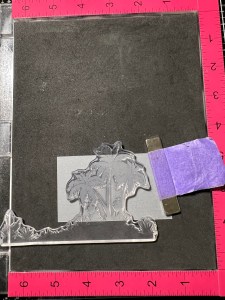
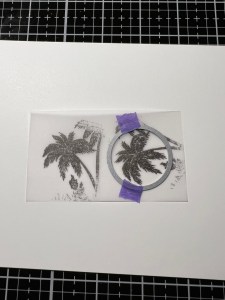
To create some lenses for my glasses, I place a piece of Vellum into my MISTI and using the same palm tree image from the Ocean Silhouettes Stamp Set, I stamp it using Amalgam Obsidian Black Ink. I then rotate the Vellum piece and stamp it again. Because Vellum is nonporous the ink takes a long time to dry. To speed up the drying time, I dry it using my Ranger Heat It Tool… this took about 20 seconds to dry and now the ink will not smear.
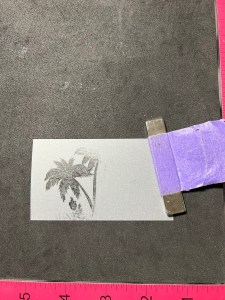

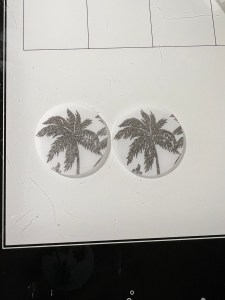
Next, I take the smaller circle die from the Sunny Days Die Set and cut out both images, running them through my P6. I then used my Fine Tip Glue Bottle filled with Liquid Glue and added very small dots of glue to the back of the vellum only onto the stamped areas. By adding the glue to the stamped areas, it will not show through the vellum. I then adhered the vellum pieces to the glasses.

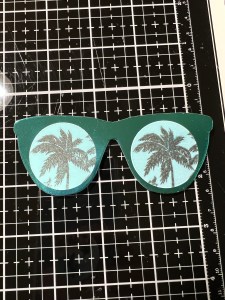
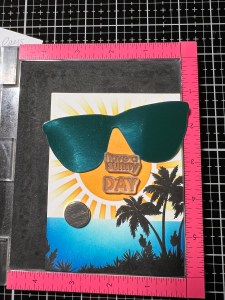
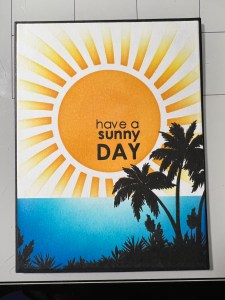
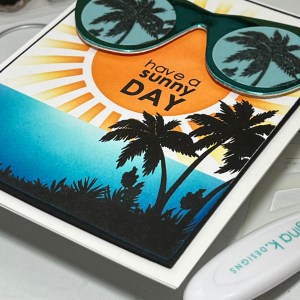
To give my glasses some stability, I cut two more sunglasses using the same die from the Sunny Days Die Set out of White Cardstock, running them through my P6 then stack and glued them together with Liquid Glue. To adhere the foiled piece onto the white ones, I used Adhesive Dot Runner. *Because the foiled toner piece is so thin, liquid glue will show through and make the piece “bumpy” looking, therefore, I recommend using the dot runner as it does not show through. For some added dimension, I placed some Foam Tape to the back of the glasses and mounted them just above the sentiment on my card front.

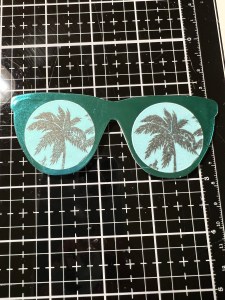
Using my Pick & Stick Tool, I added Silver Pearls to the corner of the glasses with small dots of Liquid Glue, and this completes my card.
I hope you enjoyed today’s card! While I created my own lenses for the glasses, there are many other fun elements that can be used to fill the glasses or even create a beautiful background for your card! Don’t forget to check out Gina’s live tonight to see all of the fun, new products up close! If you are unable to catch the live, you can watch it on replay on her YouTube channel! Be sure to check out Gina’s Facebook page, “Gina K Designs & StampTV Friends” where you can find SO MUCH inspiration and where you, yourself can share your own creations using Gina K Designs products! If you haven’t joined her FB page, I encourage you to do so as we have so much fun!
If this is your first time visiting my blog, welcome and I hope you return. If you are a returning visitor, thank you so much for your support!
If you would like to be notified by email each time I post a new project, there is an option to add your email (located at the top menu, or on the right side of my page) then hit the subscribe button. Should you have any questions or comments please leave them in the comments section. I’d love to hear from you and what you thought about today’s card.
Thank you for visiting and I hope you come back soon!
Happy Stamping and God Bless!!
Jeannie
