
I want to start out by thanking everyone for the support and nice comments you all leave for me. I truly appreciate the support of this blog!! I enjoy card making and bringing my creations to you, this wouldn’t be possible without your support, so again, thank you!! *Affiliate links are used at no additional cost to you. When you purchase products through my links I receive a small commission from these sales, which helps me to purchase new products for the cards I share on my blog. Thank you so much for your support, it is greatly appreciated!! Don’t forget to check out my previous blog for MANY more card projects! You can find them HERE.
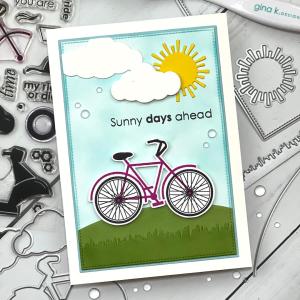
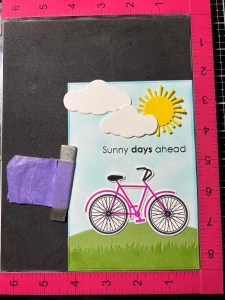
Boy, oh boy are the months ever flying by!! Tonight starts the brand new August release for Gina K. Designs!! Beginning at 7:00pm CST you can see all of the new products on Gina’s website, or by clicking HERE. Gina has again loaded up her shop with brand new products, including a new Kit!! The previous bundle has been broken up so if you were interested in any part of it, you are now able to purchase the pieces separately. Gina will be showcasing all of the new product up close as well as having some of the illustrators on live with lots of card examples. Be sure to check out the live at 7:00pm CST on Gina’s Facebook page and YouTube channel! I have a card today using the Sunny Days 2 stamp set and dies. I went with a 5 x 7 layout to be able to incorporate different elements using the Master Layouts 6 and 8 die sets as well as dies that coordinate with the stamp set. All of the stamps, dies, inks, cardstock and embellishments I use are from Gina K. Designs. Let’s get started!!
I will be doing all of my work today on my Tim Holtz Glass Media Mat.
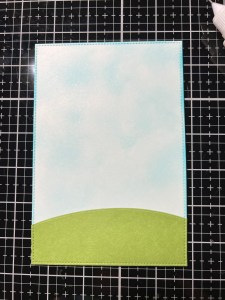
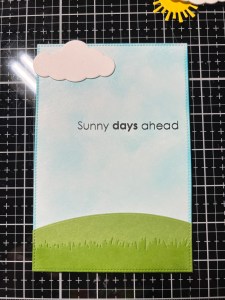
To start, I take the largest stitched rectangle from the Master Layouts 8 Die Set and cut out of White Cardstock, running them through my Platinum 6 Die Cut Machine. To add the look of sky to my panel, I use my Blending Brush to create a “splotchy” blend with Ocean Mist Ink. Using a splotchy blend gives the illusion of a faint cloudy sky, and you don’t have to worry about creating the perfect blend! I set my panel aside while I work on die cut elements of my card.


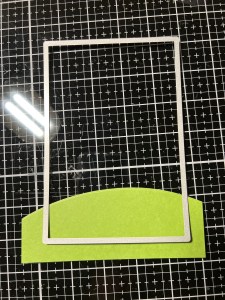
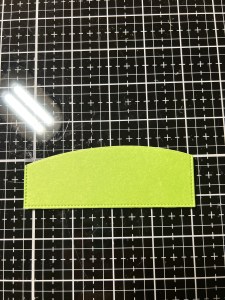
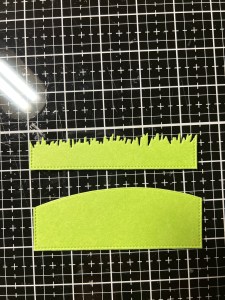
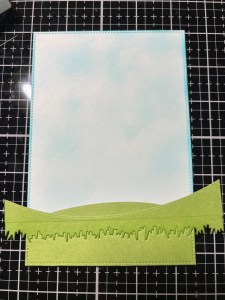
To create a hill for my card, I take the hill die from the Master Layouts 6 Die Set and cut out of Grass Green Cardstock. I then take the grass die from the same Master Layouts 6 Die Set and cut out of the same Grass Green Cardstock, running them through my P6.
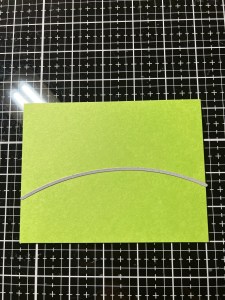
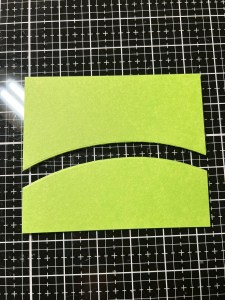
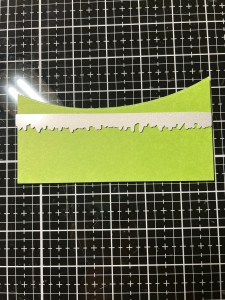
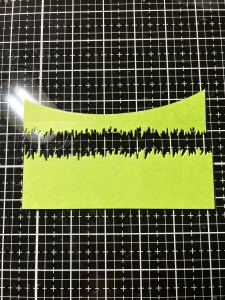
I want my hill to have the same stitched edges as my panel, so I take the same stitched rectangle die from the Master Layouts 8 Die Set and line it up over the hill die cut piece to create a small hill then run them through my P6. I repeat this process with the grass die cut piece. Now when I adhere the pieces to my panel, the stitching will line up and look continuous.
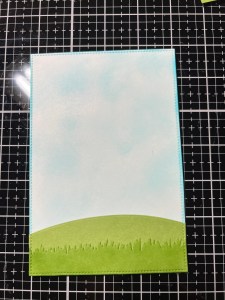
Using Liquid Glue I adhere the hill die cut piece onto the bottom of my panel. I then add Liquid Glue to the back of the grass die cut piece and adhere it over the bottom of the hill. I didn’t feel like there was enough separation between the grass and hill and wanted the grassy area to show up more so I took the negative die cut piece and put it back together with my die cut piece. I then used my Blending Brush to blend Grass Green Ink over the grass die cut piece, giving it a splotchy blend. I now have good separation from the grass and hill pieces!

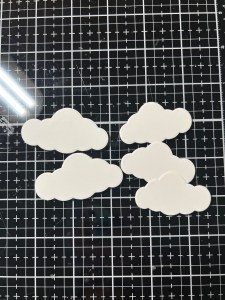
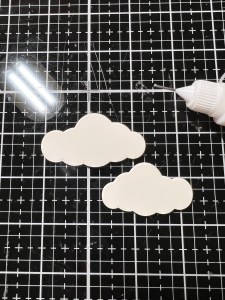
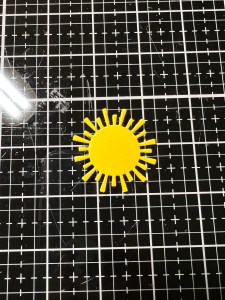
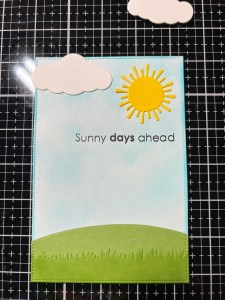
Taking the two cloud dies from the Sunny Days 2 Die Set, I cut the bigger cloud out two times and the smaller cloud three times out of White Cardstock, running them through my P6. Using Liquid Glue, I stack and glue the pieces together. I then take the sun die from the Master Layouts 6 Die Set and cut out of Wild Dandelion Cardstock, running them through my P6.
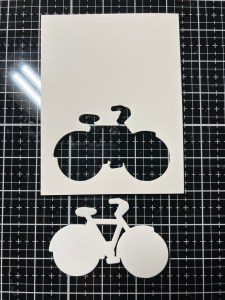
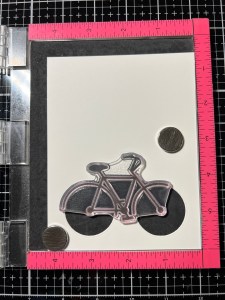
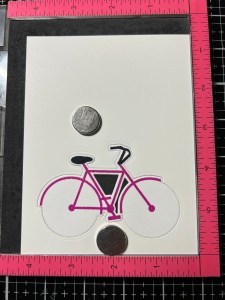
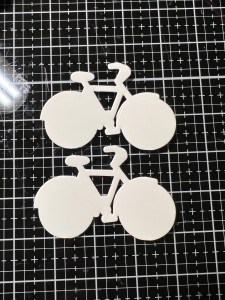
Next, I take the bicycle die from the Sunny Days 2 Die Set and cut out of a panel of White Cardstock, running them through my P6. To easier line up my stamping, I place the panel that the die was cut from and place it into my MISTI Stamp Positioner. I then take the coordinating bicycle stamp from the Sunny Days 2 Stamp Set and fit it into the opening of the negative piece making sure there is even space around the top portion of the bicycle, then pick up the stamp with the door of my MISTI. *With added adhesive on the back of the die cut piece, it ensures that nothing shifts while stamping.
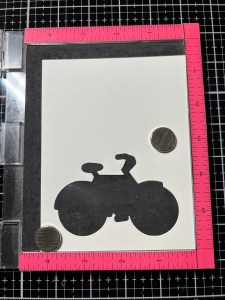
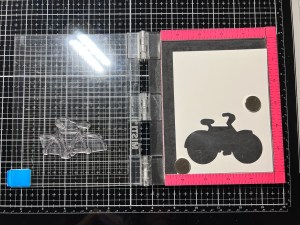
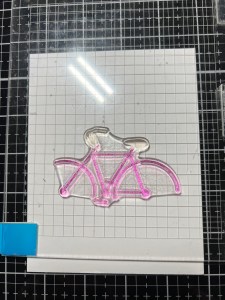
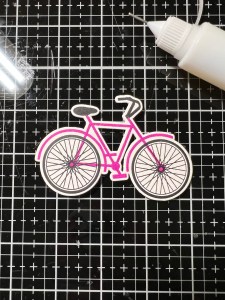
Next, I add a small amount of Adhesive Dot Runner to the back of my die cut piece then fit it back into the negative opening of the panel. I then place a white scrap piece of cardstock under the door of my MISTI, behind the image so that I’m better able to see the area of the stamp I want to ink up. Using Medium Orchid Ink, I ink up all of the stamp, except the handle bars and bike seat then stamp onto my die cut piece. *I repeat and stamp three times to get a good, solid image. I then ink up the handle bars and bike seat using Black Onyx Ink and stamp onto my die cut piece, again stamping three times to get a good, solid image.

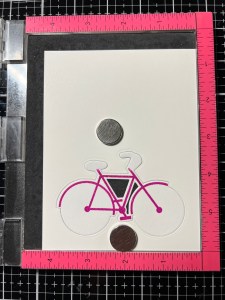
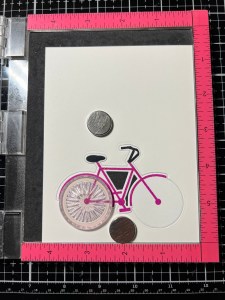
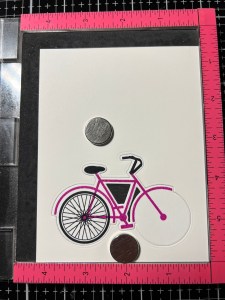
I now take the wheel stamp from the Sunny Days 2 Stamp Set and line it up to be stamped. I then ink up the stamp using Black Onyx Ink and stamp it onto the die cut piece. I then clean off the stamp, line it up again and stamp the other side. My bicycle is now complete.

I want to stamp a sentiment onto my panel so I place the panel into my MISTI and temporarily lay everything out to figure out my stamp position. I choose a sentiment from the Sunny Days 2 Stamp Set and stamp it just below the clouds using Amalgam Obsidian Black Ink.
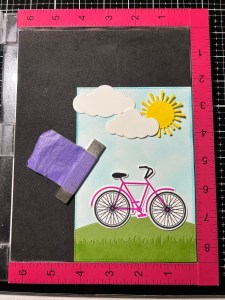
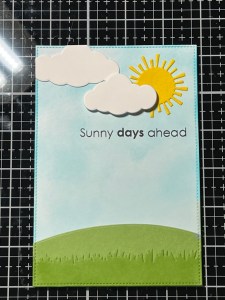
Now it’s time to start adding the elements. I start by using Liquid Glue and adhere the larger cloud to the top left corner of the panel, allowing it to hang off the edge just a bit, I then glue down the sun. To add a bit more dimension to the smaller cloud, I add Foam Tape to the back of it then adhere it so it’s overlapping the larger cloud and sun. To finish the sky scene, I use a pair of scissors to trim off the overhang of the larger cloud.

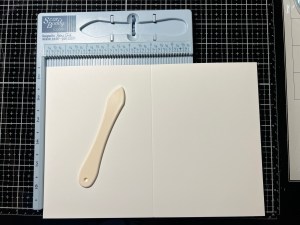
Taking the largest rectangle die from the Master Layouts 8 Die Set, I cut out of Ocean Mist Cardstock, running them through my P6. Using Liquid Glue, I adhere the two panels together. For some extra dimension and stability, I take the same bicycle die from the Sunny Days 2 Die Set and cut out of White Cardstock two times, running them through my P6. I then use Liquid Glue to stack and adhere them together behind my stamped die cut and mount it onto the hill on my panel. Next, I place a 7″ x 10″ piece of White Cardstock into my Scor Buddy and score it a 5″, creating a 5 x 7 card base.

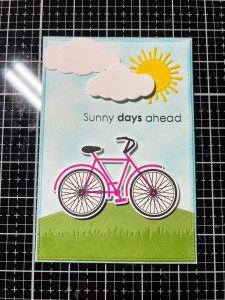
Using Liquid Glue I adhere my panel onto the card base then take my Pick & Stick Tool and add Dew Drops with Liquid Glue and this completes my card.
I hope you enjoyed today’s card and remember to check out Gina’s live for a closer look at the new products. If you are a fan of the Poly Glaze sheets, there are several new ones to add to your collection, as well as a brand new autumn card kit! If you are unable to catch the live, you can always watch the replay on Gina’s YouTube channel where you will find lots of inspiration from the illustrators!
If this is your first time visiting my blog, welcome and I hope you return. If you are a returning visitor, thank you so much for your support!
If you would like to be notified by email each time I post a new project, there is an option to add your email (located at the top menu, or on the right side of my page) then hit the subscribe button. Should you have any questions or comments please leave them in the comments section. I’d love to hear from you and what you thought about today’s card.
Thank you for visiting and I hope you come back soon!
Happy Stamping and God Bless!!
Jeannie
