I want to start out by thanking everyone for the support and nice comments you all leave for me. I truly appreciate the support of this blog!! I enjoy card making and bringing my creations to you, this wouldn’t be possible without your support, so again, thank you!! *Affiliate links are used at no additional cost to you. When you purchase products through my links I receive a small commission from these sales, which helps me to purchase new products for the cards I share on my blog. Thank you so much for your support, it is greatly appreciated!! Don’t forget to check out my previous blog for MANY more card projects! You can find them HERE.
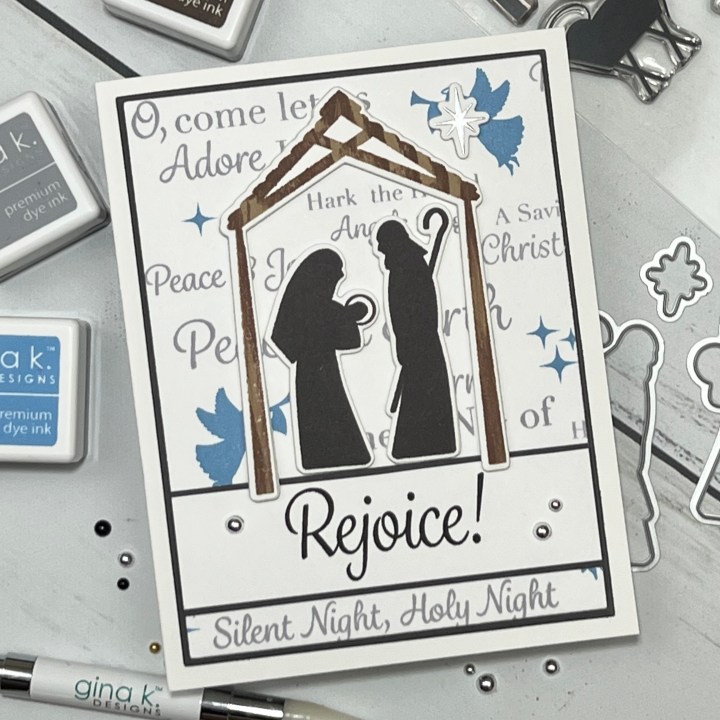
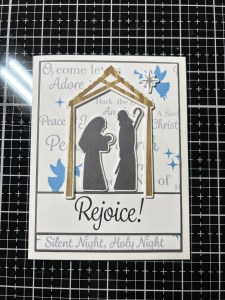
Today, I have a card using the brand new Silent Night stamp set and dies from Gina K. Designs’ September release that is now available!! At 7:00 PM (CST) tonight, Gina will be showcasing all of the new products up close on her Facebook page and YouTube channel, she will wrap up the night making a card with one of the new sets, it’s always a fun time!! The new release can also be found HERE. The set I am using on today’s card is illustrated by Debrah Warner for Gina’s release. This set includes a Nativity scene, angels, stars and many, many sentiments to choose from! Also available for additional purchase are coordinating dies. I chose to use the different sentiments to create a background for my card then mounted the Nativity scene over it. All of the stamps, dies, inks, cardstock and embellishments I use are from Gina K. Designs. Let’s get started!!

I will be doing all of my work today on my Tim Holtz Glass Media Mat.
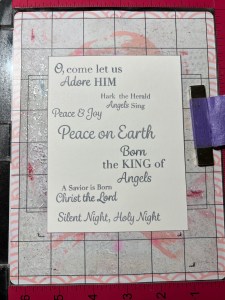
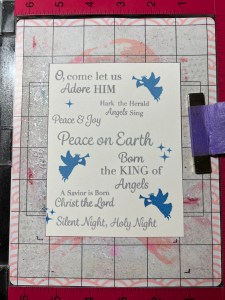
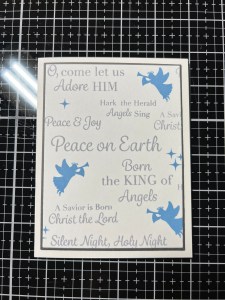
To start, I cut a 4 1/4″ x 5 1/2″ panel out of White Cardstock using my Guillotine Paper Trimmer then place it onto my Sticky Mat in my MISTI Stamp Positioner. I then stagger and place several sentiments from the Silent Night Stamp Set onto the panel and pick them up with the door of my MISTI. I ink up all of the stamps using Soft Stone Ink and stamp them onto my panel.


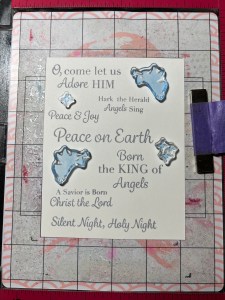
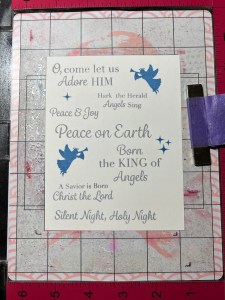
Next, I place two angel and star images from the same Silent Night Stamp Set in between the previously stamped sentiments and stamp them onto the panel using Powder Blue Ink. I then clean off the stamps and arrange them in other areas and stamp them again with the same Powder Blue Ink. *To fill in some of the open areas on the edges of the panel, I stamp more sentiments using the previous Soft Stone Ink.
Using the second largest rectangle die from the Master Layouts 1 Die Set, I cut out of my stamped panel, running them through my Platinum 6 Die Cut Machine.
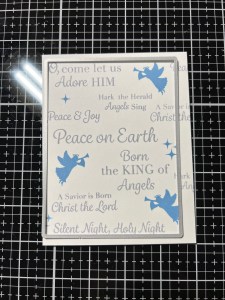

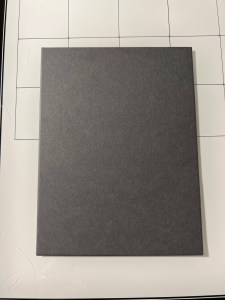
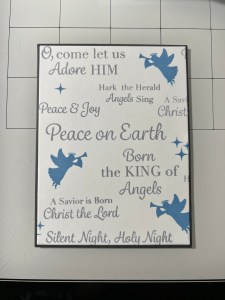
Using the largest layering rectangle die from the same Master Layouts 1 Die Set, I cut out of Slate Cardstock, running them through my P6. I then adhere the two panels together then mount onto a white card base using Liquid Glue.
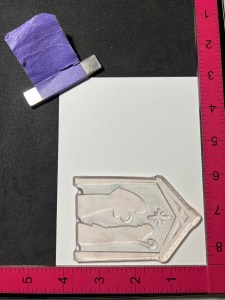
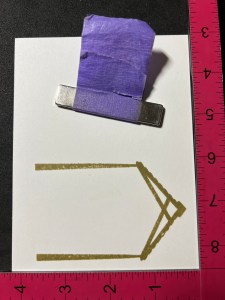
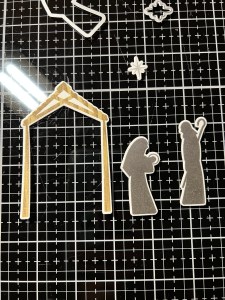
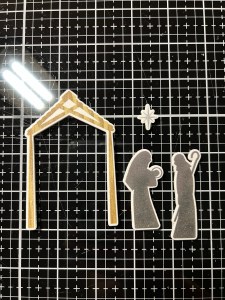
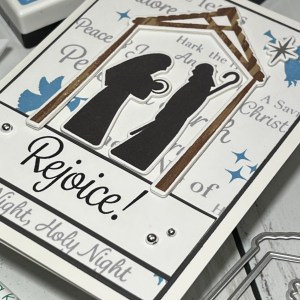
To create the different elements for my card, I place a piece of White Cardstock into my MISTI. I start by taking the stable image from the Silent Night Stamp Set and position it on one side of the cardstock. Because there are four images on this stamp and for now I just want the stable image, I mask off the three inside images then ink up the stamp using Kraft Ink. I then remove the mask and stamp it onto my panel. Leaving the stable stamp still attached to the door of my MISTI, I want o create the look of texture on this image so I take my Dark Chocolate Ink Cube and run the edges of the cube down the previous area of the stamp to create a woodgrain look and stamp it over the previous stamped image.
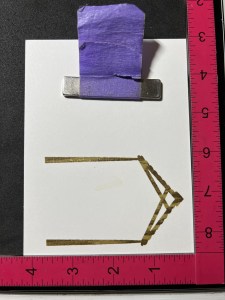
I now want to stamp the star, and I want to emboss it. Leaving the stamp still attached to the door of my MISTI, I flip the cardstock panel around treat the panel with my Anti Static Powder Bag. I mask off everything around the star so that only the star is exposed. I then ink up the star with Versamark Ink, remove the masks then stamp the image onto the cardstock. I add Silver Embossing Powder then heat set it using my Heat Tool then place the panel back into my MISTI. To stamp Mary and Joseph, I take my Slate Ink Cube and ink up those images only and stamp them on to the panel.


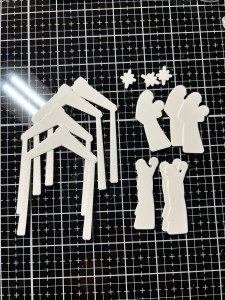
Using the coordinating dies from the Silent Night Die Set, I cut out my images, running them through my P6. I also use the same die to cut out of White Cardstock three times, with the exception of the stable which I cut out four times. I then stack and glue everything together using Liquid Glue.
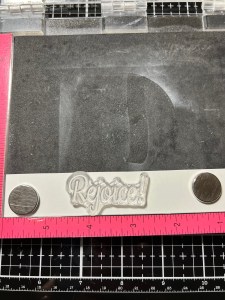
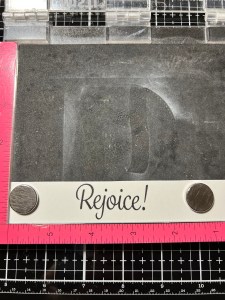
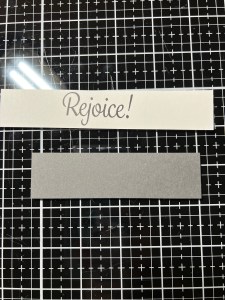
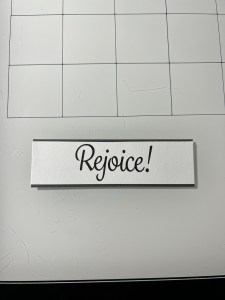
For a greeting, I choose the large sentiment from the same Silent Night Stamp Set and stamp it onto a 1″ wide White Cardstock strip using Amalgam Obsidian Black Ink then adhere it onto a 1 1/8″ wide strip of Slate Cardstock using Liquid Glue then trim the ends down to be 3 3/4″ long.
With Liquid Glue, I adhere the greeting strip onto the lower section of the panel. I then glue down the remaining elements.
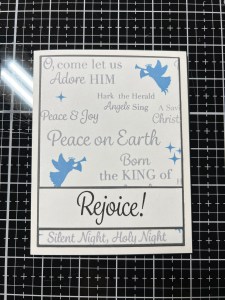

Using my Stick & Pick Tool, I add Silver Pearls to the greeting strip with Liquid Glue and this completes my card.

I hope you enjoyed today’s card. Sentiments are used not only for greetings but can be used to create backgrounds as well. I love how each sentiment is slightly different in style and size which look great when paired together. I think this sentiment background would also look great using the emboss resist technique. These sentiments would be perfect for creating tags as well. Don’t forget to check out Gina’s live, tonight at 7:00 PM CST. You can also watch the live on replay on her YouTube channel anytime after!
If this is your first time visiting my blog, welcome and I hope you return. If you are a returning visitor, thank you so much for your support!
If you would like to be notified by email each time I post a new project, there is an option to add your email (located at the top menu, or on the right side of my page) then hit the subscribe button. Should you have any questions or comments please leave them in the comments section. I’d love to hear from you and what you thought about today’s card.
Thank you for visiting and I hope you come back soon!
Happy Stamping and God Bless!!
Jeannie
