I want to start out by thanking everyone for the support and nice comments you all leave for me. I truly appreciate the support of this blog!! I enjoy card making and bringing my creations to you, this wouldn’t be possible without your support, so again, thank you!! *Affiliate links are used at no additional cost to you. When you purchase products through my links I receive a small commission from these sales, which helps me to purchase new products for the cards I share on my blog. Thank you so much for your support, it is greatly appreciated!! Don’t forget to check out my previous blog for MANY more card projects! You can find them HERE.
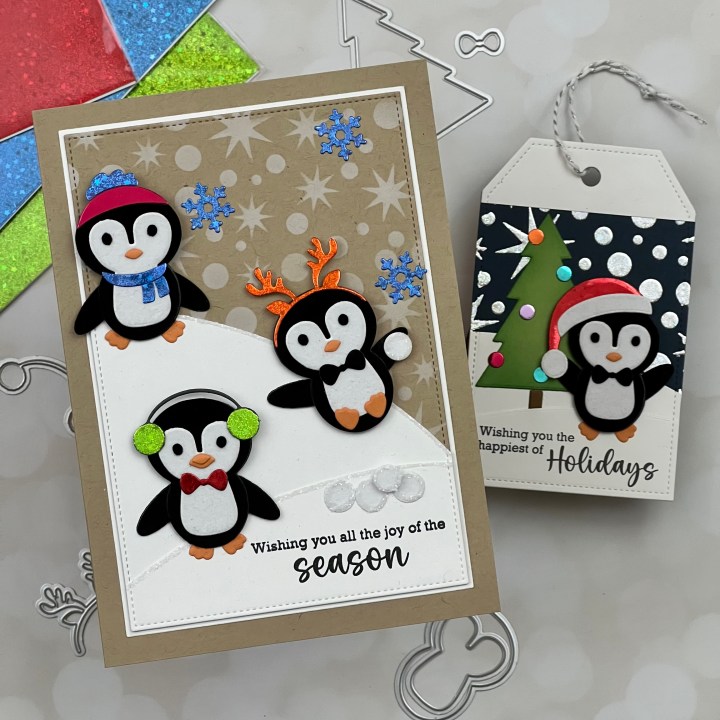
Welcome! Today, there is an exciting collaboration between ThermoWeb and Gina K. Designs!! Beautiful, shiny things are always in store for us when these two get together! Introducing the Penguin Pals card kit! This kit is packed with so much fun… included in the kit is stamps, a stencil, foils, black and white plush paper, card front toner sheets and a 19 piece die set that makes the most adorable penguins!! You can find the kit HERE. I decided to make both a card and tag using the Penguin Pals Kit, showing two different ways to use the stencil as well as two different ways to add foil to your projects! This kit is filled with lots of options for creating cards, tags, scrapbook pages and so much more. If you enjoy foiling, be sure to visit ThermoWeb’s website where they have a HUGE selection of foil and products to meet your needs, plus so much more!! Let’s get started!!

I will be doing all of my work today on my Tim Holtz Glass Media Mat.
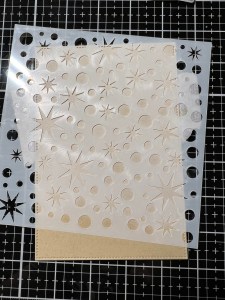
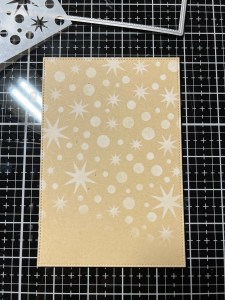
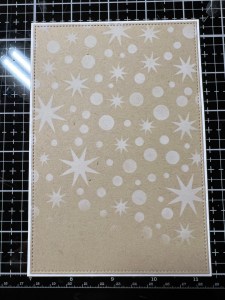
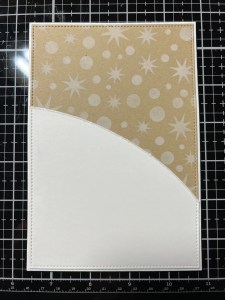
To start, I take the large stitched rectangle die from the Master Layouts 8 Die Set and cut out of Kraft Cardstock, running them through my Platinum 6 Die Cut Machine. Next, I take my stencil from the Penguin Pals Card Kit and adhere it down over my panel using Pixie Tape. I then take my Blending Brush and blend White Pigment Ink over the stencil, covering the openings. *I designate one of my brushes to use with only white pigment ink.

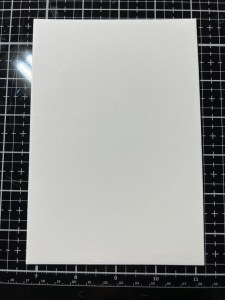
Taking the largest rectangle die from the same Master Layouts 8 Die Set I cut out of White Cardstock, running them through my P6. Using Liquid Glue, I adhere the two panels together.
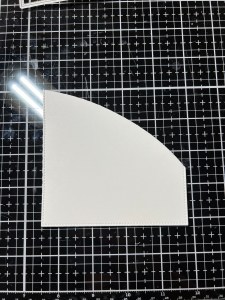
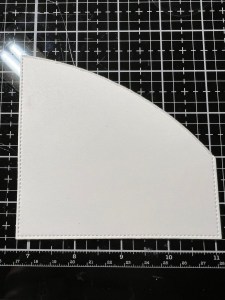
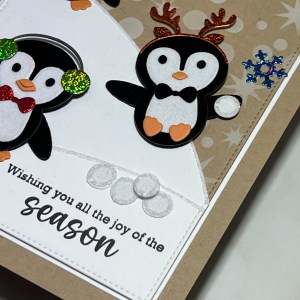
Next, I create a hill for my panel. I take the hill die from the Master Layouts 6 Die Set and cut a curve out of White Cardstock, running them through my P6. I take a pair of scissors and cut away the side that the die didn’t cut then take the same stitched rectangle I used to cut my panel and cut out the hill, running them through my P6.


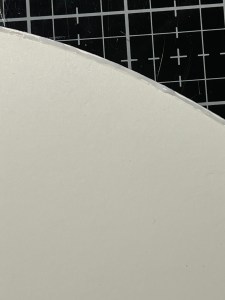
Using my Fine Tip Glue Bottle I lay a thin line of Liquid Glue on the edge of the hill then sprinkle with Rock Candy Glitter and set aside to dry. Once the panel has had a chance to completely dry, I add Liquid Glue to the back of the hill and adhere it to my panel, making sure the bottom edges line up. *Using the same stitched die to cut out the hill gives a continual stitched pattern to the panel and hill piece edges.

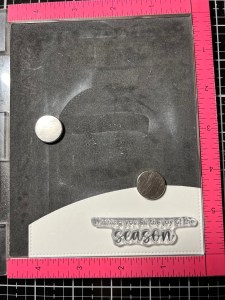
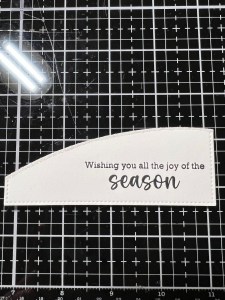
Using the same method, I create a smaller hill that runs the opposite direction then place it into my MISTI Stamp Positioner. I then line up a sentiment from the Penguin Pals Card Kit and stamp it on the hill using Amalgam Obsidian Black Ink. Using Liquid Glue, I adhere the small hill over the lower portion of my panel. *Before adhering to the panel, I added a thin line of glitter to the edge of the hill just as I did with the previous one.


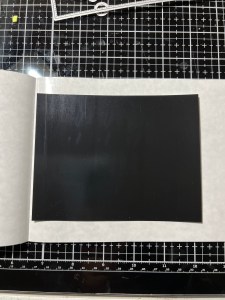
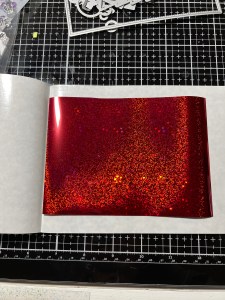
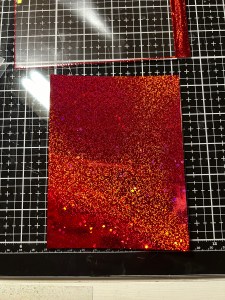
It’s now time to foil! I take one of the card front toner panels (included in the kit) and place it into a Carrier Sheet. I then cut a piece of radiant red foil (also included in the kit) similar in size and place it over the toner panel, pretty side up, close the carrier sheet then run it through my laminator. I then peel away the foil sheet and I am left with a beautiful foiled panel! I repeat this process with the other two colors that are included in the kit, as well as others from my stash. I will use the foiled panels to die cut from. *I will be using the three colors included in the kit, as well as Dazzling Orange, Passionate Pink, Turquoise Sea, Wild Lilac and Sweet Mango foils from my stash.

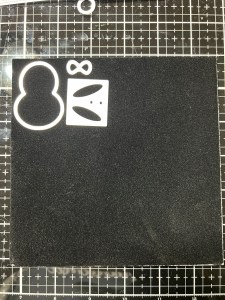
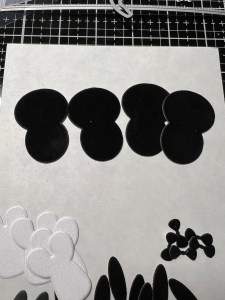
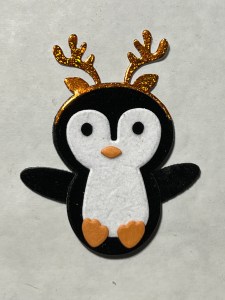
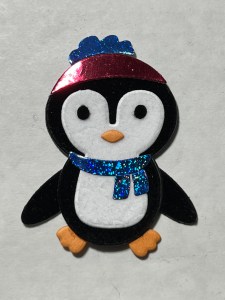
Taking the accessory die pieces from the Penguin Pals Card Kit, I cut out of my foiled panels. I also use the dies that will create the penguin bodies and cut out of plush black paper and white plush paper (included in the kit), running them all through my P6. To make my body pieces sturdier, I also cut them out of Black Cardstock and glue the pieces together. The feet and beaks I cut out of Mango Cardstock.
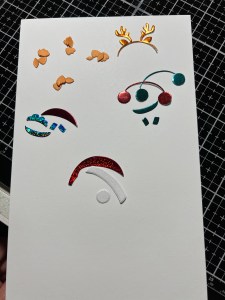
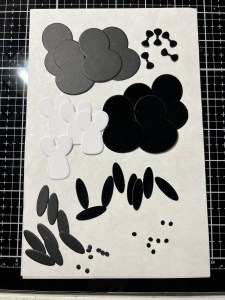
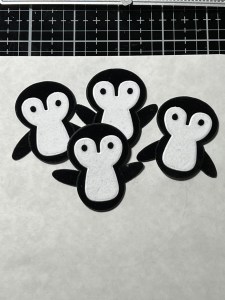
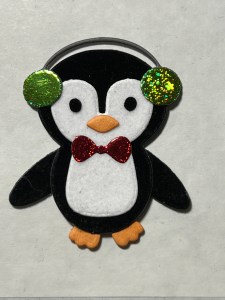
I now assemble all of the pieces and accessorize my penguins using Liquid Glue. For the earmuffs I cut once out of the foil and once out of Slate Cardstock. I then cut the muffs off the foil band then glue them onto the slate cardstock piece. Now that my penguins are finished I adhere them onto the panel using Liquid Glue and Foam Tape.
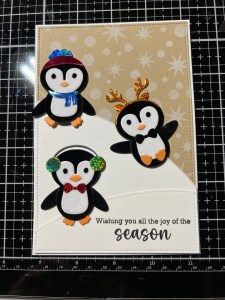
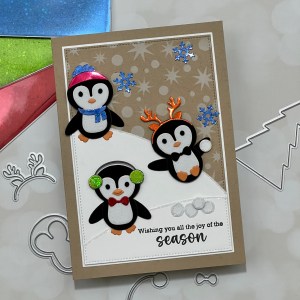
I thought it would be fun to add some snowballs to the mix! I took a couple of the circular dies from the kit and cut out of white flock (included in the kit), running them through my P6 then added some Liquid Glue around the edges then sprinkled with glitter and adhered them to the panel and placed one in the hand of the penguin sliding down the hill. I also added some die cut brilliant blue (included in the kit) foiled snowflakes to the snow blended background. Finally, I mounted the panel onto a 5″ x 7″ Kraft card base (7″ x 10″ piece of cardstock, scored at 5″) using Liquid Glue and this completes my card.


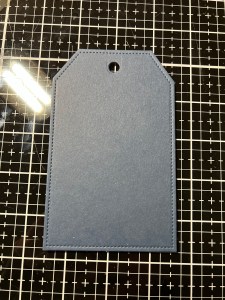
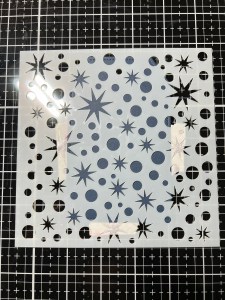
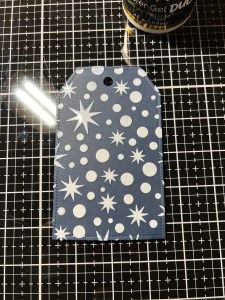
For my tag, I take the largest die from the Tag Trio Die Set and cut out of In The Navy Cardstock, running them through my P6. I then take the stencil from the Penguin Pals Card Kit and adhere it over my die cut piece using Pixie Tape.
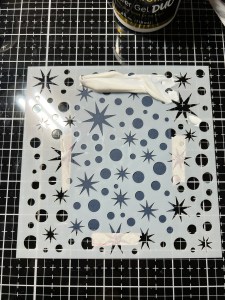
Next, I add some Deco Foil Transfer Gel Duo to the top portion of my stencil and use a Stencil Pal to evenly drag the gel down the stencil, covering all of the openings. I then carefully remove the stencil and set the piece aside to dry for a few hours. You will know the gel has dried when it turns clear. *After removing the stencil, I immediately wash off my stencil and tools using warm water.
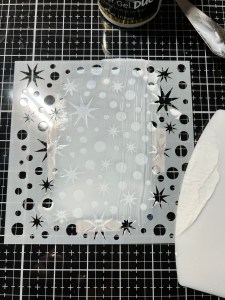
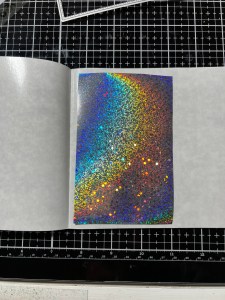
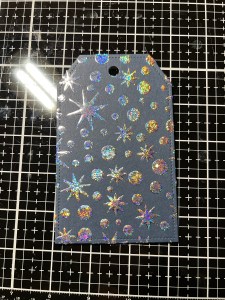
Now that my piece has completely dried and is clear, I cut a piece of Sparkling Silver Foil from my stash and placed it over the tag, pretty side up then into a Carrier Sheet and run them through my laminator. I then peel the foil sheet away from my tag and I now have a beautiful silver foiled background on my tag.

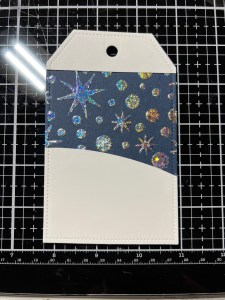
I cut a snowy hill in the same way as I did for my card, and I die cut a topper by using the same tag die and adhered them to the tag using Liquid Glue. I then stamped a sentiment from the kit on the smaller hill using Amalgam Obsidian Black Ink and adhered it to the bottom of the tag. Using the tree die from the kit, I cut out of Grass Green Cardstock then blended Grass Green Ink around the edges of the die. I also used the small circle die from the kit to cut some ornaments from my foil pieces and glued them to the tree. Finally, I mounted the penguin and tree die cuts to the tag using Liquid Glue and Foam Tape, added twine to the top and this completes my tag.
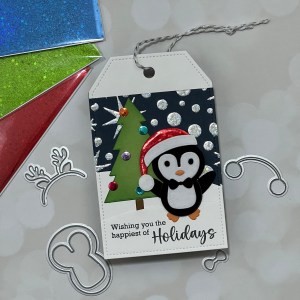
Here are some close up photos of the card and tag showing more detail.

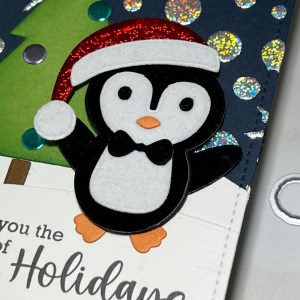
I hope you enjoyed today’s projects! Working with transfer foil can be so fun and these little penguins are the perfect critters to showcase the foil! It’s hard to see in the photos, but the flocking on the penguin’s bodies is so cute, it makes them come to life!! I hope you get a chance to tune into Gina’s live, tonight at 7:00 pm CST on her YouTube channel to see everything up close. If you are unable to catch the live you can watch it on replay. If you are interested in purchasing the Penguin Pals Kit, remember, it can only be purchased at Thermoweb .com. Gina is not selling this kit, she has designed it for TW. Be sure to check out all of the other designer’s creations using this fun kit! These collaboration kits are normally limited editions and sell out quickly, if you are wanting one for yourself, you can find it HERE.
If this is your first time visiting my blog, welcome and I hope you return. If you are a returning visitor, thank you so much for your support!
If you would like to be notified by email each time I post a new project, there is an option to add your email (located at the top menu, or on the right side of my page) then hit the subscribe button. Should you have any questions or comments please leave them in the comments section. I’d love to hear from you and what you thought about today’s card.
Thank you for visiting and I hope you come back soon!
Happy Stamping and God Bless!!
Jeannie

So darn cute! Love your style!!!
LikeLike
You are so sweet Barb, thank you!! These little guys are so fun!
LikeLike
This is so cool!
LikeLike
Thank you, it’s a fun set to play with!!
LikeLike