I want to start out by thanking everyone for the support and nice comments you all leave for me. I truly appreciate the support of this blog!! I enjoy card making and bringing my creations to you, this wouldn’t be possible without your support, so again, thank you!! *Affiliate links are used at no additional cost to you. When you purchase products through my links I receive a small commission from these sales, which helps me to purchase new products for the cards I share on my blog. Thank you so much for your support, it is greatly appreciated!! Don’t forget to check out my previous blog for MANY more card projects! You can find them HERE.
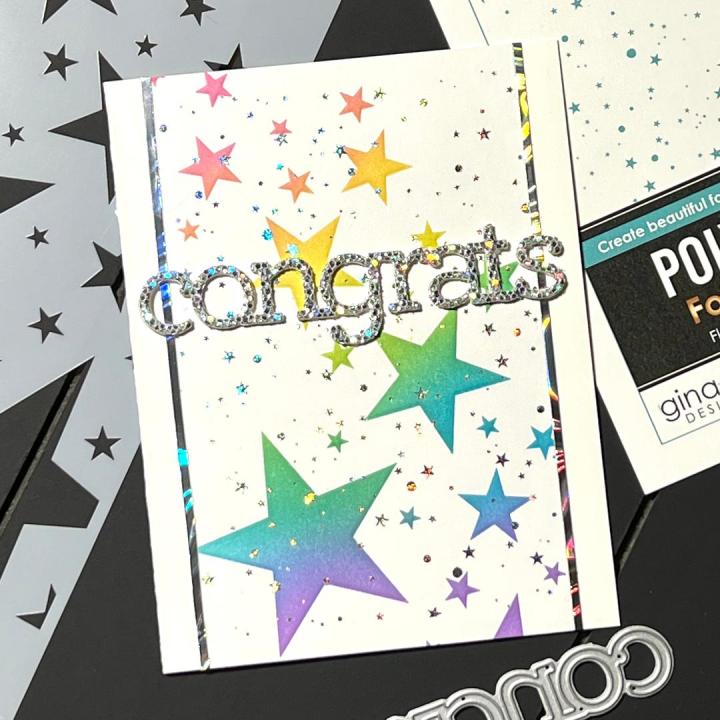
Today, I have a fun card that shouts celebration!! This card has lots of sparkle and shine to it using Poly Glaze foiling, holographic cardstock and sparkly specialty cardstock, such a fun card to make and can be used for so many different occasions! I love the look of foiling and the fact that you can ink blend over it, such a beautiful look and an easy way to add sparkle and shine to any card. Let’s get started!!
I will be doing all of my work today on my Tim Holtz Glass Media Mat.
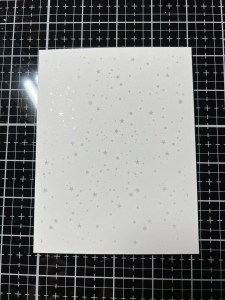
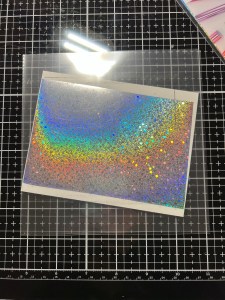
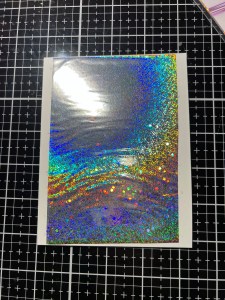
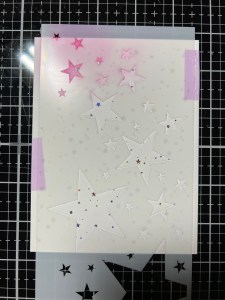
To start, I take a panel of Flurries Poly Glaze and trim down a piece of Sparkling Silver Foil and place it, pretty side up over my Poly Glaze panel. I then place it into my carrier sheet at a slight angle and run it through my Fuse Laminator which is set at a 3 heat level. *I like to place my foiling project at a slight angle to prevent too much wrinkling. **Always remember to feed your carrier sheet into your laminator, at the folded edge. I remove my panel from the carrier sheet and peel off the foil, revealing a beautiful foiled design.

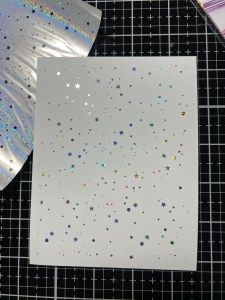
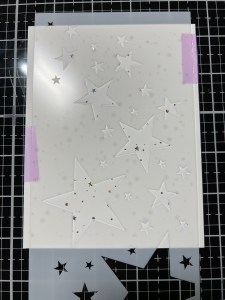
Next, I place my Fading Stars Stencil over my foiled panel and secure it down using some Easy See Tape. I then run the panel with the stencil through my Platinum 6 Die Cut Machine to “dry emboss” the panel. When ink blending with stencils, I love to dry emboss the image, this raises the design a bit which I find it easier to ink blend and makes the images appear to pop off the panel in the finished look. *Check your machine’s sandwich order for dry embossing. For my P6 I use the platform base A, platform to B, rubber mat E, my cardstock, stencil, adaptor plate D and the shim F, in that order. The colors I will be using for my ink blending are, Passionate Pink, Wild Dandelion, Blue Raspberry and Wild Lilac. I want a 6 color ink blend but I don’t have a lot of room to add 6 colors. Instead, I will use these four colors and blend them together to create the other two colors.

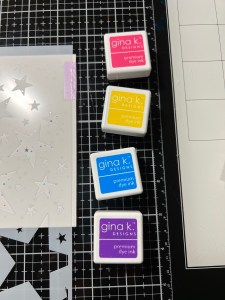
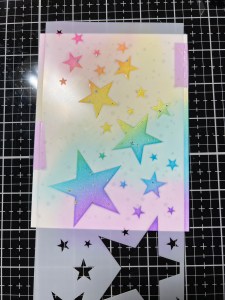
Using my Blending Brushes, I start by blending Passionate Pink Ink over the top left portion of my panel and fade it out a bit to join the next color. I then blend Wild Dandelion Ink just below my previous color and fade it out a bit. I not only add yellow to my panel but I blend back into the previous color which will create an orange as well. *By blending back into my previous color, I am able to create (orange) one of the two colors of ink that I didn’t use. *Between each ink color, I take a soft cloth and wipe away any ink that is sitting on the stencil to keep my brushes from getting contaminated with other ink colors.

Next, I blend Blue Raspberry Ink just below my previous color and fade it out a bit which will join the next color. I also fade the blue ink back into my previous color to create a green blend. Finally, I blend Wild Lilac Ink to the bottom right portion of my panel and fade it back into my previous color. I then go back and blend each color again to create a more vibrant blend. When I am happy with my ink blending, I remove the stencil to reveal a beautiful blended design.

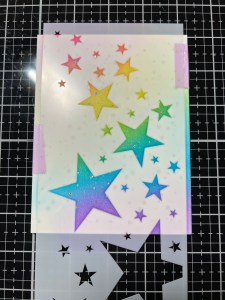

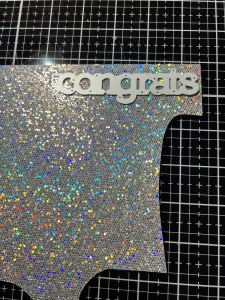
To create more narrow panel for my card front, I trim off the sides of my blended panel using my Guillotine Paper Trimmer, leaving my with a 3 3/8″ x 5 1/2″ panel. Here is a close up of my dry embossed panel showing how the images are raised a bit. Using Liquid Glue, I center and adhere my panel onto a White Cardstock card base.
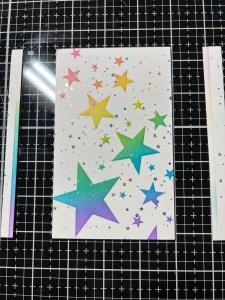

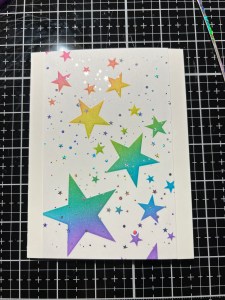
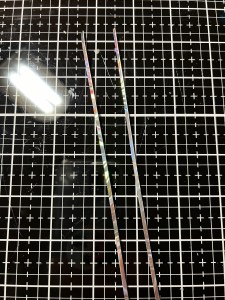
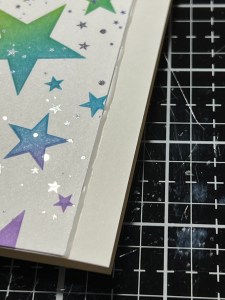
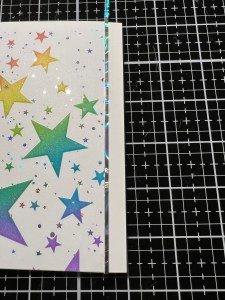
To define the edges of my panel, I cut two thin strips of Holographic Cardstock using my Guillotine Paper Trimmer. I then run a thin line of Liquid Glue to the edges of where my panel meets the card base and glue the strips down and cut off any overhang.


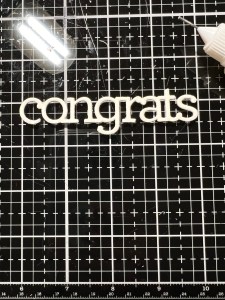
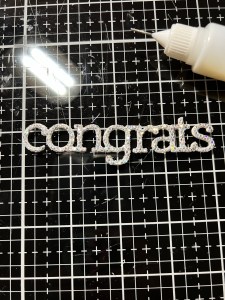
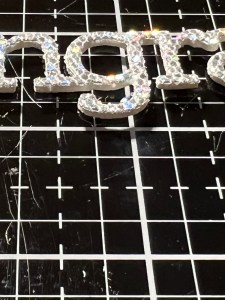
For a greeting, I take my Congrats Die and cut out of Luxe Glitter Cardstock, I also cut out of White Cardstock three times, running them through my P6.

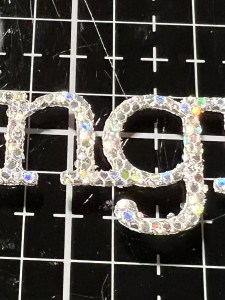

Using Liquid Glue, I stack the die cuts together with the glitter piece on top.
I center my greeting over the top of my card front, slightly above center and adhere using Liquid Glue and this completes my card.
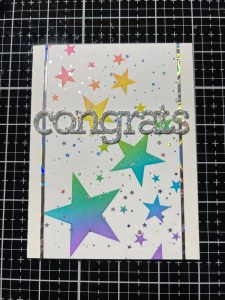

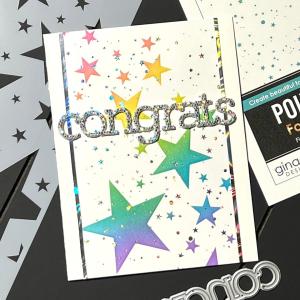
I hope you enjoyed today’s card! While this card is a pretty simple layout, adding all of the sparkle and shine really makes things stand out. Of course pictures do not capture all of the beautiful sparkle this card has going on! This would be the perfect card for any type of celebration and the greeting could easily be switched out for any kind of occasion. I thought about adding a sentiment strip under the greeting but decided to leave it off so my card can be used for any occasion… a sentiment could always be added later as well. I am really enjoying these Poly Glaze sheets, they add just enough sparkle without overpowering the card. With so many choices of Poly Glaze and foils, the possibilities are endless!!
If this is your first time visiting my blog, welcome and I hope you return. If you are a returning visitor, thank you so much for your support!
If you would like to be notified by email each time I post a new project, there is an option to add your email (located at the top menu, or on the right side of my page) then hit the subscribe button. Should you have any questions or comments please leave them in the comments section. I’d love to hear from you and what you thought about today’s card.
Thank you for visiting and I hope you come back soon!
Happy Stamping and God Bless!!
Jeannie

That is beautiful!
LikeLike
Thank you so much!
LikeLike