I want to start out by thanking everyone for the support and nice comments you all leave for me. I truly appreciate the support of this blog!! I enjoy card making and bringing my creations to you, this wouldn’t be possible without your support, so again, thank you!! *Affiliate links are used at no additional cost to you. When you purchase products through my links I receive a small commission from these sales, which helps me to purchase new products for the cards I share on my blog. Thank you so much for your support, it is greatly appreciated!! Don’t forget to check out my previous blog for MANY more card projects! You can find them HERE.
Today I have a card for you, featuring the brand new Wishing You Well stamp set, illustrated by Lisa Hetrick for Gina K. Designs February release! All of the new products, including a brand new Master Layouts die set can be found HERE. Lisa’s stamp set is filled with lots of fun elements, including a few two step stamps that can be filled in with a solid color, or combine colors which I did on my card. Gina’s February release is available right now, you can watch the live presentation starting at 7:00 PM tonight, CST on Gina’s Facebook page or YouTube channel where she will be revealing this stamp set along with so many other sets and products up close. As always, Gina will be creating a card using the new products at the end of her live. If you miss the live, you can always watch it on replay on Gina’s YouTube channel. All of the products I use on today’s card are from Gina K. Designs. Let’s get started!!

I will be doing all of my work today on my Tim Holtz Glass Media Mat.
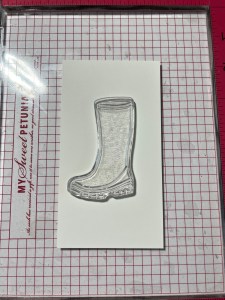
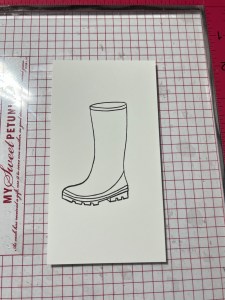
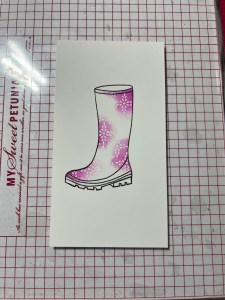
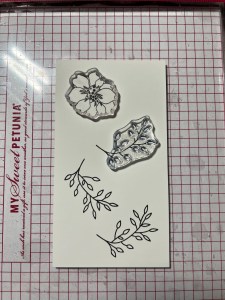
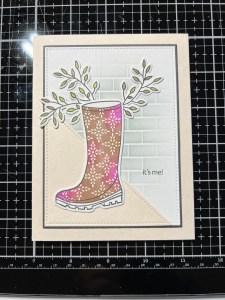
To start, I place a piece of White Cardstock onto my Grip Mat in my MISTI Stamp Positioner and stamp the outline boot image from the Wishing You Well Stamp Set onto the cardstock, using Amalgam Obsidian Black Ink. ***I replaced the mouse pad (black foam insert) in my MISTI with a grip mat which has been a game changer in holding cardstock in place while stamping without the need for magnets or tape. This grip mat is also great to use with ink blending or stenciling. Because it is made out of the same high quality photopolymer, it can be cleaned the same way you clean your stamps or with mild soap and water, I cannot recommend this grip mat enough!!
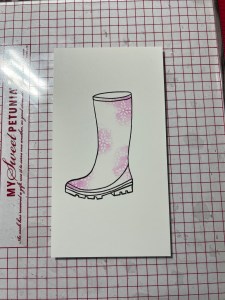
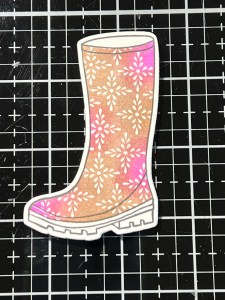
To create the inked design, I take the solid boot image from the same Wishing You Well Stamp Set and center it over my outline image. I then pick up the stamp with the door of my MISTI and ink random areas using my Mini Blending Brush to apply Medium Orchid Ink onto the stamp and stamp it onto my cardstock. I continue applying ink in the same way and stamp it until I have the vibrancy I’m looking for.


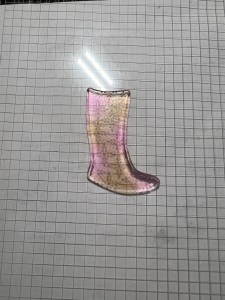
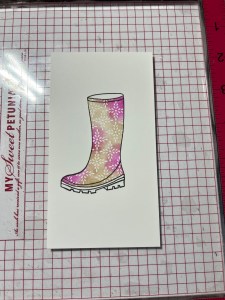
I now apply Warm Cocoa Ink to the un-inked areas of the stamp using my Mini Blending Brush and stamp it onto the cardstock. I continue applying ink in the same way and stamp it until I am happy with the look. *I apologize for the inconsistent look of the ink colors… depending if the panel is on a white or black surface, it dramatically changes the colors in the photo. (The true colors are reflected with the dark background).
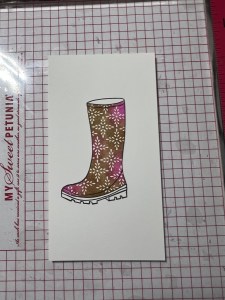
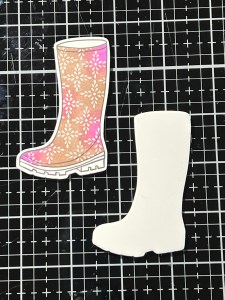
Using the coordinating die from the Wishing You Well Die Set, I cut my image out and also out of White Cardstock, using my Platinum 6 Die Cut Machine. Using Liquid Glue I stack and adhere the two die cut pieces together.
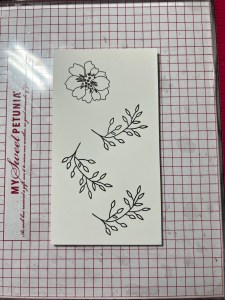
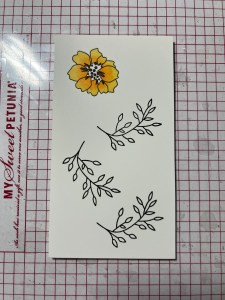
Next, I place another piece of White Cardstock into my MISTI and stamp the smaller flower and outline vine images from the same Wishing You Well Stamp Set using Amalgam Obsidian Black Ink. I then take the solid images for these two stamps, line them up and pick them up with the door of my MISTI. For the flower, I ink up the stamp using Sweet Corn Ink then stamp it over the outline image.
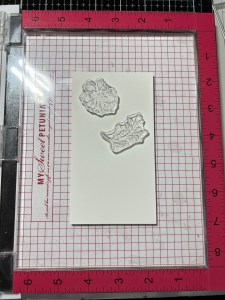
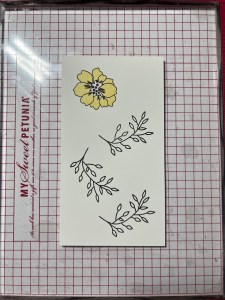
To add some depth and shading to the center of the flower, I take my Mini Blending Brush and add ink to just the center of the stamp with Sweet Mango Ink then stamp it onto the panel.
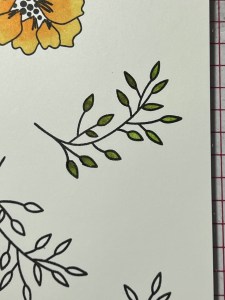
For the leaves, I ink the stamp with Jelly Bean Green Ink and stamp it onto the panel. To add a little variation in ink color, I use my Mini Blending Brush and add Dark Sage Ink to some of the leaves and stamp it onto the panel.


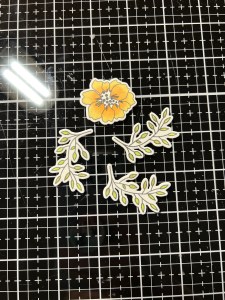
Using the coordination dies from the Wishing You Well Die Set to cut out the images, I run them through my P6. I then set everything aside while I work on my panel.
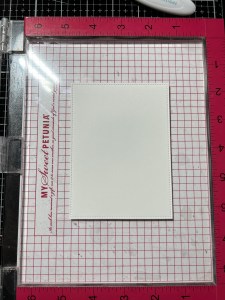
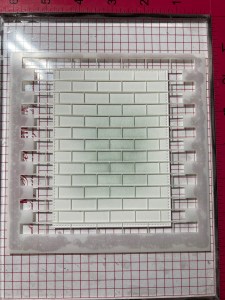
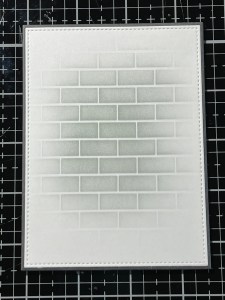
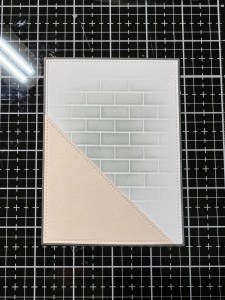
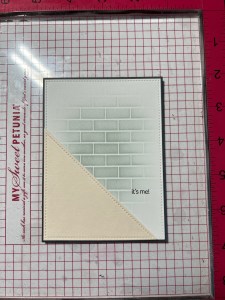
Next, I take the largest stitched rectangle die from the Master Layouts 2 Die Set and cut out of White Cardstock, running them through my P6. I then place the panel onto my Grip Mat that is in my MISTI then place my Brick Wall Stencil over the panel and press the edges onto the Grip Mat to hold it into place. Taking my Blending Brush, I blend Moonlit Fog Ink over the center of my panel and fade the ink out. I want to add the stenciling just behind my focal image then fade out, I don’t want my entire panel to show the stenciled image.


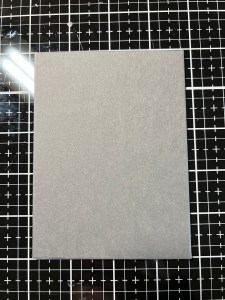
I now create a mat for my panel by taking the largest rectangle from the same Master Layouts 2 Die Set and cut out of Slate Cardstock, running them through my P6. Using Liquid Glue, I adhere the two panels together.
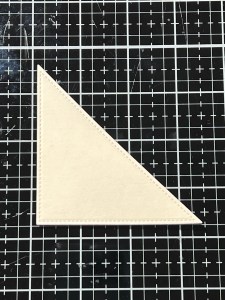
To add a little interest to my panel and to create a grounding element for my focal image, I take the triangular stitched die from the Master Layouts 5 Die Set and cut out of Barely There Cardstock, running them through my P6. Using Liquid Glue, I adhere the die cut piece onto the bottom left corner of my blended panel.
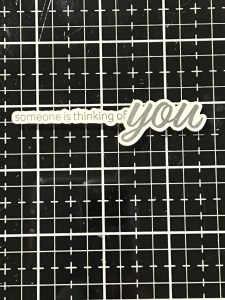
I chose one of the sentiments from the same Wishing You Well Stamp Set and stamped it onto White Cardstock using Amalgam Obsidian Ink and cut it out using the coordinating die from the Wishing You Well Die Set and also out White Cardstock two times, running them through my P6. Using Liquid Glue, I stack and adhere the die cuts together.

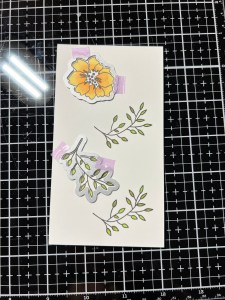
There is a tiny stamp that goes with my sentiment that I need to figure out placement. To do this, I place my panel back onto my Grip Mat in my MISTI then lay out my focal image and sentiment so I can line up my stamp. I then pick up the stamp with the door of my MISTI and remove my focal image and sentiment. Using Amalgam Obsidian Black Ink I stamp the sub sentiment onto the panel. Using Liquid Glue, I adhere my panel onto a Barely There Cardstock side folding card base. (Which is cut 5 1/2″ x 8 1/2″ and scored at 4 1/4″)
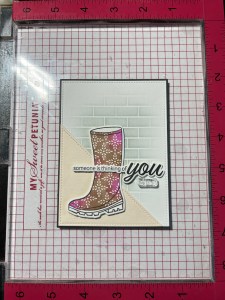

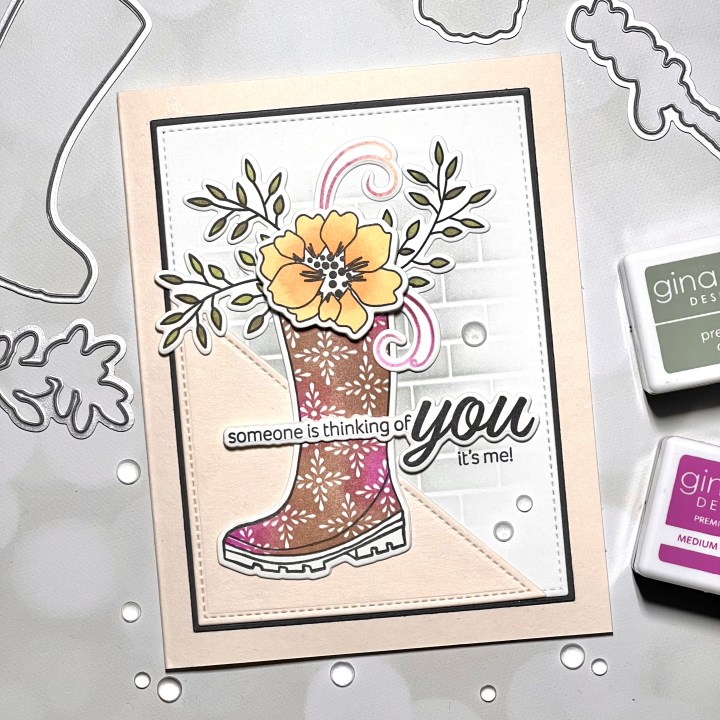
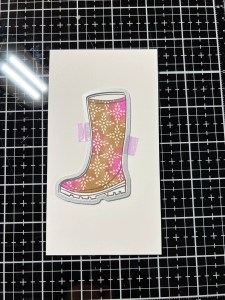
Now it’s time to assemble my focal image. I start by adhering the boot image over the rectangle die using Liquid Glue. I then arrange the greenery and adhere down using Liquid Glue. To add another filler element I ended up stamping the swirl image from the same Wishing You Well Stamp Set using the same ink color from the boot stamping, cut them out with the coordinating dies and glued them down.


To pop the flower up a bit, I add a Foam Square to the back and mounted it over the top of the boot. Using Liquid Glue I mount my sentiment die cut piece over the boot, just above the sub sentiment.
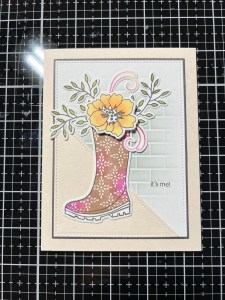

Using my Pick & Stick Tool, I add a few Dew Drops with Liquid Glue and this completes my card.
I hope you enjoyed today’s card! This was a fun set to create with, filled with lots of images to create many different arrangements, also images that would be perfect to use with the Wreath Builder! The outline images would also be good for watercoloring. Be sure to check out Gina’s live or replay for much more inspiration using this set as well as inspiration from the other sets.
If this is your first time visiting my blog, welcome and I hope you return. If you are a returning visitor, thank you so much for your support!
If you would like to be notified by email each time I post a new project, there is an option to add your email (located at the top menu, or on the right side of my page) then hit the subscribe button. Should you have any questions or comments please leave them in the comments section. I’d love to hear from you and what you thought about today’s card.
Thank you for visiting and I hope you come back soon!
Happy Stamping and God Bless!!
Jeannie

Such a pretty card.
LikeLike
Thank you so much!!
LikeLike