
I want to start out by thanking everyone for the support and nice comments you all leave for me. I truly appreciate the support of this blog!! I enjoy card making and bringing my creations to you, this wouldn’t be possible without your support, so again, thank you!! *Affiliate links are used at no additional cost to you. When you purchase products through my links I receive a small commission from these sales, which helps me to purchase new products for the cards I share on my blog. Thank you so much for your support, it is greatly appreciated!! Don’t forget to check out my previous blog for MANY more card projects! You can find them HERE.
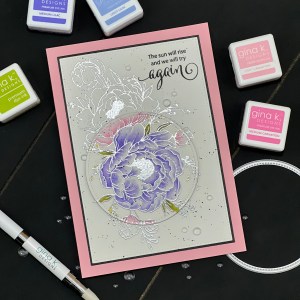
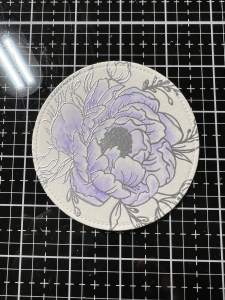
Today, I wanted to revisit the spotlight technique using the Majestic Peony stamp set from Gina K Designs. This is a gorgeous stamp set with a huge peony image that is perfect for this technique! This image is beautiful to watercolor in it’s entirety, but today I thought it would be fun to watercolor a portion of it, leaving the rest of the embossed design, uncolored. With this image being so big, I went with a 5 x 7 layout to capture all of its beauty! If you have been wanting to give watercoloring a try but don’t want to invest in expensive paints, use what you have! For my coloring today, I used Gina’s dye ink pads. Using ink pads offers such a wide variety of colors that I already have on hand and coordinates so well together with Gina’s cardstock. Watercolor can be as simple or elaborate as we want to make it. Using watercolor cardstock is key, vs regular cardstock. I use Canson XL watercolor cardstock for all of my watercoloring. It is great quality at an affordable price! All of the inks, cardstock, stamps and dies I use on today’s card are from Gina K Designs. Let’s get started!!
I will be doing all of my work today on my Tim Holtz Glass Media Mat.
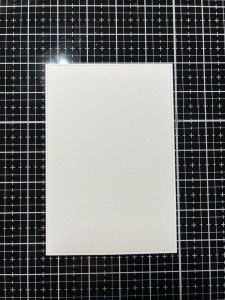
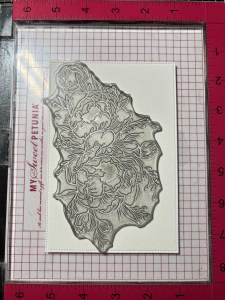
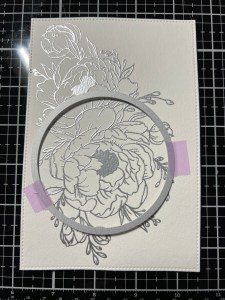
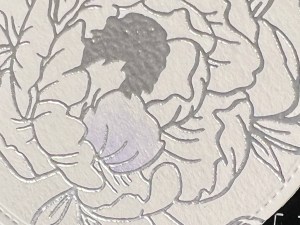
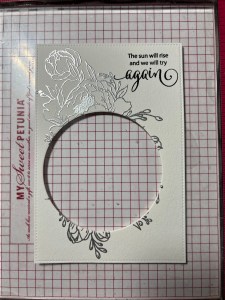
To start, I take the large stitched rectangle die from the Master Layouts 8 Die Set and cut out of Watercolor Cardstock, running them through my Platinum 6 Die Cut Machine. Next, I place the panel onto my Grip Mat that I have in my MISTI Stamp Positioner. *This grip mat is not a “sticky” mat but a mat that is made up of the same photopolymer material as stamps which provides a natural tackiness to it. Whenever it needs cleaning, I use a little stamp cleaner or mild soap and wipe it clean. I am really loving this tool to help hold my cardstock in place while stamping. I then prep my panel well with my Anti Static Powder Tool and place an my image from the Majestic Peony Stamp Set over it and stamp it using Versamark Ink. I repeat the stamping a couple of times to ensure good ink coverage, add Silver Embossing Powder then heat set with my Heat Tool.
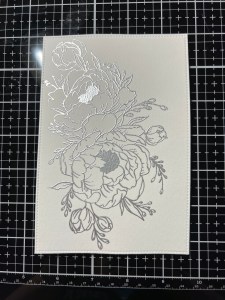
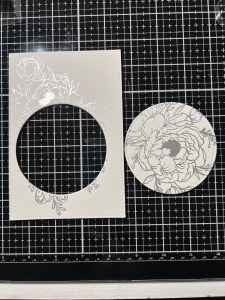
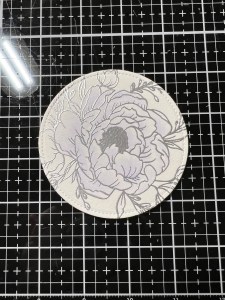
To create my “spotlight” image, I take the largest die from the Single Stitched Circle Die Set and place it over the area of the design that I want to watercolor then run them through my P6. I place the panel aside as the circle is the only image I will color.
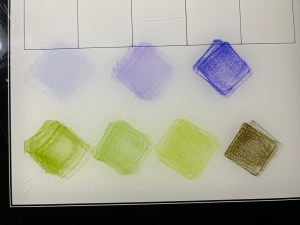
Taking the ink colors that I want to use, I press them onto my Glass Mat, I will use this as my palette. I then fill my Water Brush with clean water and scribble my colors out onto a scrap piece of the same Watercolor Cardstock that I will be using. This helps me to see the actual colors and helps me to decide which to use. I also like to have a paper towel on hand for cleaning off my Water Brush or removing excess water from it.

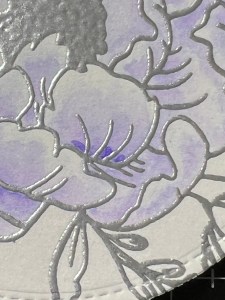
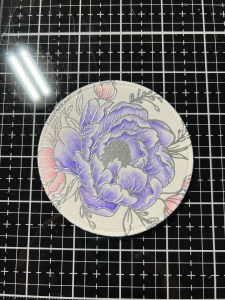
To start my coloring, I gently squeeze the barrel of my Water Brush which allows water to come into the bristles of the brush. If the bristles become too wet, I just dab them onto my paper towel to remove the excess water. I then paint clean water onto my first petal, I only want the cardstock to be damp, not puddling water. *Adding water first allows the ink that is added to freely move and easily blend and fade out. Next, I pick up some Light Lilac Ink from my palette using my Water Brush and add it to the base of the dampened petal. Using the Water Brush I pull the color from the base to blend and fade the color out to white towards the end of the petal, but not quite all the way to the tips. *Leaving some of the tips white adds natural highlights to the overall image. I continue this process with the remaining petals of the flower.
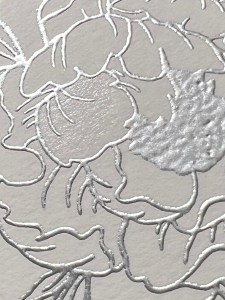
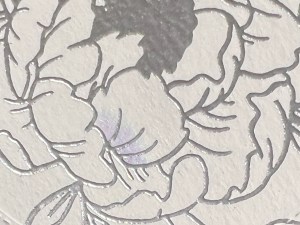

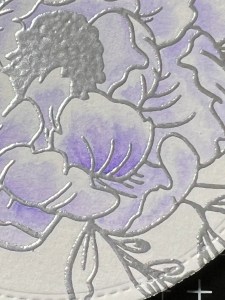
Next, I pick up Medium Lilac Ink from my palette using my Water Brush and add it to the base of the petal then blend it out towards the end of the petal, being careful to not completely cover up the previous color. Also, I like to add a darker shade to not only the base of each petal but to areas where petals are folded over or overlap. This creates shadows and depth to those areas. I repeat this process with the remaining petals.

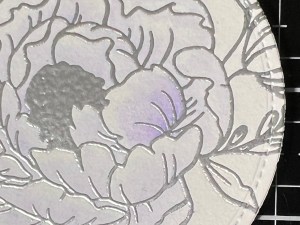
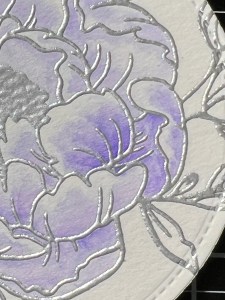
For even more depth and dimension, I pick up Dark Lilac Ink with my Water Brush and add it to base of the petals and blend out a bit, keeping the ink contained toward the base and being careful not to fully cover up the previous color.

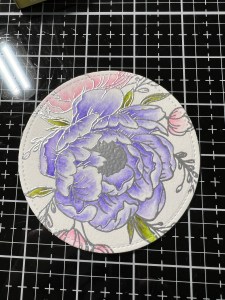
Next, I work on the remaining flowers. I wet my first petal then pick up Light Carnation Ink with my Water Brush and add the ink to the base of the petal. I then blend the color out a bit. I repeat this with the remaining petals of all flowers. I then add Medium Carnation Ink using my Water Brush and blend the color out, being careful not to fully cover up the previous color. Again, I repeat this for all of the remaining petals on the rest of the flowers.

Now it’s time to color the leaves. I pick up Jelly Bean Green Ink with my Water Brush and add it to the base of the leaves and blend it out. I then pick up Fresh Asparagus Ink, add it to the base of the leaf and blend it out, being careful to not fully cover up the previous color. To add a deeper shade for more contrast, I pick up Dark Sage Ink and add it to the base of the leaf and blend out a bit, being careful not to fully cover the previous color. I repeat this process for all of the leaves. For the remaining tiny bud flowers, I add Wild Dandelion Ink and blend out. Because the buds are so tiny, there really isn’t much blending and shading to do. This completes my coloring.


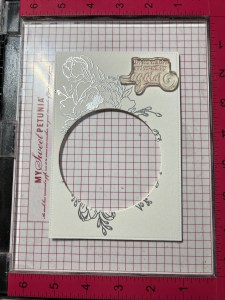
I now take the panel and place it onto the Grip Mat in my MISTI. I line up a greeting from the Lovely Lotus Stamp Set and stamp it using Amalgam Obsidian Black Ink. I then take the largest layering rectangle die from the Master Layouts 8 Die Set and cut out of Black Cardstock, running them through my P6. Using Liquid Glue I adhere the two panels together.
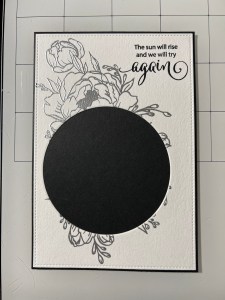
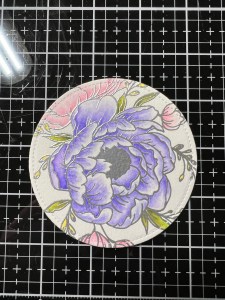
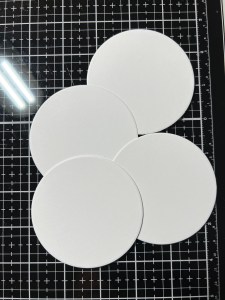
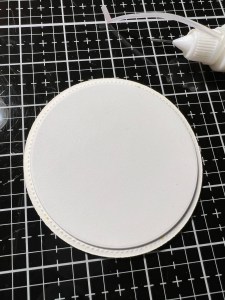
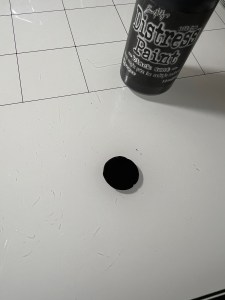
To help my spotlight piece stand out, I take the plain circle die from the Master Layouts 8 Die Set and cut out of White Cardstock four times, running them through my P6. Using Liquid Glue, I stack and adhere the pieces together, then glue them onto the back of my watercolor piece, then onto my card front, making sure to line up the design. To break up the stark white of the panel, I take a small amount of Black Soot Paint and spatter over the panel using a small paintbrush. I allow the paint to dry for several minutes then use Liquid Glue to adhere the panel to an Innocent Pink Cardstock card base. *I cut a sheet of cardstock to be 7″ x 10″ and scored it at 5″ to create my card base.
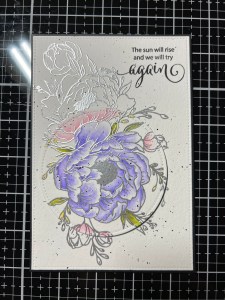

Using my Stick & Pick Tool, I added Dew Drops with Liquid Glue and this completes my card.
I hope you enjoyed the spotlight technique that I used on today’s card. It gives a unique look shortens the time it takes to watercolor by only doing a portion of the design. I sure do enjoy watercoloring with dye ink pads! Distress and Distress Oxides can also be used and give a stunning result. When watercoloring, be sure to use watercolor cardstock to get beautifully blended results. Watercolor cardstock is made to handle water and allows color to flow and fade out. If you are really comfortable with watercoloring, you could stamp an image in a very light gray or pale dye ink color then watercolor – this gives you a no-line look for a more natural looking image. I haven’t done much of it myself, but it’s something I would like to practice with in the future!
If this is your first time visiting my blog, welcome and I hope you return. If you are a returning visitor, thank you so much for your support!
If you would like to be notified by email each time I post a new project, there is an option to add your email (located at the top menu, or on the right side of my page) then hit the subscribe button. Should you have any questions or comments please leave them in the comments section. I’d love to hear from you and what you thought about today’s card.
Thank you for visiting and I hope you come back soon!
Happy Stamping and God Bless!!
Jeannie
