I want to start out by thanking everyone for the support and nice comments you all leave for me. I truly appreciate the support of this blog!! I enjoy card making and bringing my creations to you, this wouldn’t be possible without your support, so again, thank you!! *Affiliate links are used at no additional cost to you. When you purchase products through my links I receive a small commission from these sales, which helps me to purchase new products for the cards I share on my blog. Thank you so much for your support, it is greatly appreciated!! Don’t forget to check out my previous blog for MANY more card projects! You can find them HERE.
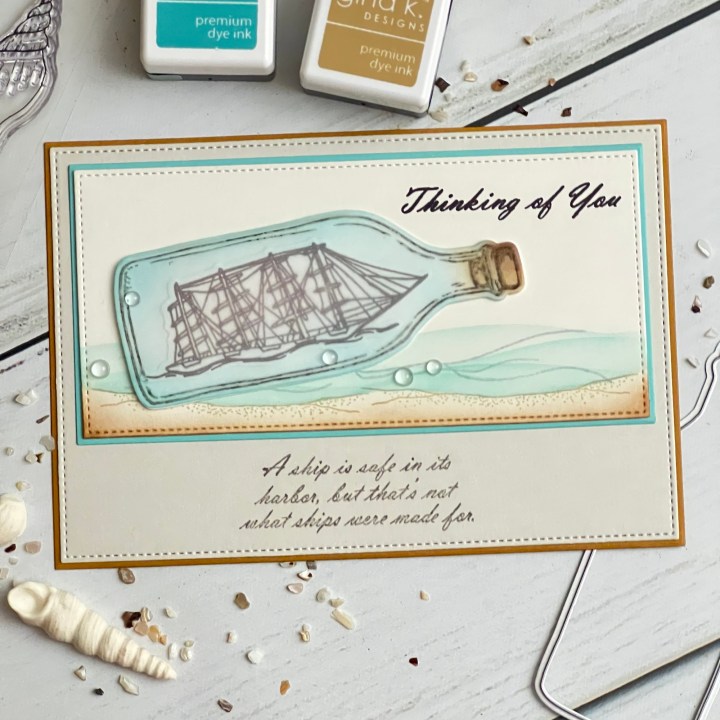
Tonight, Gina K Designs July release goes live at 7:00 PM CST on her website! New products can also be found HERE. You can head over to Gina’s YouTube channel to watch the live presentation with lots of card samples and fun! Gina has lots of fun new products for us, including a brand new kit! All of the contents from her kit back in May will now be available for purchase, individually. The value of Gina’s kits are incredible at $59.95, and are packed with so many fun products that coordinate together! Included in this release is a new stencil product, called Stencil Builders, that are used in a Wreath Builder. I am so excited to see how this new product works! For those that own the Intri-Cut Die Cut Machine, there is now a Magnetic Platform Set available in tonight’s release. With today’s card, I will be using a stamp set Illustrated by Melanie Muenchinger called Message In A Bottle. This is a fun set with many versatile options to use with the large bottle image to create your own, “message in a bottle.” All of the stamps, dies, cardstock and inks I use on today’s project are from Gina K Designs. Let’s get started!!

I will be doing all of my work today on my Tim Holtz Glass Media Mat.
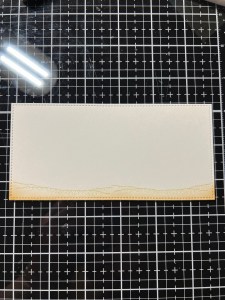
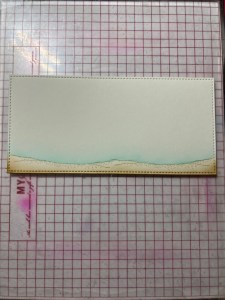
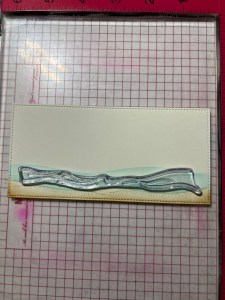
To start, I take the large stitched rectangle from Master Layouts 7 Die Set and cut out of Ivory Cardstock, running them through my Platinum 6 Die Cut Machine. I then place the panel onto my Grip Mat that I have in my MISTI Stamp Positioner and position the shore image from the Message In A Bottle Stamp Set along the bottom left. I pick up the stamp with the door of my MISTI and stamp it onto the panel using Kraft Ink. I clean off the stamp and move it to the right side of the panel and repeat the stamping.


I now want to add some shading to the sand. Using my Mini Blending Brush, I blend Kraft Ink over the entire area of stamped sand. I then blend Warm Cocoa Ink around the bottom edges of the panel.
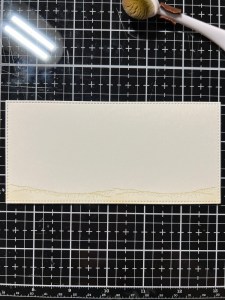
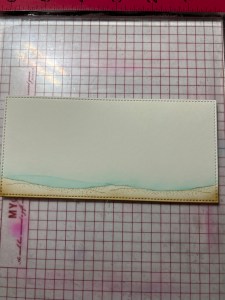
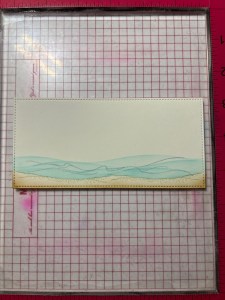
To add color for the water, I take the Sea, Sun And Sky Stencil and flip it upside down to line up the wave edges along the edges of sand then take my Mini Blending Brush and blend Sea Glass Ink over small sections of the stencil at a time in order to fit the curves as best as I can. ***I like to do my stenciling over my Grip Mat as it not only holds my cardstock down, it also holds the stencil firmly into place.

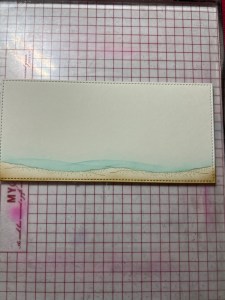
Now it’s time to add some waves for the water. I flip the stencil back around and use my Mini lending Brush to blend Sea Glass Ink lightly over the stencil, again in smaller sections at a time. I continue blending different sections of the wave edge of the stencil, overlapping here and there until I have a few layers of waves.

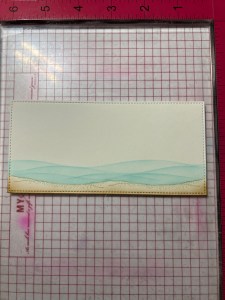
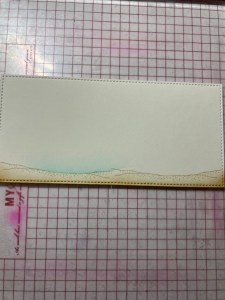
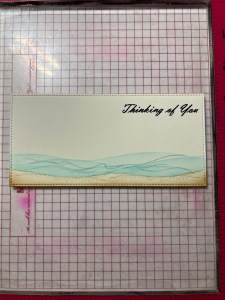
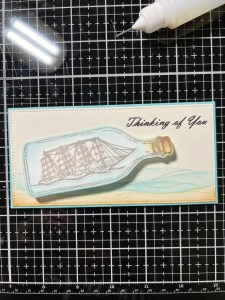
To add a little detail and contrast to my waves, I take the wave image from the Message In A Bottle Stamp Set and stamp it over the blended waves using Soft Stone Ink. Next, I choose a greeting from the same Message In A Bottle Stamp Set and stamp it onto the top right portion of my panel, using Black Onyx Ink.

Using the largest layering rectangle from Master Layouts 7 Die Set I cut out of Sea Glass Cardstock, running them through my P6. I then use Liquid Glue to layer the two panels together.


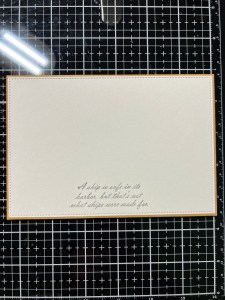
To create a base panel, I use the large stitched rectangle from Master Layouts 8 Die Set and cut out of Whisper Cardstock, running them through my P6. I then place the panel into my MISTI and temporarily place my blended panel over it so I can figure out where to stamp my sentiment. I choose a sentiment from the Message In A Bottle Stamp Set and line it up. I then pick up the stamp with the door of my MISTI, remove the blended panel then stamp the sentiment using Stormy Sky Ink.

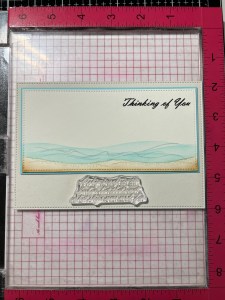

Using the largest layering die from Master Layouts 8 Die Set I cut out of Honey Mustard Cardstock, running them through my P6. I then adhere the two panels together using Liquid Glue.

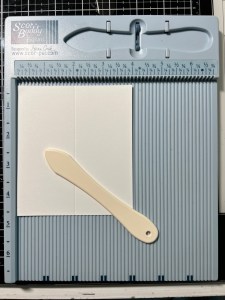
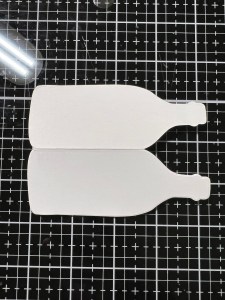
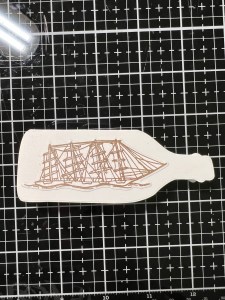
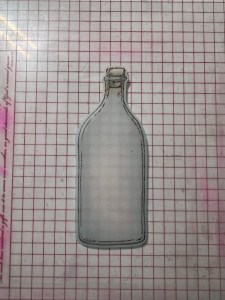
Now it’s time to create the fun element… the folding bottle card! I take a 4″ x 5 1/2″ piece of White Cardstock and score it at 2″ using my Scor Buddy. I then take the bottle die from the Message In A Bottle Die Set and line it up over my folded cardstock so that the cutting edge of the die overhangs the fold. I run them through my P6 and now have a bottle shaped folding card!


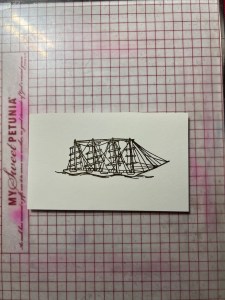
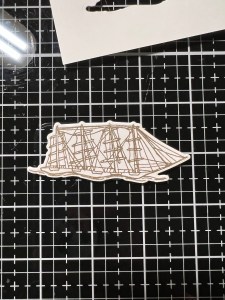
To create an element for the inside of my bottle, I stamp the ship image from the Message In A Bottle Stamp Set onto White Cardstock using Dark Chocolate Ink. I then take the coordinating die from the Message In A Bottle Die Set to cut out my image, running them through my P6. Using Liquid Glue I adhere the ship to my bottle card.


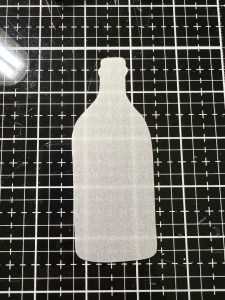
I now want to create and overlay with some detail for my bottle. I take the bottle die from the Message In A Bottle Die Set and cut out of Vellum, running them through my P6. To add some color to my vellum piece, I start by using my Mini Blending Brush to blend Sea Glass Ink onto the back side of the vellum, around the perimeter, leaving the center white. I then blend Turquoise Sea Ink around the edges for extra shading. For the cork, I blend Kraft Ink to add some color.


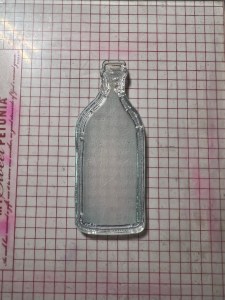
Next, I place the die cut vellum piece onto my Grip Mat to hold it in place then line up the bottle stamp from the Message In A Bottle Stamp Set and stamp it using Amalgam Obsidian Black Ink. To heat set the ink, I use my Heat It Tool until the ink is dry. To darken the color on the cork, I blend Warm Cocoa Ink to the backside of the piece. Using my Fine Tip Glue Bottle filled with Liquid Glue, I run a very thin line on the back of the Vellum piece, between the stamped lines. I then place it onto my folded card, lining it up and placing a block over the top to hold it down while the glue sets.


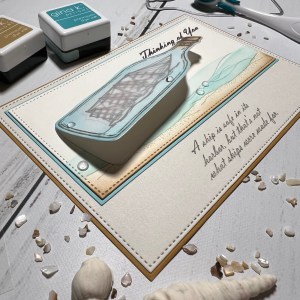
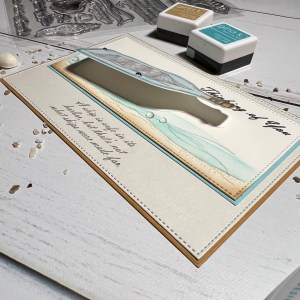
Now it’s time to assemble all of the pieces! Using Liquid Glue, I adhere the bottle card onto my blended panel at an angle. I then mount that panel onto my large panel, centering it above the sentiment.

Using my Pick & Stick Tool, I add some Dew Drops to replicate water droplets using Liquid Glue and this completes my card.

This was a fun card to put together. I could have stopped at the mini slimline size panel and made it into a card base with just the bottle image, however, I thought the sentiment went so well with the ship image that I wanted to put them together and there wasn’t enough space for both. That’s when I thought of the idea to make it into a 5 x 7 panel and create a fun, unexpected element… the mini folded bottle card where my message could be written for the recipient! Don’t forget to check out the rest of the release, there’s lots of fun, new products and I can’t wait to get my hands on some! I’m really looking forward to the incentive set (***when you purchase $75.00 of product, before any discounts or tax you will receive the incentive set for free, along with free shipping) where you stamp all of the sentiments at once. You can then purchase the coordinating die that will cut all of these sentiments out at once or you can trim them down with a paper trimmer. Gina plans on adding more sentiments that will coordinate with the same die, making it so versatile! If you can’t catch Gina’s live presentation, you can always watch it on replay on her YouTube channel.
If this is your first time visiting my blog, welcome and I hope you return. If you are a returning visitor, thank you so much for your support!
If you would like to be notified by email each time I post a new project, there is an option to add your email (located at the top menu, or on the right side of my page) then hit the subscribe button. Should you have any questions or comments please leave them in the comments section. I’d love to hear from you and what you thought about today’s card.
Thank you for visiting and I hope you come back soon!
Happy Stamping and God Bless!!
Jeannie
