I want to start out by thanking everyone for the support and nice comments you all leave for me. I truly appreciate the support of this blog!! I enjoy card making and bringing my creations to you, this wouldn’t be possible without your support, so again, thank you!! *Affiliate links are used at no additional cost to you. When you purchase products through my links I receive a small commission from these sales, which helps me to purchase new products for the cards I share on my blog. Thank you so much for your support, it is greatly appreciated!! Don’t forget to check out my previous blog for MANY more card projects! You can find them HERE.
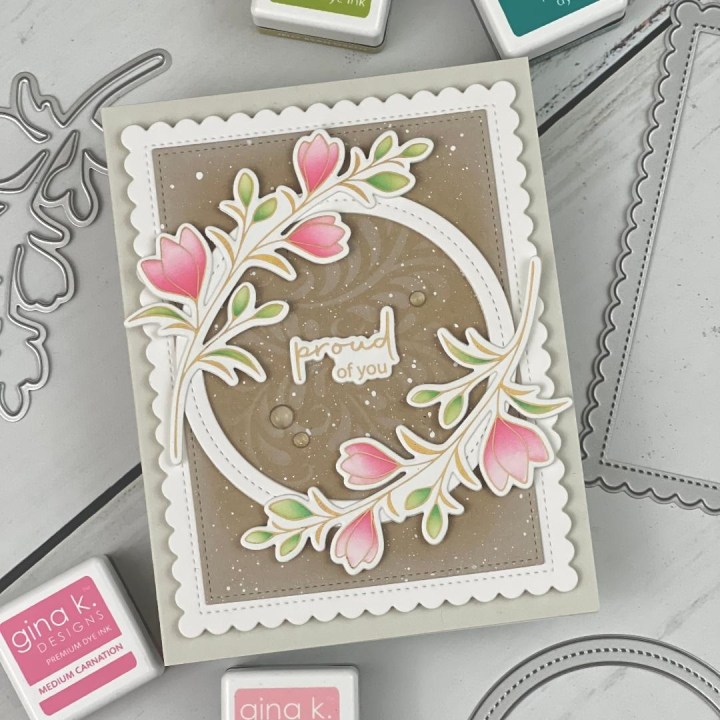
Today, I have a card made with the Delicate Flowers Bundle and coordinating Poly Glaze. This set was previously sold in a kit but is now available for individual purchase. There is a stamp and die bundle, as well as stencils and coordinating Poly Glaze Sheets for additional purchase. I will be using the Poly Glaze sheets for foiling and use the stencils for my color shading. I love how Gina has been releasing these components to coordinate with each other. The images can be colored using many different mediums, but today, I will show how the stencils can easily be used for quick coloring and shading. **There is another set called Wishful Florals that is part of Gina’s current July card kit and includes the stamps, dies and stencils, as well as another 6 x 8 stamp set will coordinating dies!! This jam packed kit sells for only $59.95! Once this kit is sold out or split up (when a new kit is released) the stamp & die bundle and the stencils alone will cost around $62.00!! I just feel the need to share this comparison for those that are on the fence whether or not to purchase the kit. Especially those who only want a couple of things out of the kit and wait until the components are split up. Do the math and see if those components you want are cheaper to purchase the kit. Ok, on to today’s card! All of the images, dies, inks, and cardstock I use are from Gina K Designs. Let’s get started!!

I will be doing all of my work today on my Tim Holtz Glass Media Mat.
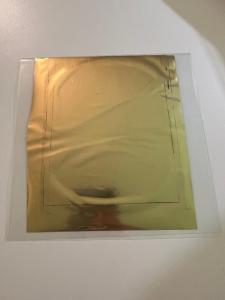
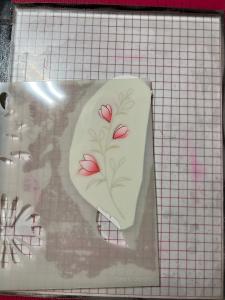
To start, I trim out some elements from my Delicate Flowers Poly Glaze Sheet that I want to use on my card. I then trim a piece of Gold Foil using my Guillotine Paper Trimmer big enough to cover my images. I heat up my Fuse Foiling System to heat level 3. While my machine is preheating, I take a Swiffer Cloth to dust off my images and the back side of my foil piece to prep them for foiling. Once my machine is heated up, I place my images in the Carrier Sheet and place the Gold Foil over the top, making sure all images are covered. I close the Carrier Sheet then run it, folded side first through my Fuse. I give my pieces about a minute to cool down before peeling the foil off, revealing the beautiful shine!!

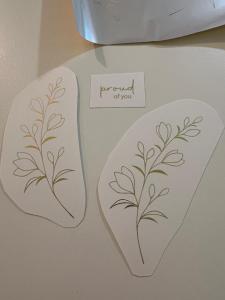
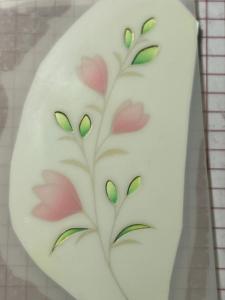
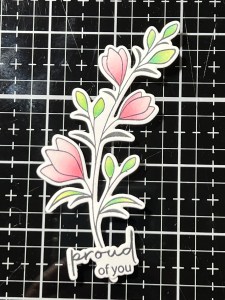
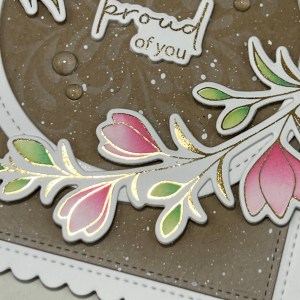
Next, I place my first foiled piece onto my Grip Mat that I have in my MISTI Stamp Positioner then I line up and place stencil #1 from the Delicate Flowers Stencil Set over my foiled image and press the stencil over my Grip Mat to hold into place. Using my Mini Blending Brush, I blend Light Carnation Ink over the top of the stencil. Leaving the stencil still in place, I blend Medium Carnation Ink over just the base of the flowers, blending it out a bit into the previous color. I remove the stencil and now have a soft gradient ink blend on my flowers.
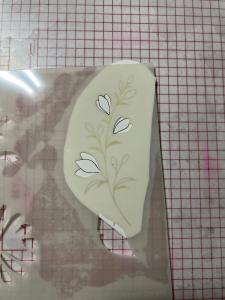
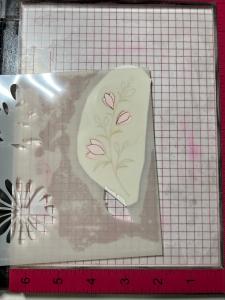

Using the #2 stencil from the same Delicate Flowers Stencil Set, I place the stencil over my foiled image and use my Mini Ink Blending Brush and blend Jelly Bean Green Ink over the stencil, onto the leaves. Leaving the stencil in place, I use my Detail Blending Brush to blend Turquoise Sea Ink to the very base of the leaves, blending out a bit into the previous color. I remove the stencil and now have my foiled image ink blend complete. I repeat the same process for my second foiled image.


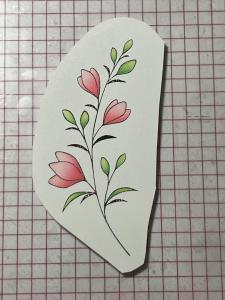
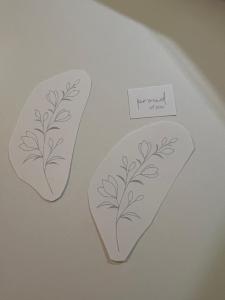
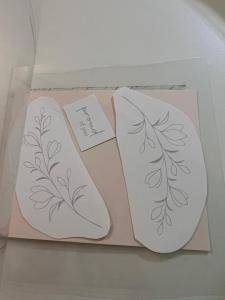
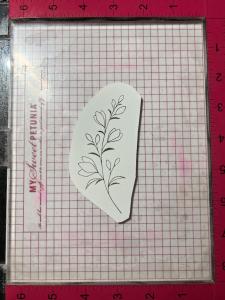
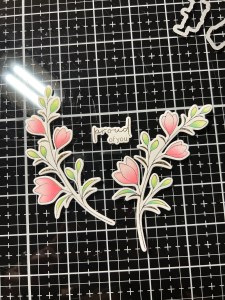
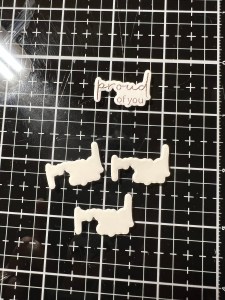
Using the coordinating dies from the Delicate Flowers Die Set, I cut out my two foiled flower pieces and the sentiment, running them through my Platinum 6 Die Cut Machine. ***In the second photo I wanted to show what the images look like using the stamp set from the Delicate Flowers Stamp Set & Die Bundle and black ink, if you didn’t want to foil the images. Both, give beautiful results!
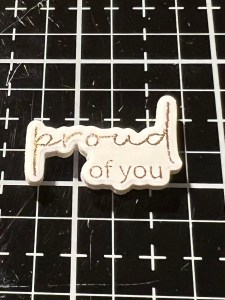
Using the same sentiment and flower dies from the Delicate Flowers Die Set, I cut out of White Cardstock, three times for the sentiment and two times for both of the flowers, running them through my P6. I then use Liquid Glue to stack and adhere them together. *Stacking die cut pieces not only adds dimension to the images but also adds stability, making the pieces more sturdy and less floppy.


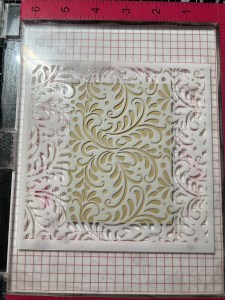
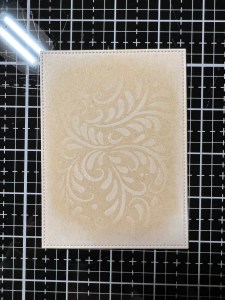
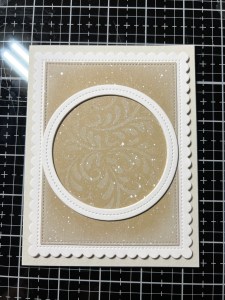
Next, I take the stitched rectangle from Master Layouts 5 Die Set and cut out of Kraft Cardstock, running them through my P6. I then place the panel onto my Grip Mat and place the Harvest Flourish Stencil over it and use my Blending Brush to lightly blend White Pigment Ink over the center of the stencil. I lighten my blend around the edges to make the image fade out. For added softness, I blend the White Pigment Ink around the edges of the panel. ***FYI, I do dedicate one of my blending brushes to be used for my white pigment ink so I don’t cross contaminate the pigment ink into my dye inks.


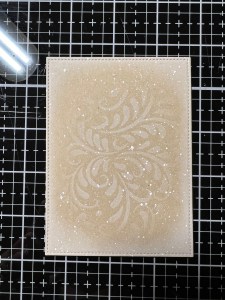
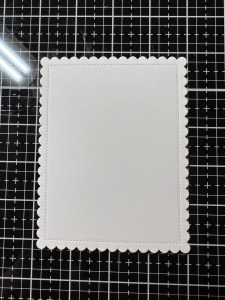
To add a little interest, I take a small paintbrush and spatter White Distress Paint onto the panel and give it several minutes to dry. Taking the scallop die from the Master Layouts 4 Die Set, I cut out of White Cardstock, running them through my P6. Using Liquid Glue, I adhere the two panels together.


For added dimension and separation between my panels and card base, I add Foam Tape to the back of my panel then adhere it to a Whisper Cardstock card base.


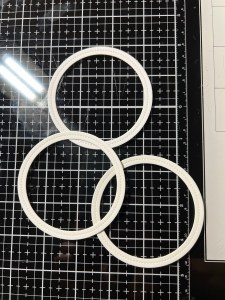
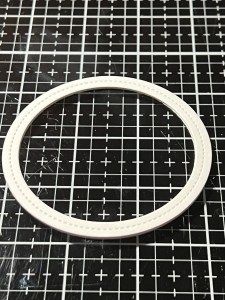
To create my focal image, I start by cutting out of White Cardstock using the Circle Shadow Shaker Die, running them through my P6. Using Liquid Glue I stack and adhere the circle die cuts together, then glue them onto the center of my panel.
I now add Liquid Glue to the back of my flower die cuts and adhere them over the top left and bottom right sides of the circle die. I then mount my sentiment to the center, also using Liquid Glue.

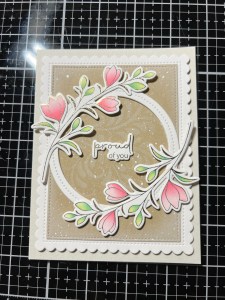
Using my Pick & Stick Tool, I add a few Dew Drops with Liquid Glue and this completes my card.

I hope you enjoyed today’s card. I absolutely love this Delicate Flowers stamp and die bundle! I love that there is also the option to foil, with the purchase of coordinating Poly Glaze sheets to give that extra elegant look. Whether you choose to go with the stamped images, or the Poly Glaze images, both are perfect for any kind of coloring medium, or you have the option to get the coloring done easily and effortlessly as I did and purchase the coordinating stencils. I love that Gina is coming out with these types of sets and also has a new one out called, Wishful Florals that is part of the current kit. If you haven’t already checked out Gina’s July release, you can find the items HERE.
If this is your first time visiting my blog, welcome and I hope you return. If you are a returning visitor, thank you so much for your support!
If you would like to be notified by email each time I post a new project, there is an option to add your email (located at the top menu, or on the right side of my page) then hit the subscribe button. Should you have any questions or comments please leave them in the comments section. I’d love to hear from you and what you thought about today’s card.
Thank you for visiting and I hope you come back soon!
Happy Stamping and God Bless!!
Jeannie
