
I want to start out by thanking everyone for the support and nice comments you all leave for me. I truly appreciate the support of this blog!! I enjoy card making and bringing my creations to you, this wouldn’t be possible without your support, so again, thank you!! *Affiliate links are used at no additional cost to you. When you purchase products through my links I receive a small commission from these sales, which helps me to purchase new products for the cards I share on my blog. Thank you so much for your support, it is greatly appreciated!! Don’t forget to check out my previous blog for MANY more card projects! You can find them HERE.
Welcome to my blog, thank you for being here!! Today is release day over at Gina K Designs! September’s release is all about the holidays!! This is my favorite release of the year! I love that Gina releases her Christmas products early so that we can get a jump start on our cards, as we all know how busy the holidays can become. Included in this release is a brand new kit! These kits are an incredible value in price and Gina always packs them full of so many fun products, including coordinating dies. Be sure to check out the kit and the entire release, which can be found HERE. Gina’s live presentation of the new products starts tonight, at 6:30 PM CST. (*Note, this is an earlier start time than normal for this month) Today, I have a card made using the Pretty Packages stamp bundle, illustrated by Melanie Muenchinger for Gina’s release. This set is jam packed full of different elements to decorate either a gift bag or present (as I have created). There are several greetings in this set, including vertical orientations!! This set is not only for the holidays, it can be used for any celebratory occasion. I chose to create a present for the focal image of my card then foiled a Poly Glaze background panel to step it up a bit. All of the stamps, dies, inks, cardstock and embellishments I use on today’s card are from Gina K Designs. Let’s get started!!

I will be doing all of my work today on my Tim Holtz Glass Media Mat.
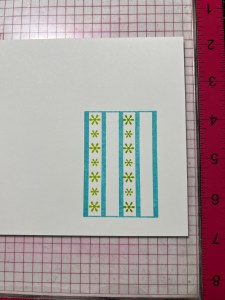
I start my card with placing a piece of White Cardstock into my MISTI Stamp Positioner then place an image from the Pretty Packages Stamp Bundle onto the cardstock and stamp it using Turquoise Sea Ink. I then choose one of the filler images (which would also be great for creating borders) and place it over the first open area of my stamped image then stamp it using Key Lime Ink.


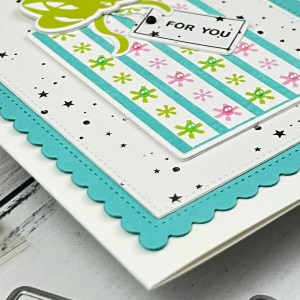
I then clean off my stamp and place it over the third open area of my stamped image, and again stamp it using Key Lime Ink. Using the same process, I clean the stamp and place over the second then fourth open areas of my stamped image, using Bubble Gum Pink Ink.


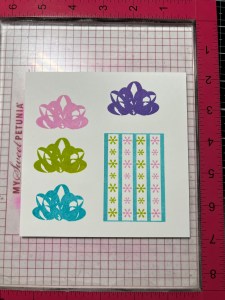
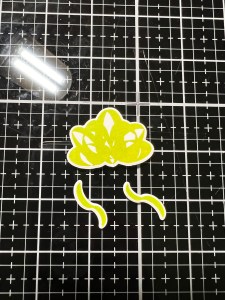
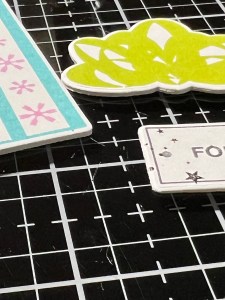
Next, I choose the large bow image from the same Pretty Packages Stamp Bundle and stamp it onto my cardstock. I’m not sure which color I want to use for the bow so I stamp a few images using Wild Lilac Ink, Bubble Gum Pink Ink, Key Lime Ink and Turquoise Sea Ink. Taking the coordinating dies from the Pretty Packages Stamp Bundle, I cut out my images, running them through my Platinum 6 Die Cut Machine then set them aside while I work on my background.


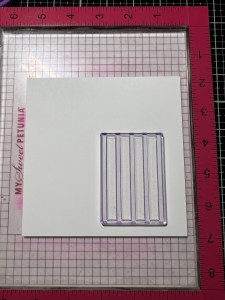
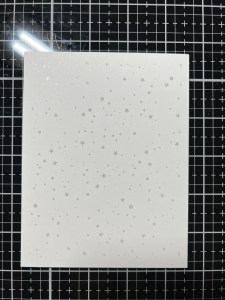
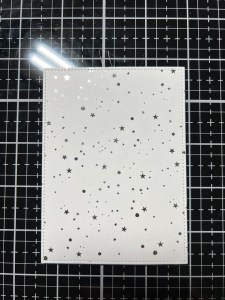
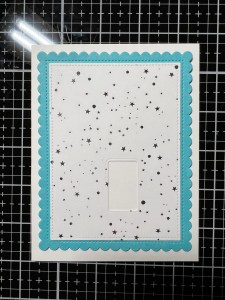
To create a sparkly element for my card, I take a panel of Flurries Poly Glaze. I also cut a piece of Sterling Foil a little bigger than my panel to make sure it covers the entire image. I heat up my Fuse Foil Machine to a heat level of 3. Once the light stops flashing and turns green, I place my panel into the Carrier Sheet and place the foil over it, pretty side up. I close the Carrier Sheet and run them through my Fuse, folded side first. After running the panel through, I remove it from the Carrier Sheet and allow it to cool for a few seconds, then peel the foil to reveal and beautifully foiled panel. To trim my panel down and give it a stitched edge, I take the stitched large rectangle from the Master Layouts 5 Die Set and run them through my P6.

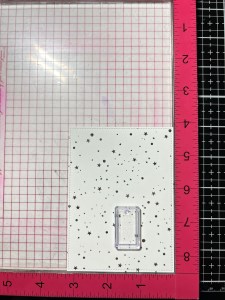
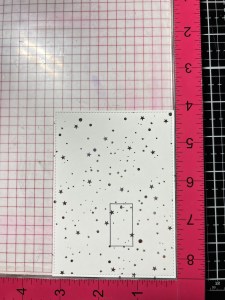
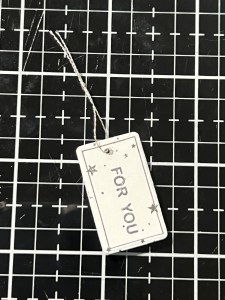
I want to have some sparkle on a tag for my image so rather than foiling another panel, I will just use the center area from my panel as this will be later covered up and no one will ever know! I place my panel back into my MISTI then take the tag image from the same Pretty Packages Stamp Bundle and position it over an area that isn’t too overly foiled. I then stamp it using Amalgam Obsidian Black Ink. I then take a small sentiment from the same set and again stamp it using Amalgam Obsidian Black Ink into the center of my previously stamped image.


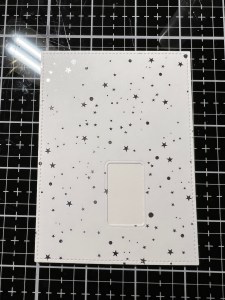
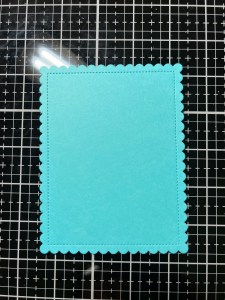
Taking the coordinating tag die from the same Pretty Packages Stamp Bundle, I cut out of my panel, running them through my P6. For a little added stability behind the open area I cut the tag from, I cut another rectangle from the same Master Layouts 5 Die Set and adhered it behind my foiled panel using Liquid Glue. Next, I take the scalloped die from the Master Layouts 4 Die Set and cut out of Turquoise Sea Cardstock, running them through my P6. Using Liquid Glue, I adhere the two panels together.


To help my scalloped panel stand out just a bit on my card base and without giving it too much dimension, I cut a 3 1/4″ x 4 1/2″ piece of White Cardstock using my Guillotine Paper Trimmer and adhere it to the back of my panel using Liquid Glue. I then adhere the panel onto a White Cardstock card base.

Going back to the previous stamped elements, I ended up going with the green bow, so I stamped and die cut out the tails for the bow as well. For some dimension, I cut out of White Cardstock multiple times then stacked and adhered them together and glued my stamped images on top using Liquid Glue. I like the added dimension that stacked die cuts give to a card and it helps the images to stand out from the background as well.
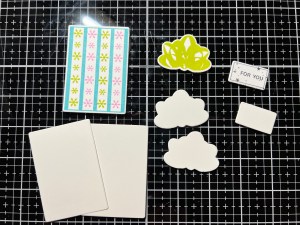
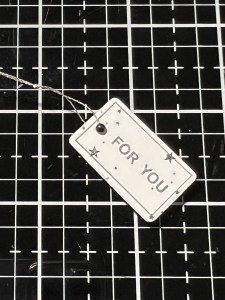
Now it’s time to assemble the elements. Using Liquid Glue I adhere the gift box to the front of my card, making sure it completely covers the area I previously die cut. I then take a tiny hole punch from my stash and punch a hole at the top of my tag then insert a thin silver thread through the hole and knot it. Using Liquid Glue, I add a small Black Pearl over the hole. After the glue sets I adhere the tag to the front of my package using Liquid Glue.

Next, I add a Foam Square to the top back of the bow die cut piece and Liquid Glue to the bottom back then adhere it onto the top of the package. Finally, I glue down the two bow tails under the bow.
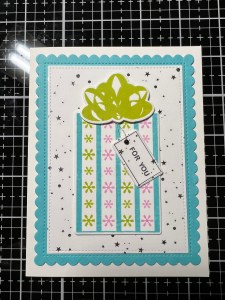
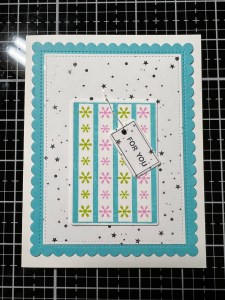
Using a Pick & Stick Tool I add Rainbow Pearls to some of the snowflakes on the package using Liquid Glue and this completes my card!

I hope you enjoyed today’s card! I used only a few images from this stamp set for my card, there are so many other elements to choose from to create packages, gift bags, borders… the possibilities are endless!! Be sure to check out Gina’s live starting at 6:30 PM CST tonight to see all of the products up close. Melanie will also be showing many, many examples using this Pretty Packages stamp set for lots more inspiration! Gina always has some of her illustrators on her live, showing theirs sets with so many examples. If you are unable to catch the live, you can always watch the replay on her YouTube channel!
If this is your first time visiting my blog, welcome and I hope you return. If you are a returning visitor, thank you so much for your support!
If you would like to be notified by email each time I post a new project, there is an option to add your email (located at the top menu, or on the right side of my page) then hit the subscribe button. Should you have any questions or comments please leave them in the comments section. I’d love to hear from you and what you thought about today’s card.
Thank you for visiting and I hope you come back soon!
Happy Stamping and God Bless!!
Jeannie
