I want to start out by thanking everyone for the support and nice comments you all leave for me. I truly appreciate the support of this blog!! I enjoy card making and bringing my creations to you, this wouldn’t be possible without your support, so again, thank you!! *Affiliate links are used at no additional cost to you. When you purchase products through my links I receive a small commission from these sales, which helps me to purchase new products for the cards I share on my blog. Thank you so much for your support, it is greatly appreciated!! Don’t forget to check out my previous blog for MANY more card projects! You can find them HERE.
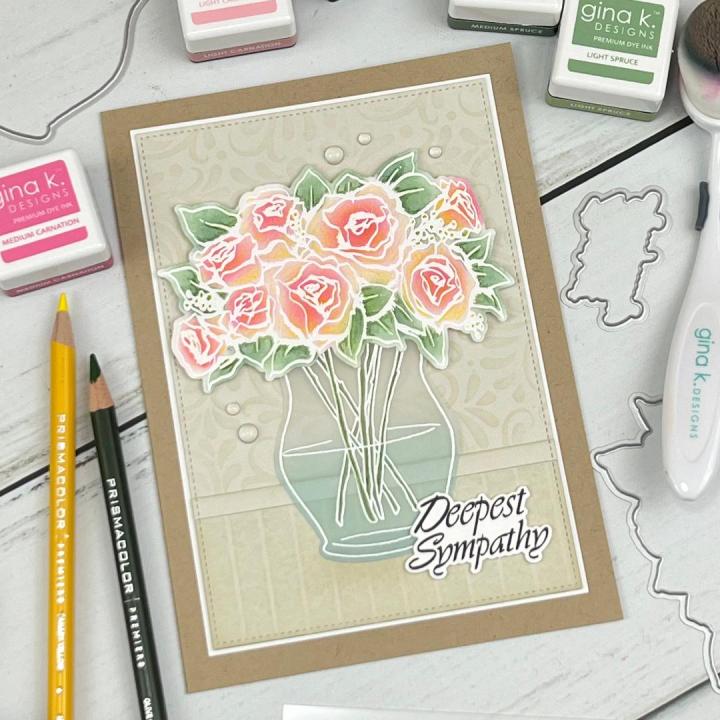
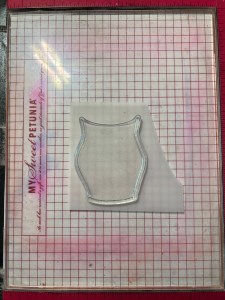
Can you believe it’s time for another Gina K Designs release!!? Available now is Gina’s April release and you can see all of the new products HERE. There will not be a new kit this release, but there is a new Master Layouts die set, as well as many stamps and bundles!! Gina will be showcasing all of the new products up close during her live at 7:00PM CST over on her YouTube channel and Facebook page. If you cannot make the live, you can always watch it on the replay on her YouTube channel. Today, I have a card using the new, Beautiful Roses Stamp & Die Bundle, illustrated by Melanie Muenchinger. I decided to use the full bouquet and large vase with some simple ink blending, I then added more depth using just one colored pencil on the roses and another on the stems and leaves. Amazing what a colored pencil over ink blending can do! Using my scoreboard, I created a textured area for my vase to sit then used a stencil to create a patterned backdrop. I love using stencils to ground my images! All of the stamps, dies, inks, cardstock and stencils are from Gina K Designs. Let’s get started!!

I will be doing all of my work today on my Glass Mat.
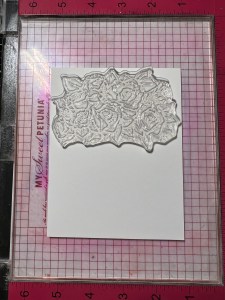
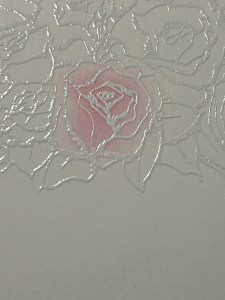
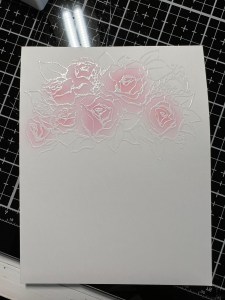
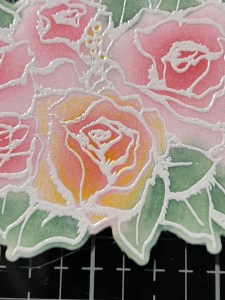
To start, I place a panel of White Cardstock onto my grip mat that I have in my MISTI Stamp Positioner and position the large floral stamp from the Beautiful Roses Bundle onto the panel. Next, I pick up the stamp with the door of my MISTI and prep my panel using a Anti Static Powder Bag. I then stamp the image using Versamark Ink, stamping it a couple of times to get good coverage then add White Embossing Powder and heat setting it using my Heat Tool. To color my images, I use my Mini Blending Brush and blend Light Carnation Ink over all of the rose images. I then use my Detail Blending Brush to blend Medium Carnation Ink over the centers of the roses.


Next, I use my Mini Blending Brush to blend Light Spruce Ink onto all of the leaves, then I use my Detail Blending Brush to blend Medium Spruce Ink towards to base of each leaf. Now that my images are colored, I use the coordinating die from the Beautiful Roses Bundle to cut out my image, running them through my Intri-Cut Die Cutting Machine.
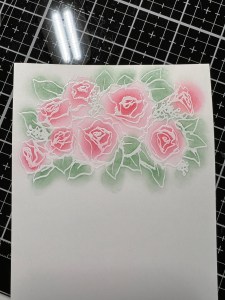

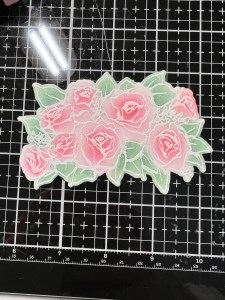
While I do love the carnation ink colors on these roses, I thought they could use a little depth and color variation. To add this, I took out my yellow PC916 Prismacolor Pencil and very lightly, shaded over all of the flowers. Where I wanted to color to be a bit more bold, I added a bit more pressure to my coloring. For the leaves, I added a bit of green PC911 Prismacolor Pencil around the base and veins.


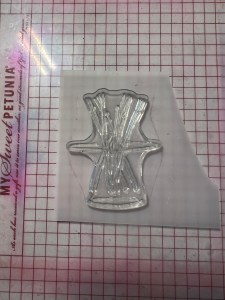
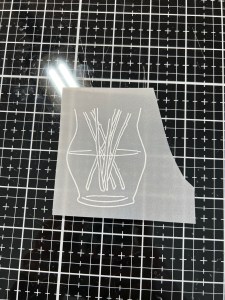
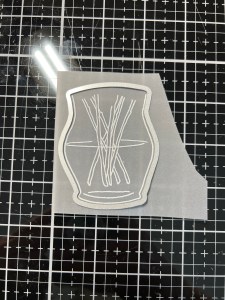
For the vase, I placed a piece of Vellum into my MISTI, positioned the image from the same Beautiful Roses Bundle, prepped the Vellum with my Anti Static Powder Bag then stamped the image using Versamark Ink. I then placed the stems image inside the previously stamped vase then added White Embossing Powder and heat set with my Heat Tool. Using the coordinating die from the same Beautiful Roses Bundle I cut the image out, running them through my Intri-Cut.

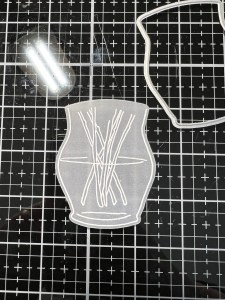
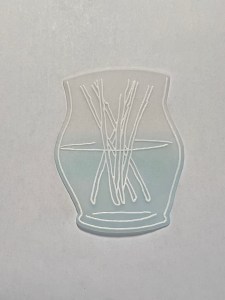
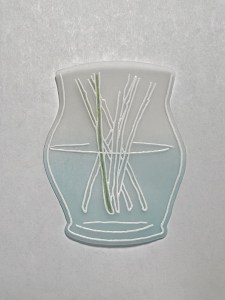
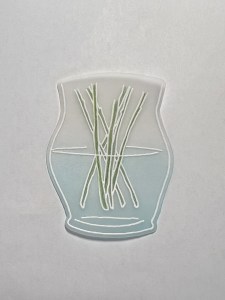
To color my vase, I turn the Vellum image over and use my Mini Blending Brush to blend some Turquoise Sea Ink onto the back side where the water image is. I then take my green PC911 Prismacolor Pencil and color in the stems. *keeping the pencil very sharp helps to stay within the narrow lines. Using Liquid Glue, I adhere the flowers onto the vellum vase and set it aside.

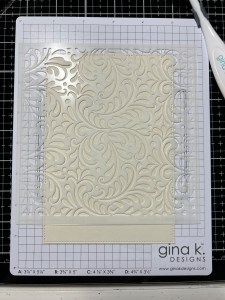
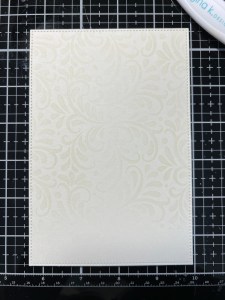
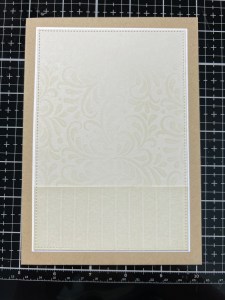
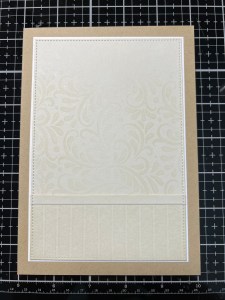
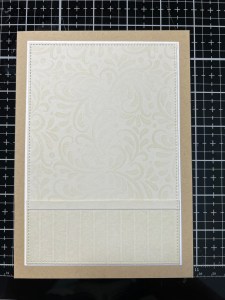
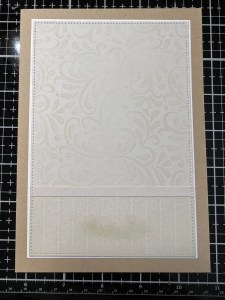
I now move on to my card base. Using the large stitched die from Master Layouts 8 Die Set, I cut out of Whisper Cardstock, running them through my Intri-Cut. I then place the panel onto my Sticky Mat and place the Harvest Flourish Stencil over the panel and press down on the edges of the stencil to adhere it onto the mat. Using my Blending Brush, I blend Whisper Ink over most of the panel, as the bottom portion will later be covered. ***you will notice later that I mounted my panel upside down onto the card base so that the unblended portion ends up on top… OOPS!!

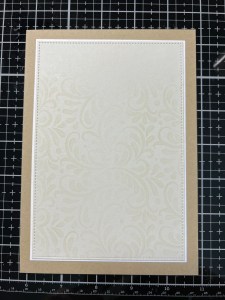
Next, I take the largest rectangle die from the same Master Layouts 8 Die Set and cut out of White Cardstock, running them through my Intri-Cut. Using Liquid Glue I adhere my blended panel onto the white one. For my card base, I cut a sheet of Kraft Cardstock to be 7″ x 10″ using my Guillotine Paper Trimmer. I then place the piece into my Scoreboard and score it at 5″ which creates a 5 x 7 card base. Using Liquid Glue, I adhere the panels onto the card base.


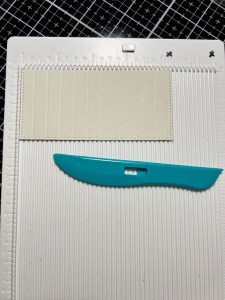
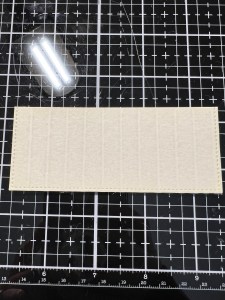
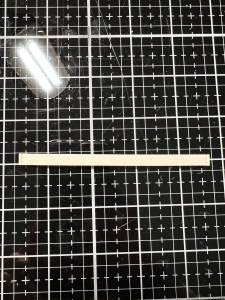
I now want something for my vase to sit on, so I used the same large stitched rectangle from Master Layouts 8 Die Set and cut out of Whisper Cardstock, then cut off a 1 3/4″ piece from that panel. To give it a planked, woodgrain look I placed the piece into my Scoreboard and scored it at every 3/8″. To add some color, I dragged my Whisper Ink Cube down the planks until I was happy with the color. To create a ledge, I trimmed off 1/4″ from the leftover panel where I cut the planked piece from.

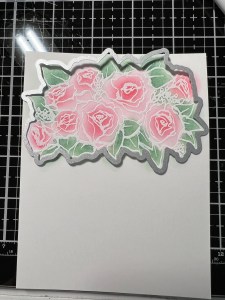
Using Liquid Glue, I start assembling my card. I first add the planked piece to the bottom, lining it up to the edges of the panel, then glue the ledge piece down. **At this point, I realized that I had my panel upside down, where there was no stenciling at the top! I placed some post it notes around the white mat areas so no ink would touch it, then added some stenciling to the bare top. Before adhering my vase to the card front, I used my Mini Blending Brush and blended some Whisper Ink to the area where the vase would be sitting to create some shadow. To adhere my floral arrangement, I add Foam Squares to the back of the flowers then add a fine line of Liquid Glue to the bottom of the vase and adhere the vase and flowers down.

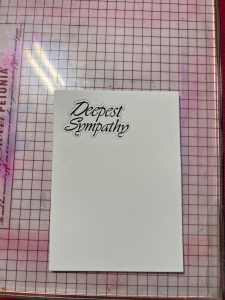
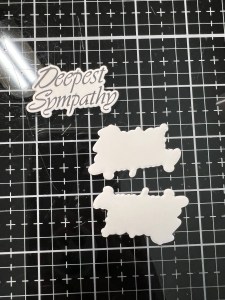
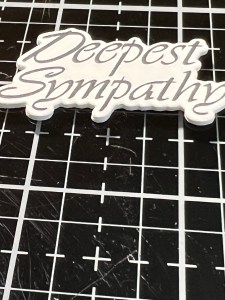
For my sentiment, I place a post it note into my MISTI then choose a sentiment from the Beautiful Roses Bundle and stamp it onto the post it note. I then take the coordinating die from the same Beautiful Roses Bundle and cut out of a piece of White Cardstock, running them through my Intri-Cut. Taking the negative piece, I line it up over the post it note so it is centered, then place my die cut piece back into the cut out over the stamped sentiment.
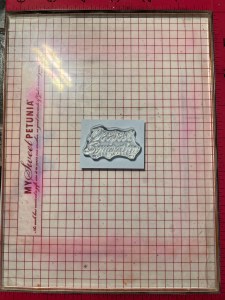
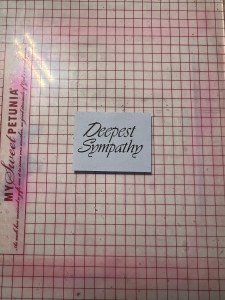
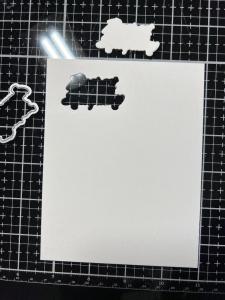
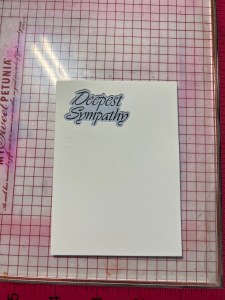
I ink up the stamp with Obsidian Black Ink and stamp it onto the die cut piece. I now have my sentiment stamped and centered onto my die cut. I cut an additional two pieces then stack and adhere them together using Liquid Glue then glue the sentiment onto the front of my card.


Using my Pick & Stick Tool, I add a few Dew Drops with Liquid Glue and this completes my card.
I hope you enjoyed today’s card and learned how easy it can be to color detailed images! This set would also be perfect for watercoloring or no line color… lot’s of possibilities!! Don’t forget to check out the full release and also, Gina’s live. She not only shows everything up close, there is lots of inspiration from the illustrators and Gina always has lots of tips! Can’t catch the live? You can always go to her YouTube channel and watch the replay!
If this is your first time visiting my blog, welcome and I hope you return. If you are a returning visitor, thank you so much for your support!
If you would like to be notified by email each time I post a new project, there is an option to add your email (located at the top menu, or on the right side of my page) then hit the subscribe button. Should you have any questions or comments please leave them in the comments section. I’d love to hear from you and what you thought about today’s card.
Thank you for visiting and I hope you come back soon!
Happy Stamping and God Bless!!
Jeannie
