
I want to start out by thanking everyone for the support and nice comments you all leave for me. I truly appreciate the support of this blog!! I enjoy card making and bringing my creations to you, this wouldn’t be possible without your support, so again, thank you!! *Affiliate links are used at no additional cost to you. When you purchase products through my links I receive a small commission from these sales, which helps me to purchase new products for the cards I share on my blog. Thank you so much for your support, it is greatly appreciated!! Don’t forget to check out my previous blog for MANY more card projects! You can find them HERE.
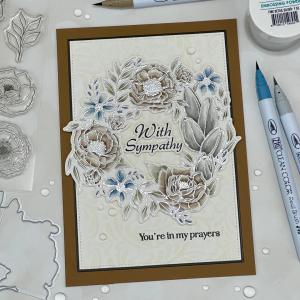
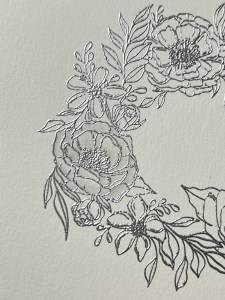
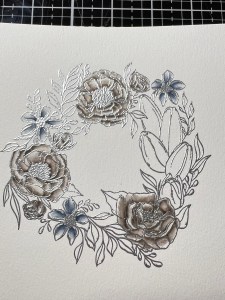
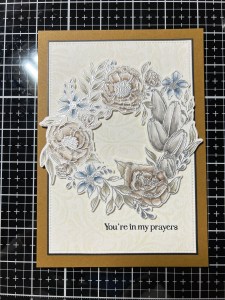
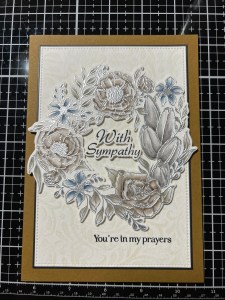
It’s time for another Gina K. Designs release!! The May release is now live, including a brand new kit and available for purchase, new items can be found HERE. Starting at 7:00 PM CST, Gina will be showcasing all of her new products close up over on her YouTube channel and Facebook page. She will be joined by some of the illustrators and there will be lots of samples and inspiration! If you are unable to catch the live, you can always watch the replay on Gina’s YouTube channel. Tonight, I have a card made with the Bouquet Frame Bundle, illustrated by Hannah Drapinski for Gian’s release. I decided to do some watercoloring using my Zig Clean Color Real Brush Markers. I chose to use gray tones for my coloring and love the muted softness these colors gave to the image. I created a 5 x 7 card to showcase the large, full image and loved the way it filled the panel and still left enough room for a stamped sentiment. This set is also filled with several greetings that fit in the center of the floral wreath and single flowers that can be popped up for some dimension. An all around great set… let’s get started!!
I will be doing all of my work today on my Tim Holtz Glass Media Mat.
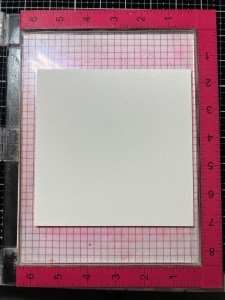
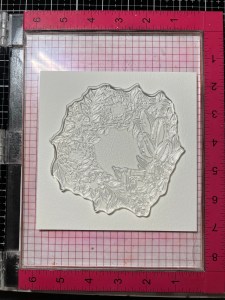
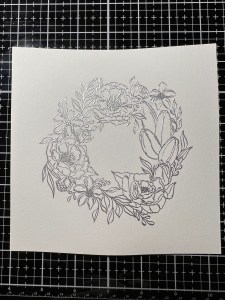
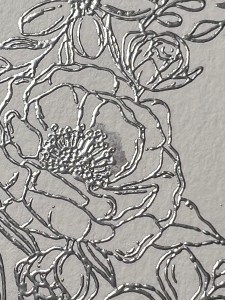
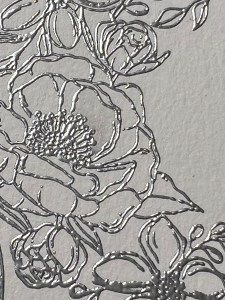
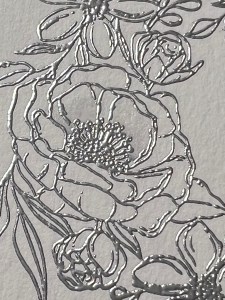
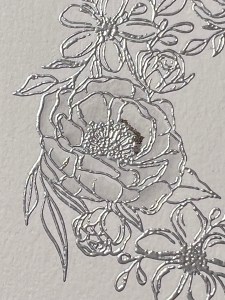
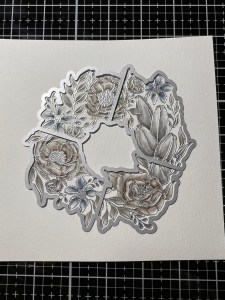
I start by placing a piece of Watercolor Cardstock onto a grip mat that I keep in my MISTI Stamp Positioner then place the large wreath image from the Bouquet Frame Bundle over the panel and pick it up with the door of my MISTI. I prep my cardstock with my Anti Static Powder then stamp the image using Versamark Ink. *With the texture of the cardstock, I end up stamping my image 2-3 times to get a good stamped image. I then add Silver Embossing Powder and heat set with my Heat Tool.
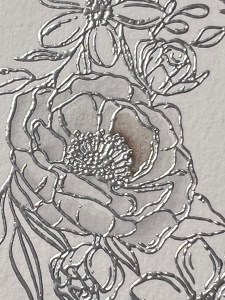
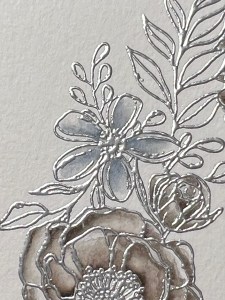
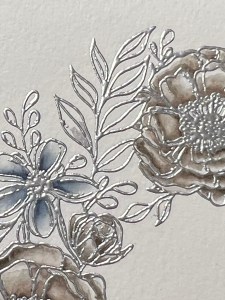
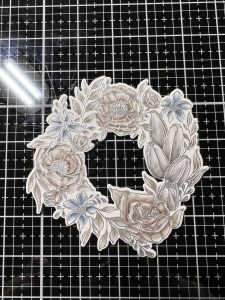
Now it’s time to color, I will be using Zig Clean Color Real Brush Markers for all of my coloring. Before choosing my colors, I like to scribble the colors and blend them out on the same cardstock I will be using so that I know how the colors will react with the water and look on my project. To give my first flower a base of color, I start by adding a small amount of Light Gray – 091 to the base of my first petal. I then take my Water Brush filled with clean water and pull the color out and blend so that it fades towards the end of the petal and repeat for the remaining petals. Though most of this color will be covered up by my next color, some areas will still show through. *During my coloring, if the bristles of the water brush become to dry, I gently squeeze the barrel to release more water. I the bristles become to wet, I blot the brush off onto a paper towel that I keep near by.


Next, I add a small amount of Gray Brown – 096 to the base of the petal and again, use my Water Brush to blend the color out. I repeat this for all remaining petals then go back and add another layer of ink to darken up the bases of the petals and areas where petals fold or overlap. I then repeat these steps for all remaining florals of this type, including the buds.


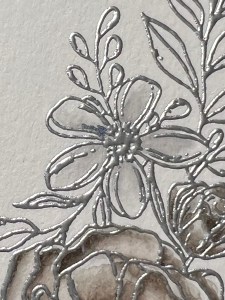
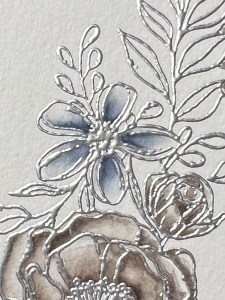
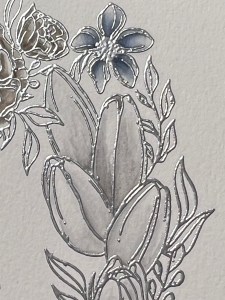
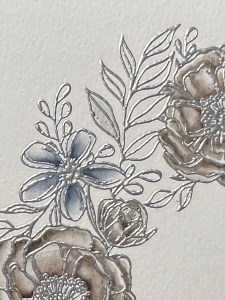
For the small flowers, I add Light Gray – 091 to the base of the petal then blend the color out using my Water Brush and repeat for the other petals.


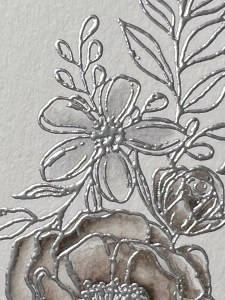
Now, I add Blue Gray – 092 to the base of the petal, blend it out then repeat for the other petals. To deepen the shade, I add another layer of color and blend out with my Water Brush and repeat for all of the other small flowers.

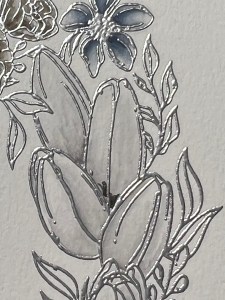
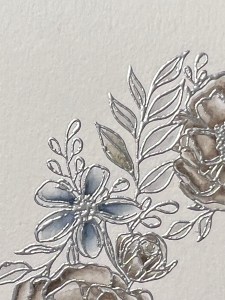
For the lilies, I add Mid Gray – 094 to the base of the petals then use my Water Brush to blend the color out toward the tips. I repeat this for the other four lilies. Next, I add Dark Gray – 095 to the base and blend the color out and repeat with the others. I then go back with and add another layer to darken up the color towards the bottom and also where petals overlap each other.

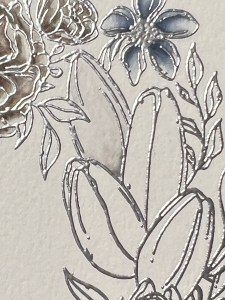
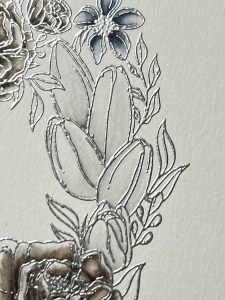
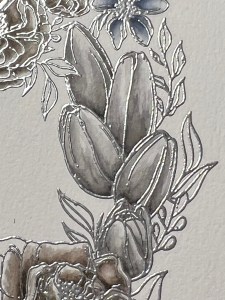

For my leaves, I add Light Gray – 091 to the base then blend out and repeat for the other leaves. I then add Green Gray – 093 to the base, blend out and repeat for all of the remaining leaves. For the remaining little buds or leaves I wanted to bring in more color as I felt there was enough grays and browns, so I just added Blue Gray – 092 and blended them.

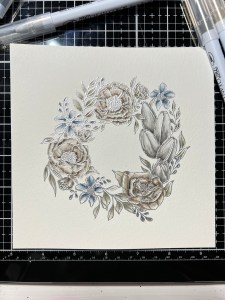
Now that my coloring is finished, I take the coordinating die from the Bouquet Frame Bundle and cut my image out, running them through my Intri-Cut Die Cut Machine then set it aside while I work on the rest of the card.
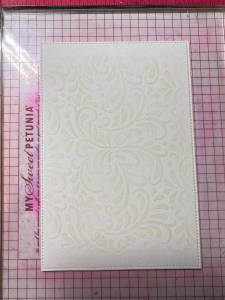
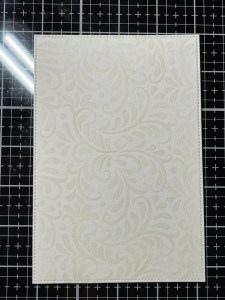
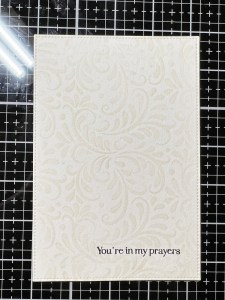
Taking the large stitched rectangle from my Master Layouts 8 Die Set, I cut out of the same Watercolor Cardstock, running them through my Intri-Cut. To add some texture to my backdrop, I place the panel onto my grip mat then place the my Harvest Flourish Stencil over the panel. Taking my Blending Brush, I blend Whisper Ink over the stencil, keeping the ink a little lighter towards the edges of the panel. Because my panel is bigger than the stencil, I move the stencil to the top and bottom and blend, filling in the empty spaces.


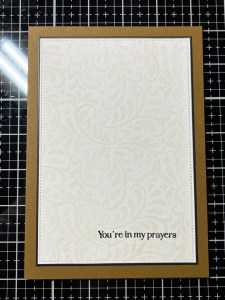
To figure out my sentiment placement, I place the panel back into my MISTI and position my wreath where I think I will want it, then choose a sentiment from the Spring Clusters Stamp Set and stamp it onto my panel using Amalgam Obsidian Black Ink. Next, I take the largest rectangle die from the same Master Layouts 8 Die Set and cut out of Black Cardstock, running them through my Intri-Cut. Using Liquid Glue, I adhere my panels together.
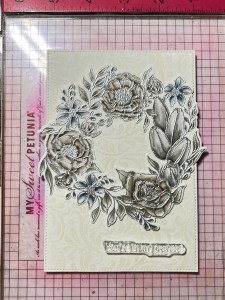


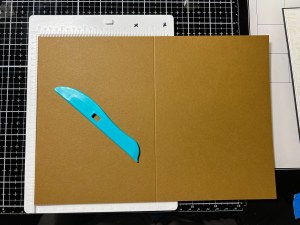
For my card base, I cut a 7″ x 10″ piece out of Warm Cocoa Cardstock using my Guillotine Paper Trimmer then score at 5″ using my Scoring Board, I now have a 5 x 7 card base. I then use Liquid Glue to adhere my panel onto the card base. To adhere my wreath onto the card front, I add Foam Tape to the back then mount it onto my panel.
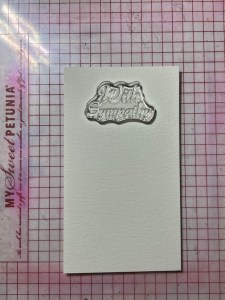
For my greeting, I choose one from the same Bouquet Frame Bundle and stamp it onto the same Watercolor Cardstock using Amalgam Obsidian Black Ink. I then take the coordinating die and cut my greeting out, running them through my Intri-Cut. I also use the same die to cut out of water color cardstock, three times. Using Liquid Glue, I stack and glue the three pieces together.


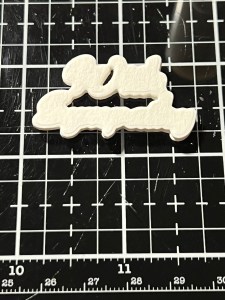
To adhere my greeting, I add Liquid Glue to the back of the stacked die cuts and glue it to the inside of my wreath, tucking the right corner under the leaf from the wreath. I then add Liquid Glue to the back of my greeting and adhere it over the stacked die cuts.
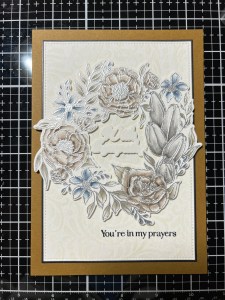
Using my Pick & Stick Tool I add some Dew Drops with Liquid Glue and this completes my card.
I hope you enjoyed today’s card and learned how easy it is to watercolor using Zig markers! I can’t wait to see the rest of Gina’s release, especially the new kit! Gina’s kits are always such an amazing value… there is even a masculine set in this month’s kit, something I’m always short on for the men in my life. I already know that I will be choosing the magnolia incentive stamp set and cannot wait to watercolor it!!
If this is your first time visiting my blog, welcome and I hope you return. If you are a returning visitor, thank you so much for your support!
If you would like to be notified by email each time I post a new project, there is an option to add your email (located at the top menu, or on the right side of my page) then hit the subscribe button. Should you have any questions or comments please leave them in the comments section. I’d love to hear from you and what you thought about today’s card.
Thank you for visiting and I hope you come back soon!
Happy Stamping and God Bless!!
Jeannie
