I want to start out by thanking everyone for the support and nice comments you all leave for me. I truly appreciate the support of this blog!! I enjoy card making and bringing my creations to you, this wouldn’t be possible without your support, so again, thank you!! *Affiliate links are used at no additional cost to you. When you purchase products through my links I receive a small commission from these sales, which helps me to purchase new products for the cards I share on my blog. Thank you so much for your support, it is greatly appreciated!! Don’t forget to check out my previous blog for MANY more card projects! You can find them HERE.
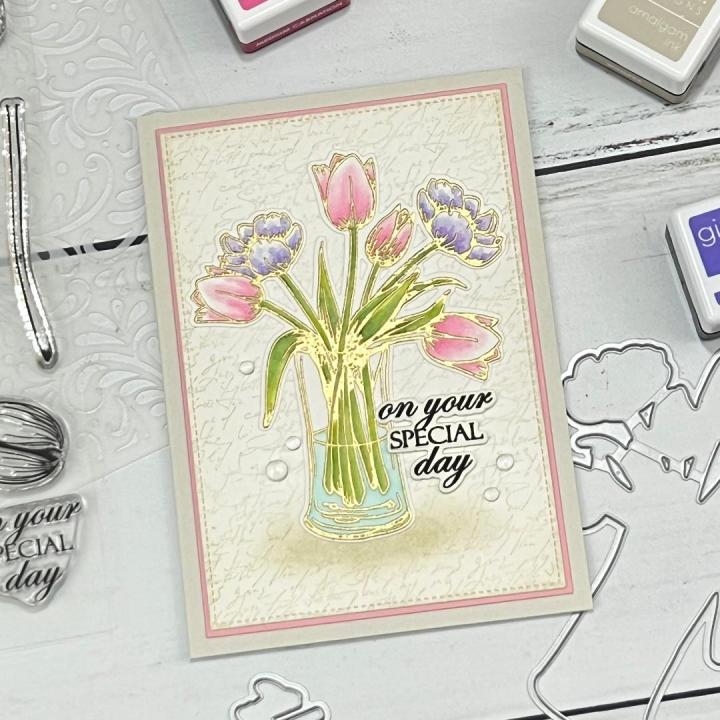
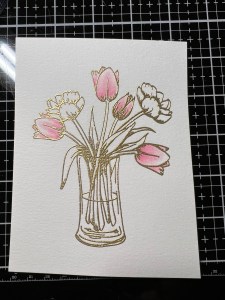
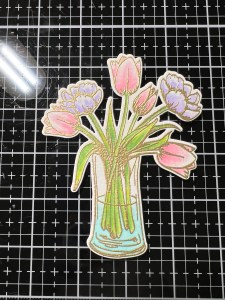
Welcome to another Gina K Designs release! Tonight, at 7:00 PM CST, Gina’s June release goes live! The new release can be found HERE. Tune into Gina’s live where she showcases, up close all of the new products and will be visiting with some of the illustrators who will have lots of inspiration and card samples. Also, in this release will be a brand new kit, filled with such amazing value for the purchase price and will also include a ($44.95 valued) free gift! Gina’s generosity to us is just amazing!! For this release, I am featuring a card made with the new Beautiful Tulips Stamp & Die Bundle, illustrated by Melanie Muenchinger. This set includes a large image of a vase filled with tulips as well as several different single blooms and leaves so that you can create your own bouquet or use to create beautiful backgrounds, stamp on envelopes, etc. I kept my card simple, by putting the focus on my stamped image, which I watercolored using Gina’s dye inks. I also used Master Layouts 17 to create an A6 size card, giving me more room to showcase this large image. All of the stamps, dies, stencil, inks and cardstock (except my watercolor cardstock) are from Gina K Designs. Let’s get started!!

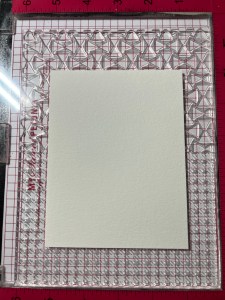
I will be doing all of my work today on my Tim Holtz Glass Mat.
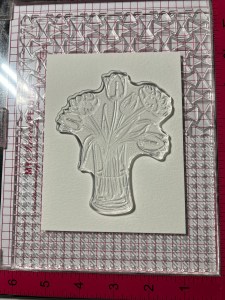
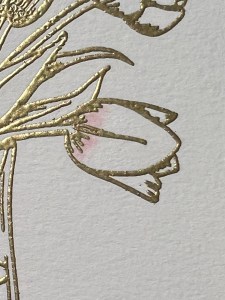
To start my project, I place a piece of Watercolor Cardstock onto the Grip Mat that I have in my MISTI Stamp Positioner. I then prep the cardstock with Anti Static Powder and stamp my large image from the Beautiful Tulips Stamp & Die Bundle, using Versamark Ink. I then remove the cardstock from my Grip Mat and add Gold Embossing Powder and heat set with my Heat Tool. ***I just purchased Gina’s Background 2/Grip Mat that I keep in my MISTI. I use the smooth flat side for holding down my cardstock securely, eliminating the need for magnets. The other side of the grip mat has two textured background designs that can be used to stamp beautiful backgrounds! I use this new grip mat for all of my stamping in my MISTI, and keep the old one for ink blending my panels, this avoids ink staining on the new one.
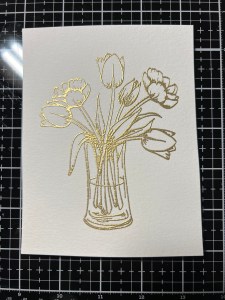
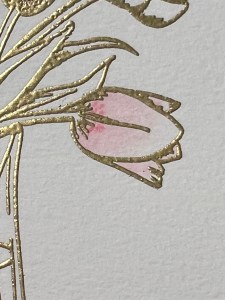
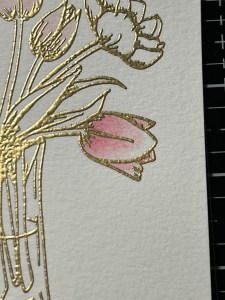
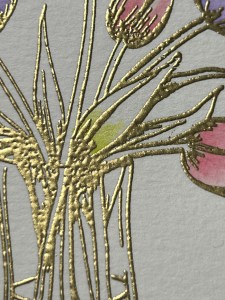
Now it’s time to color my image. I choose the color of inks I want to use and press them onto my Glass Mat, this will be used as my palette. Using a Water Brush filled with clean water, I squeeze the barrel to release just enough water to dampen the bristles. Next, I pick up Light Carnation Ink from my palette and add some color to the base of my first petal. I then wipe my brush onto a paper towel to remove the ink and go back to my image to blend the color out, towards the tip of the petal. I repeat this for the remaining petals on the flower, as well as the three flowers.
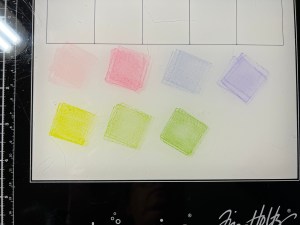
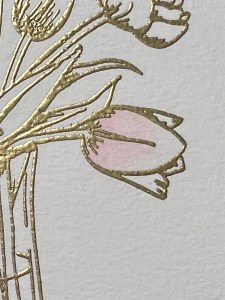
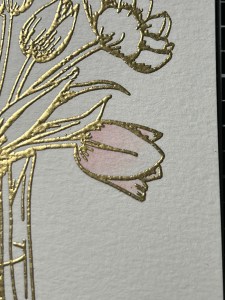

To add a darker layer of ink to these flowers, I pick up Medium Carnation Ink with my Water Brush and add it to the base of the petal. Again, I blend the color out just a bit, being careful not to fully cover my previous color. I want to add enough color to show some contrast between the to shades. I repeat this with the remaining petals, as well as the other three flowers.
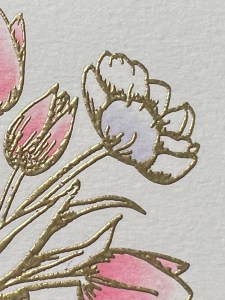
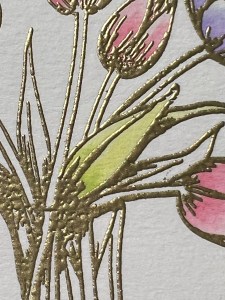
For the remaining flowers, I take my Water Brush and pick up Light Lilac Ink and add it to the base of the petal, then blend the color out, towards the tip of the petal. I repeat this with the other petals on this flower as well as the remaining flowers. To add a darker layer, I pick up and add Medium Lilac Ink to the base of the petal and blend it out a bit, being careful not to completely cover the previous color. I repeat this process with the remaining petals as well as the rest of the flowers.


For the leaves, I pick up Key Lime Ink with my Water Brush and apply it to the base then blend it out. I then add Grass Green Ink and blend it out, but not all the way to the tips. The shade I’m looking for isn’t quite dark enough, so I add a little Medium Spruce Ink and blend it out. I repeat these colors for the stems as well. For the water in the vase, I add Sea Glass Ink and blend it out. Now that my watercoloring is complete, I take the coordinating die from the same Beautiful Tulips Stamp & Die Bundle and cut out my image, running them through my Intri-Cut Die Cut Machine. *Some of the shading on the leaves and water ended up being a bit darker than I had wanted, so to fix this, I brushed a little clean water over the areas that were too dark and then lifted some color with a paper towel. This is a great way to remove some of the color for a softer look.

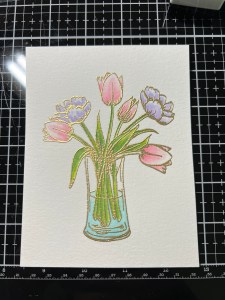
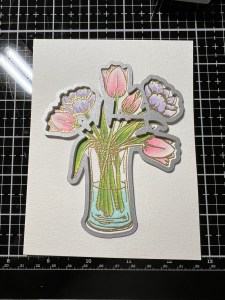
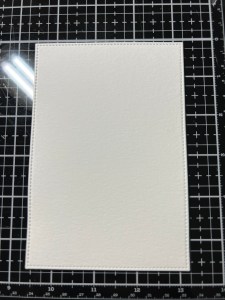
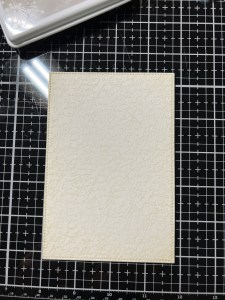
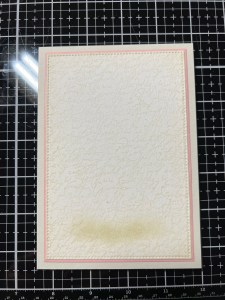
For my background, I take the large stitched rectangle die from the Master Layouts 17 Die Set and cut out of the same Watercolor Cardstock, running them through my Intri-Cut. To add a subtle design, I use Whisper Ink and stamp my panel with the Elegant Script Background Stamp. To give my panel a finished look, I blend the same Whisper Ink around the edges, using my Blending Brush. I want to add a grounding shadow for the vase of my image so I use my Mini Blending Brush to blend Whisper Ink just below where my image will sit.


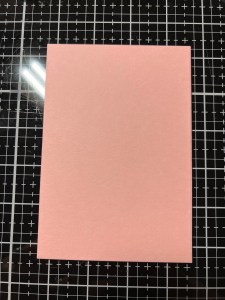
Next, I take the large rectangle die from the same Master Layouts 17 Die Set and cut out of Innocent Pink Cardstock, running them through my Intri-Cut. Using Liquid Glue I adhere my two panels together. For a card base, I cut a 6″ x 8 1/2″ piece out of Whisper Cardstock using my Guillotine Paper Trimmer and score it at 4 1/4″ with my Scoring Board. Using Liquid Glue, I adhere my panel onto the card base then mount my image just over the ink blended shadow.


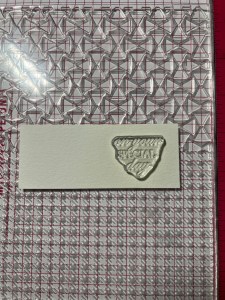
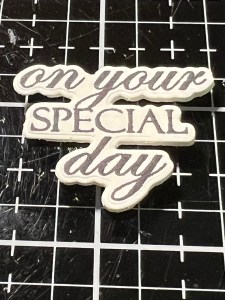
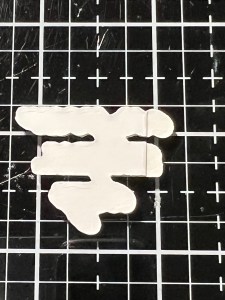
Now, it’s time to work on a greeting. I take a scrap piece of the same Watercolor Cardstock and lightly blend Whisper Ink where I will be stamping my greeting. I do this to dull down the stark white of the cardstock. I then place the cardstock into my MISTI and stamp a greeting from the Beautiful Tulips Stamp & Die Bundle using Amalgam Obsidian Black Ink. Taking the coordinating die from the same Beautiful Tulips Stamp & Die Bundle, I line up the die and run them through my Intri-Cut, I also cut two more times from the cardstock.
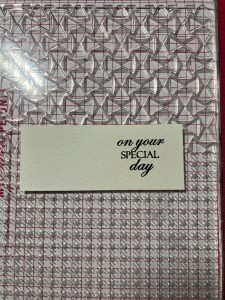
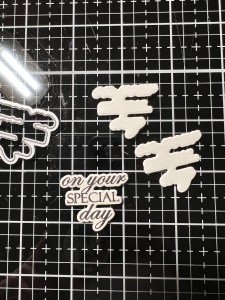
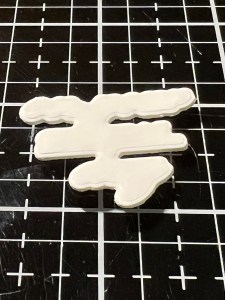
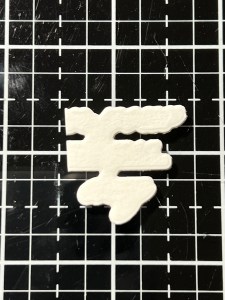
Using Liquid Glue I stack and adhere the two white die cuts together. Because my greeting will be overlapping my image, I cut off the left edge of the stacked die cuts then adhere the greeting on top, add Liquid Glue to the back and adhere the greeting onto my card front.
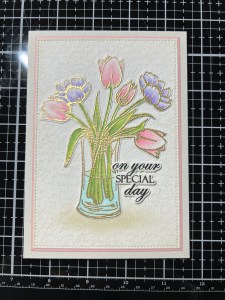
Using my Pick & Stick Tool I add some Dew Drops with Liquid Glue and this completes my card.
I hope you enjoyed today’s card. I love the ease of watercoloring with dye inks, especially onto an embossed image. Not only does the embossing make watercoloring easier, as it contains the color within the lines but it also gives a beautiful raised, metallic look. This set is also great for no line watercoloring and even tone on tone stamping, just an overall great set! If you are unable to catch Gina’s live, be sure to watch the replay over on her YouTube channel. Gina always puts on a great release and it’s filled with so much inspiration!
If this is your first time visiting my blog, welcome and I hope you return. If you are a returning visitor, thank you so much for your support!
If you would like to be notified by email each time I post a new project, there is an option to add your email (located at the top menu, or on the right side of my page) then hit the subscribe button. Should you have any questions or comments please leave them in the comments section. I’d love to hear from you and what you thought about today’s card.
Thank you for visiting and I hope you come back soon!
Happy Stamping and God Bless!!
Jeannie
