I want to start out by thanking everyone for the support and nice comments you all leave for me. I truly appreciate the support of this blog!! I enjoy card making and bringing my creations to you, this wouldn’t be possible without your support, so again, thank you!! *Affiliate links are used at no additional cost to you. When you purchase products through my links I receive a small commission from these sales, which helps me to purchase new products for the cards I share on my blog. Thank you so much for your support, it is greatly appreciated!! Don’t forget to check out my previous blog for MANY more card projects! You can find them HERE.
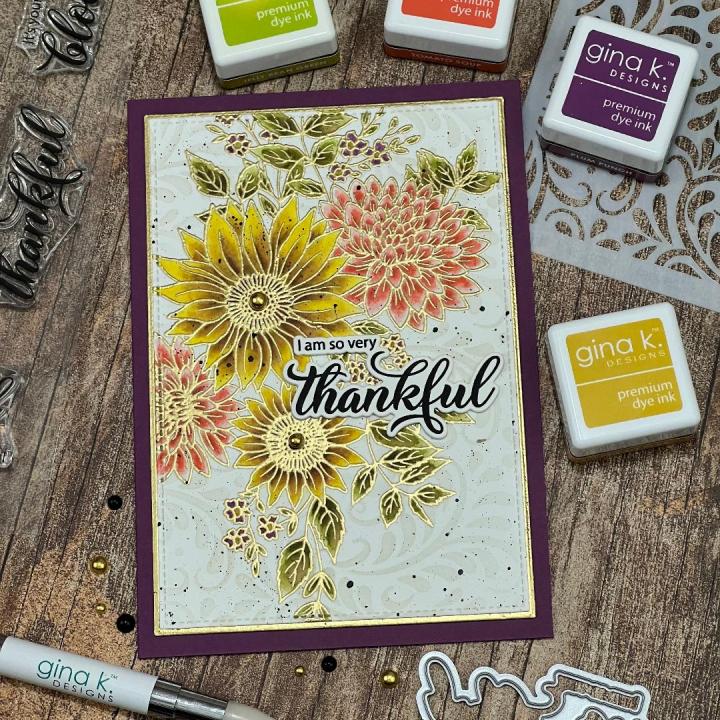
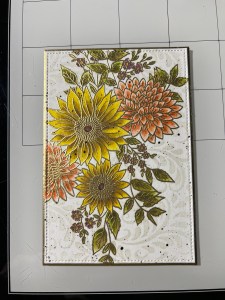
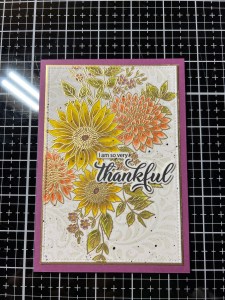
Welcome, and thank you for visiting my blog! Tonight, starting at 7:00PM CST, is the August release from Gina K Designs, filled with many fun products, including a brand new Kit! You can watch the release party live, on Gina’s YouTube channel and Facebook page. New products can also be found HERE. If you missed out on last month’s kit, those items are now available to purchase on their own. Also new, is a beautiful sunflower 3D embossing folder with dies and coloring stencils. These bundles have been very popular and can sell out fast, if you are at all interested I wouldn’t hesitate. For my card, I used the stamp set and coordinating dies (both sold separately) called, Change Is Beautiful, illustrated by Arjita Singh for Gina’s release. This is such a beautiful set fill with many greetings of expressions of gratitude. The floral arrangement in this set is perfect for any size cards, including A7 (5×7). All of the supplies I use on today’s card are linked below in the instructions and are highlighted in blue… if you shop using these links, I receive a small commission on sales at absolutely no cost to you. Should you choose to support me, thank you so much!! Let’s get started!

I will be doing all of my work today on my Tim Holtz Glass Media Mat.
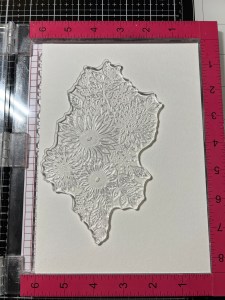
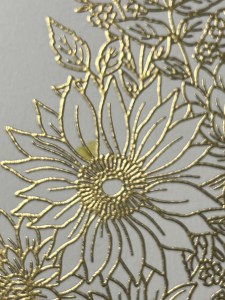
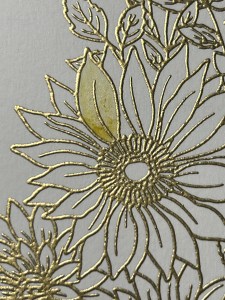
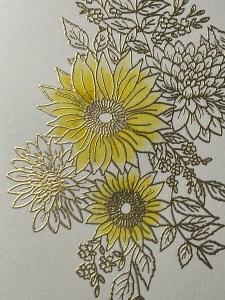
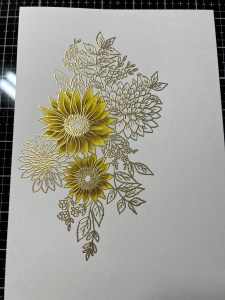
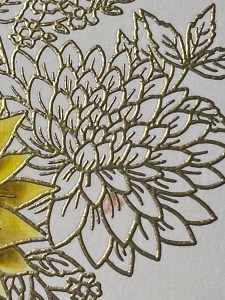
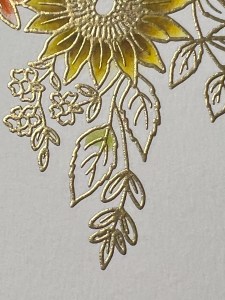
To start my card, I place a piece of Watercolor Cardstock into my MISTI Stamp Positioner and place the floral image from the Change Is Beautiful Stamp Set over it. I then prep my cardstock with my Anti Static Powder Bag and stamp the image using Versamark Ink. Next, I add Gold Embossing Powder then heat it using my Heat Tool.

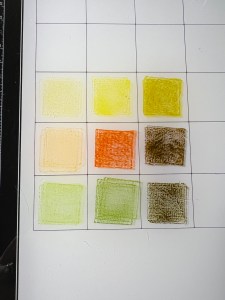
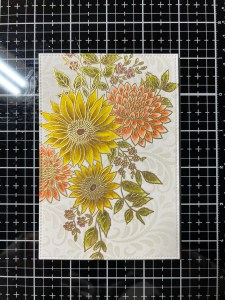
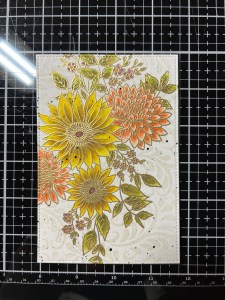
Now it’s time to watercolor my image. I choose colors that I think I want to use and press the ink cubes onto my glass mate, I will use this for my palette. To add color, I will be using a Water Brush filled with clean water. To start, I use my Water Brush to pick up some Sweet Corn Ink from my palette and add it to the base of my first petal. To remove some of the color from my Water Brush, I wipe the bristles onto a paper towel then blend the added color out towards the end of the petal. I always like to start out with a light layer of ink and build up my layers. I repeat this process for the remaining petals of both sunflowers.
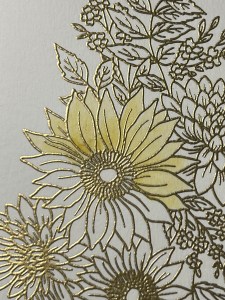
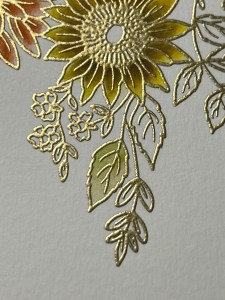
To add another color and some depth, I pick up some Wild Dandelion Ink and add it to the base of my petal then blend it out towards the end of the petal but not all the way to the tips. I repeat this for the remaining petals of both flowers.


For more depth and contrast, I add Prickly Pear Ink to the base of the petals and blend the ink out towards the end of each petal.
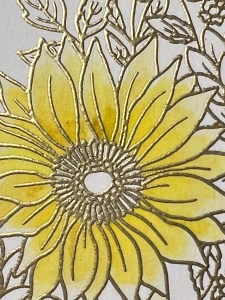

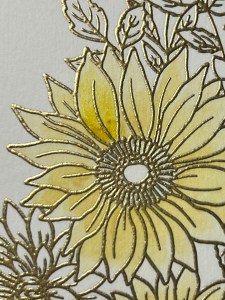
I’m still wanting more contrast and depth for these flowers, so I add a little Faded Brick Ink to the base of the petals and blend out about half way on each petal. To finish these flowers, I paint Wild Dandelion Ink over each of the petals to brighten them up and pull all of the colors together.

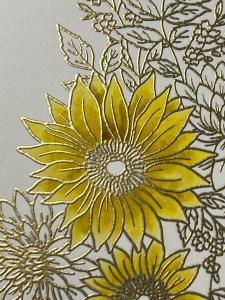

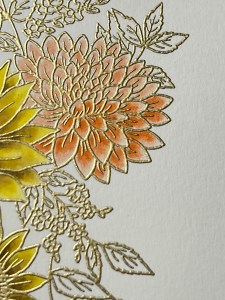
Now it’s time to work on the next flowers. Using my Water Brush, I pick up Peach Bellini Ink and add it to the base of the petal and blend it out towards the tip. I repeat this step with all remaining petals.


For more depth and dimension I add Tomato Soup Ink to the base of the petal and blend this layer half way out on each petal. I repeat this color combination on the other flower as well.


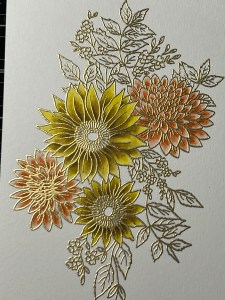
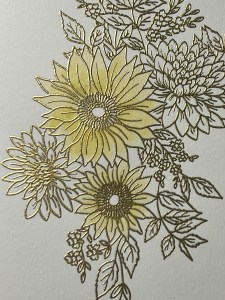
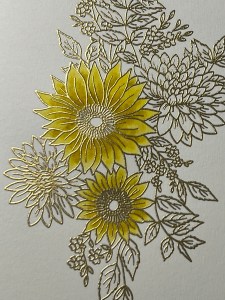
Using my Water Brush, I add Jelly Bean Green Ink to the base of the leaves and blend it out. I then add Fresh Asparagus Ink to the base and blend the color about 3/4 of the way out towards the tips. I repeat this color combo for all remaining leaves.
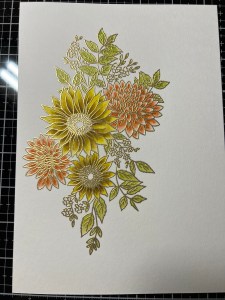

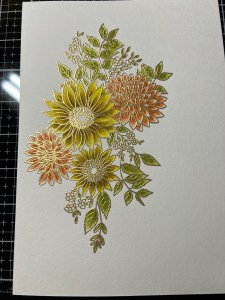
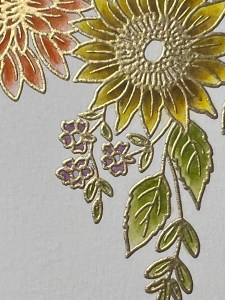
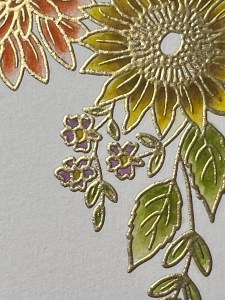
For the tiny flowers, I add Plum Punch Ink to each petal. Because these flowers are so small I don’t add another color, however, I do go back and add a couple more layers until I have a shade I’m satisfied with. For the centers of these flowers, I add Prickly Pear Ink. I did add a very small amount of Dark Sage Ink to just the base of the leaves to darken them up a little. To finish, I add Dark Chocolate Ink to the centers of the two sunflowers.

Using the large stitched die from the Master Layouts 17 Die Set, I cut a panel from my image, running them through my Intri-Cut Die Cut Machine. I also use the large layering rectangle die from the same die set and cut out of Black Onyx Cardstock.

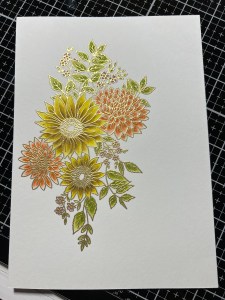
To add some texture and color to my background, I place my Harvest Flourish Stencil over the panel and use my Blending Brush to blend Whisper Ink over the white areas of the panel. To finish of this panel, I take a small paintbrush and splatter a small amount Black Distress Paint over it then set it aside to dry.
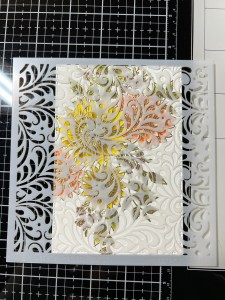
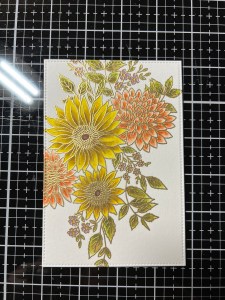
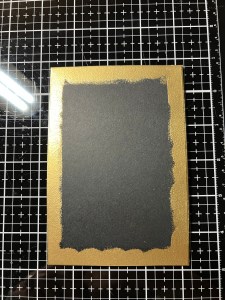
I originally thought I would mat my panel onto black cardstock, then changed my mind to gold. Rather than cutting another panel, I ran my Versamark Ink Pad over all four sides of my previous cut panel then added Gold Embossing Powder and heat set with my Heat Tool. Using Liquid Glue, I adhere the two panels together. For a card base, I cut a piece of Plum Punch Cardstock to be 6″ x 8 1/2″ using my Guillotine Paper Trimmer. Using my Scoring Board, I scored this panel at 4 1/4″ creating a 4 1/4″ x 6″ card base. Using Liquid Glue, I adhered my panel to the base.


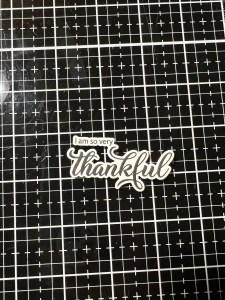
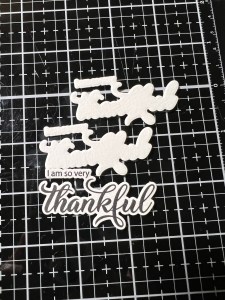
Next, I chose a greeting from the Change Is Beautiful Stamp Set and stamped it onto the same Watercolor Cardstock using Amalgam Obsidian Black Ink. After giving the ink time to dry, I took the coordinating die from the Change Is Beautiful Die Set and cut it out, along with two more cuts out of the same cardstock. Using Liquid Glue, I stacked and glued them together then adhered the greeting onto the front of the card.

Using my Pick & Stick Tool, I add Gold Pearls to the center of the sunflowers with Liquid Glue and this completes my card.
I hope you enjoyed today’s card and learned how simple watercoloring can be! Watercoloring can be as simple or detailed as you want it to be. If you have never tried watercoloring, I encourage you to give it a try with the dye inks you have. You will be amazed at how simple it actually is. I find watercoloring to be so relaxing and it gives such beautiful results. If you are unable to catch Gina’s live tonight, be sure to watch the replay on her YouTube channel as there is so much inspiration and many card examples as well as seeing all of the new products up close.
If this is your first time visiting my blog, welcome and I hope you return. If you are a returning visitor, thank you so much for your support!
If you would like to be notified by email each time I post a new project, there is an option to add your email (located at the top menu, or on the right side of my page) then hit the subscribe button. Should you have any questions or comments please leave them in the comments section. I’d love to hear from you and what you thought about today’s card.
Thank you for visiting and I hope you come back soon!
Happy Stamping and God Bless!!
Jeannie

That is absolutely beautiful!
LikeLike