I want to start out by thanking everyone for the support and nice comments you all leave for me. I truly appreciate the support of this blog!! I enjoy card making and bringing my creations to you, this wouldn’t be possible without your support, so again, thank you!! *Affiliate links are used at no additional cost to you. When you purchase products through my links I receive a small commission from these sales, which helps me to purchase new products for the cards I share on my blog. Thank you so much for your support, it is greatly appreciated!! Don’t forget to check out my previous blog for MANY more card projects! You can find them Here.
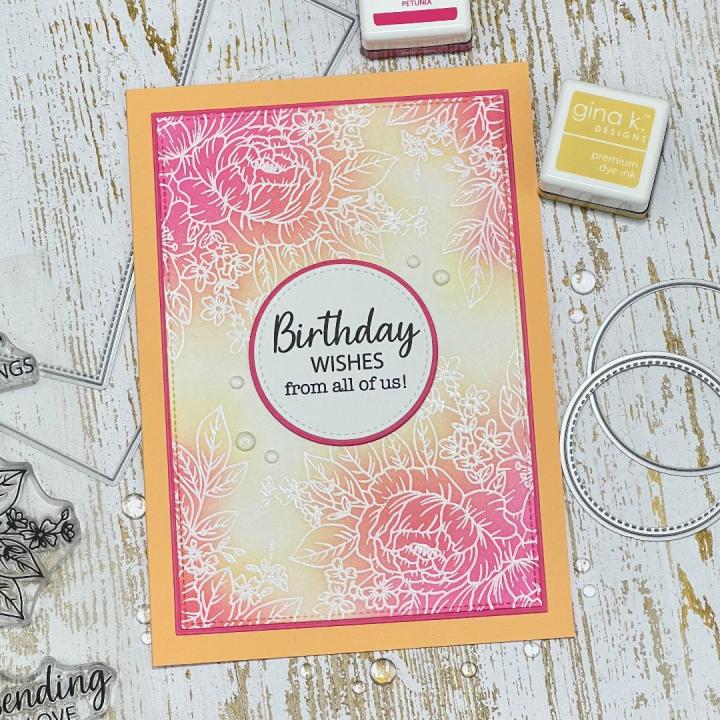
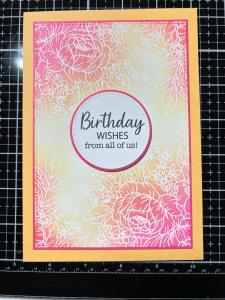
Tonight, is Gina K Designs’ March release!! New products can be found HERE. You can find Gina’s live presentation on her YouTube channel, starting at 7:00 PM CST, where she will show all of her new products up close as well as some inspiration. Included in tonight’s release is the new Master Layouts 21 die set as well as a brand new KIT!! Gina’s kits are such an exceptional value compared to each piece when sold separately… if for some reason you don’t want the entire kit but want some of it’s contents, sets will be available ala carte when a new kit is released… usually the following month. Tonight, I have a simple card made using the Floral Delight stamp set, illustrated by Arjita Singh. This set is perfect for any coloring medium, simple tone on tone stamping or emboss resist techniques, which I have done today. Time was limited this month for me, so I decided to show a simple technique, other than watercoloring. I know there are many who love the look of florals but don’t necessarily enjoy coloring. The emboss resist technique gives beautiful results of floral stamping without the need for coloring all of the intricate details. I used my MISTI for stamping which allowed me to stamp opposite corners of my panel evenly by leaving my stamp on the door of my MISTI and just rotating the panel. I love doing this to frame a panel without having to constantly move my stamp around. All of the stamps, dies, cardstock, inks and embellishments I use I my card are from Gina K Designs.

I will be doing all of my work today on my Tim Holtz Glass Mat.
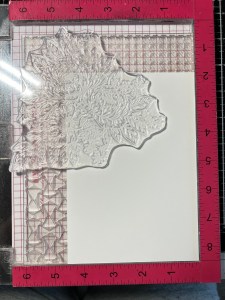
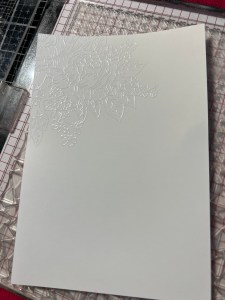
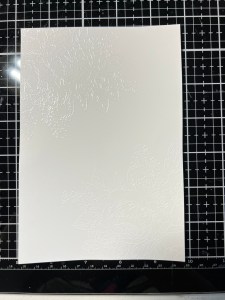
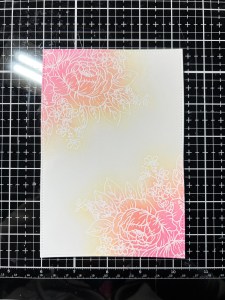
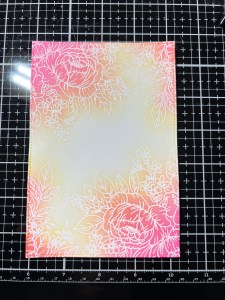
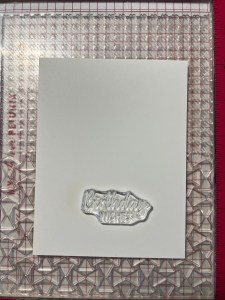
To start, I place a large piece of White Cardstock into the lower right corner of my MISTI Stamp Positioner, onto my Double Background 2 Grip Mat then place the image from the Floral Delight Stamp Set over the top left corner of the panel. Next, I pick up the stamp with the door of my MISTI then prep my panel with my Anti Static Powder. I then stamp the image using Versamark Ink and add White Detail Embossing Powder, then heat it with my Heat Tool. Leaving the stamp still attached to my MISTI, I turn my already embossed panel and repeat the stamping and embossing process.
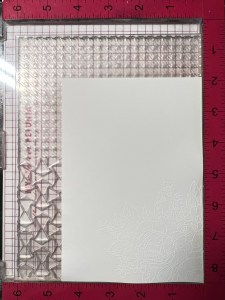
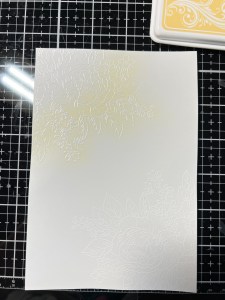
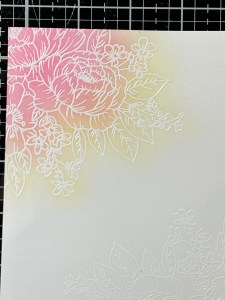
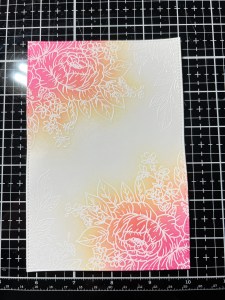
Now that my panel is embossed in opposite corners, I take my Blending Brush and blend Sweet Corn Ink over the outside portion of the image. I blend the ink from end to end and fade it back towards the main portion of the image as I want this color to blend with my next color to create a soft, third color. Next, I take Petunia Ink and blend over the corner of the panel and blend it a bit into my previous color, I now have three colors while only using two shades of ink! I went back and forth with the two colors until I was happy with the blend. Now that my coloring is finished, I take the large stitched rectangle die from Master Layouts 8 Die Set and center it over my panel then run them through my Intri-Cut Die Cut Machine.
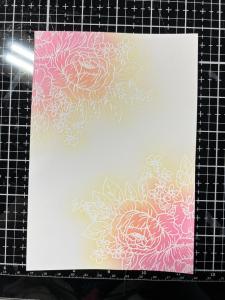
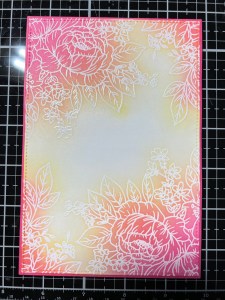
After looking at my panel, I felt like there was too much white space, like something was missing. I decided I wanted a few more leaves embossed over the empty corners. I chose a smaller area from the same previous image and stamped it onto the two opposite corners of the panel using Versamark Ink, added White Detail Embossing Powder then heat set using my Heat Tool. Using the leftover ink remaining on my Blending Brushes, I lightly blend the leftover Sweet Corn Ink over the image, then blended the leftover Petunia Ink over the corner and edges. I feel like this addition tied things together.
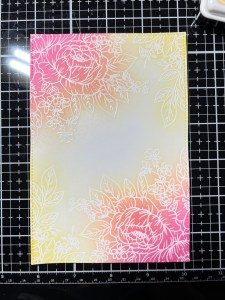
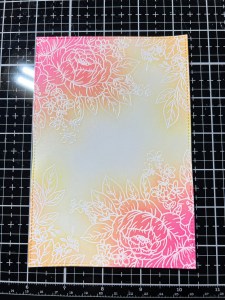
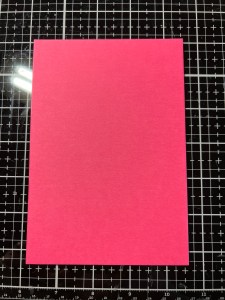
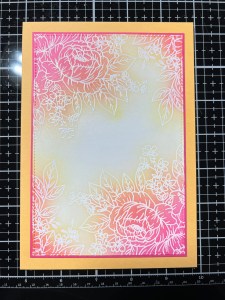
Using the largest rectangle die from the same Master Layouts 8 Die Set and cut out of Petunia Cardstock, running them through my Intri-Cut. I now adhere my two panels together, using Liquid Glue. To create my card base, I cut a 7″ x 10″ piece out of Butterscotch Cardstock using my Guillotine Paper Trimmer then scored it at 5″, creating a 5 x 7 card base. Using Liquid Glue, I adhere my panels to the card base.
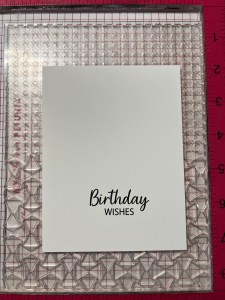
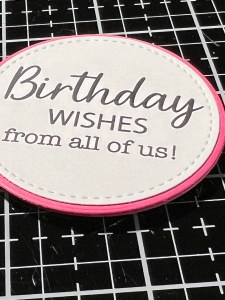
For my greeting, I choose one from the same Floral Delight Stamp Set and stamp it onto a piece of White Cardstock, using Amalgam Obsidian Black Ink. I then take a sentiment from the Friendly Wishes Stamp Set and stamp it just under my greeting using the same ink.
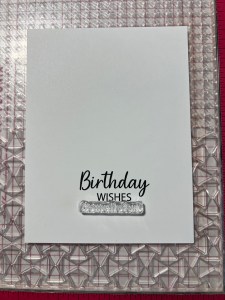
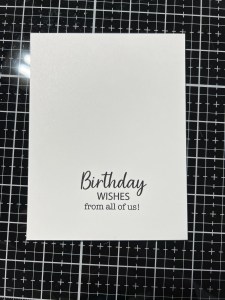
I heat set the ink using my Heat Tool then take the largest stitched die from Master Layouts 3 Die Set and cut out the greeting. I also use the largest layering die from the same die set and cut out of Petunia Cardstock three times, running them through my Intri-Cut. I then used Liquid Glue to stack the circle dies with the greeting on top then adhere them to the center of the card front.

Using my Pick & Stick Tool, I add Dew Drops with Liquid Glue and this completes my card.
I hope you enjoyed tonight’s card and learned the easy way to use stamps with lots of detail that requires no coloring. This technique is very quick and easy… one way to step it up a little is to take a small paintbrush and paint bleach into the open areas of the leaves and petals. Bleaching gives a unique, beautiful look to ink blended images. While I, myself love to watercolor floral images, it’s nice to have other options with techniques for these sets that can be used when you’d like to use the set, but don’t have a lot of time. Don’t forget to check out the rest of this release and remember, you can always catch the replay of Gina’s live over on her YouTube channel.
If you would like to be notified by email each time I post a new project, there is an option to add your email (located at the top menu, or on the right side of my page) then hit the subscribe button. Should you have any questions or comments please leave them in the comments section. I’d love to hear from you and what you thought about today’s card.
Thank you for visiting and I hope you come back soon!
Happy Stamping and God Bless!!
Jeannie
