I want to start out by thanking everyone for the support and nice comments you all leave for me. I truly appreciate the support of this blog!! I enjoy card making and bringing my creations to you, this wouldn’t be possible without your support, so again, thank you!! *Affiliate links are used at no additional cost to you. When you purchase products through my links I receive a small commission from these sales, which helps me to purchase new products for the cards I share on my blog. Thank you so much for your support, it is greatly appreciated!! Don’t forget to check out my previous blog for MANY more card projects! You can find them HERE.
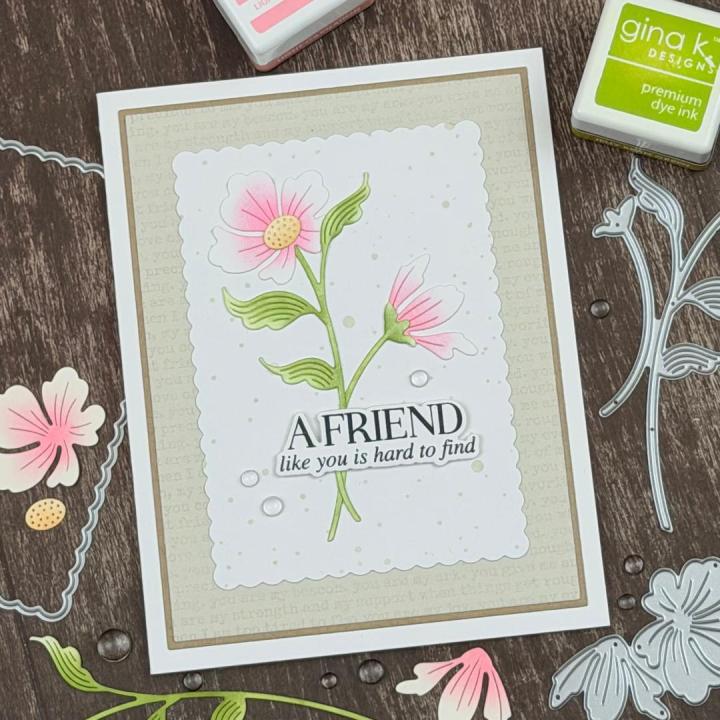
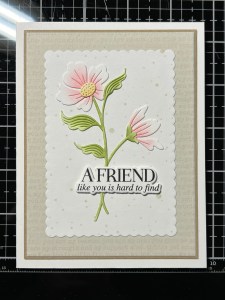
Today, I have a simple card using the Jaunty Stems die, from Simon Says Stamp recent release, “In My Heart”. If you’d like to see the rest of the release, you can find it HERE. I love the dainty, delicate look of these florals and wanted to create a card using soft layers and textures to showcase this die set. I used a mix of products from both Gina K Designs and Simon Says Stamp to create my card. Let’s get started!!

I will be doing all of my work today on my Tim Holtz Glass Media Mat.
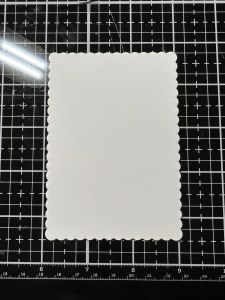
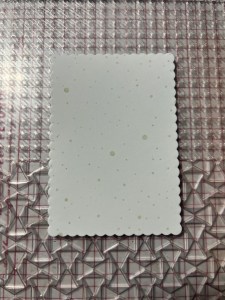
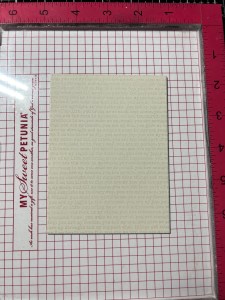
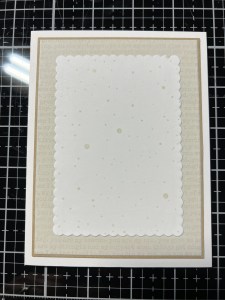
To start, I take the fifth largest die (measures 3 x 4 1/4) from the Scalloped Rectangles Die Set and cut out of White Cardstock, running them through my Intri-Cut Die Cut Machine. I then place the panel into my MISTI Stamp Positioner, onto the Double Background 2 / Grip Mat. I then take my Snowy Background Stamp and stamp it onto my panel using Whisper Ink.
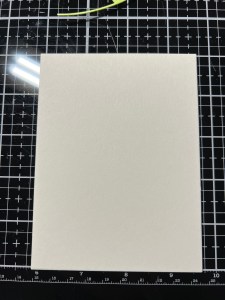
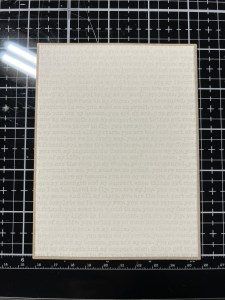
Taking the second largest die from Master Layouts 1 Die Set, I cut out of Whisper Cardstock, running them through my Intri-Cut. To add some soft texture, I place this panel into my MISTI and take my You Are Background Stamp and stamp it onto the panel using Whisper Ink.
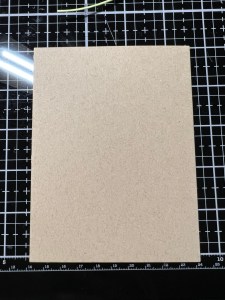
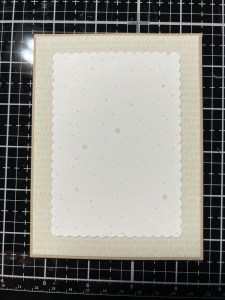
Next, I take the largest die from the same Master Layouts 1 Die Set and cut out of Kraft Cardstock, running them through my Intri-Cut. Using Liquid Glue, I adhere the two panels together. I then adhere the scalloped panel to the center and mount the panels onto a White Cardstock base. *The base is 5 1/2 x 8 1/2, scored at 4 1/4 to create a side fold card.
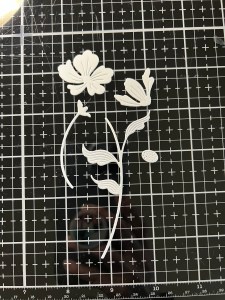
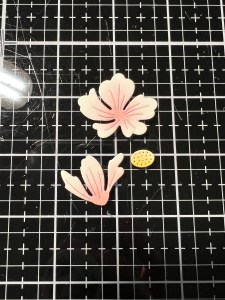
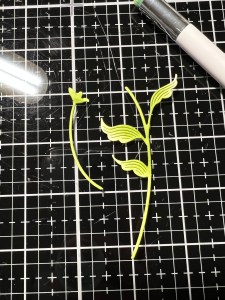
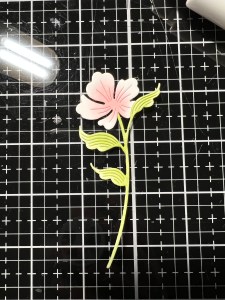
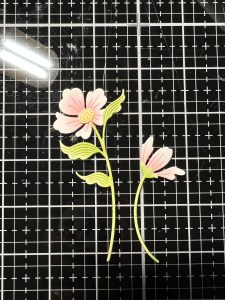
Now I work on my focal image, taking the dies from my Jaunty Stem Die Set, I cut out of White Cardstock, running them through my Intri-Cut. To add some color to my pieces, I start by taking my Mini Blending Brush and blend Light Carnation Ink onto the center of the bigger flower and fade out towards the end of the petals just a bit, leaving the ends white. I then blend the same color to the base of the smaller flower and blend out a bit, again, leaving the ends white. For the small center piece, I use a Detail Blending Brush and blend Sweet Corn Ink, going just a little heavier on the one side. For the leaves and stems, I take my Mini Blending Brush and blend Jelly Bean Green Ink over the stems and base of the leaves, fading out to white towards the ends.
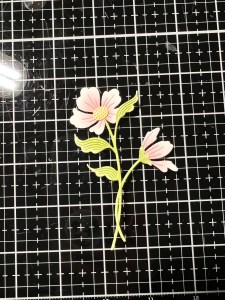
Using Matte Liquid Glue, I glue the flowers and stems together. I then add a small amount of glue to the back, lower portion of the stems and intertwined them together then adhered them onto my card front. *Have you tried Gina K Designs’ new Matte Connect Glue? It is amazing to use with thin die cuts or embellishments… any oozing areas of glue dries matte (not shiny) and cannot be seen! I love this stuff!!
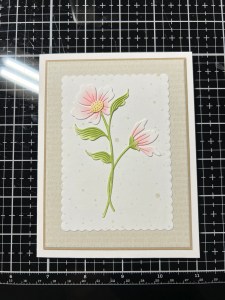
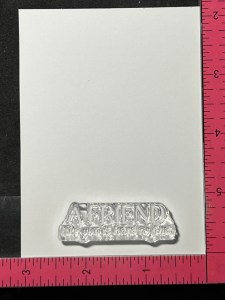
Now it’s time to work on a sentiment. I place a piece of White Cardstock into my MISTI then choose a sentiment from the Floral Friendship Stamp Set. I stamp my sentiment using Amalgam Obsidian Black Ink then cut it out using the coordinating die from the Floral Friendship Die Set, running them through my Intri-Cut. I add a Foam Squares to the back of my sentiment on each end then mount it over the stems.

Using my Pick & Stick Tool I add a few Dew Drops with Matte Liquid Glue and this completes my card.

I hope you enjoyed this simple card, I love how all of the soft colors and textures came together. Simple background stamping and layering can step up any simple design. I’m a sucker for floral die cuts and love how these colored up. I think they would also look great if left white and were mounted over an embossed resist ink blended background using a text background stamp, finished with a simple greeting!
If you would like to be notified by email each time I post a new project, there is an option to add your email (located at the top menu, or on the right side of my page) then hit the subscribe button. Should you have any questions or comments please leave them in the comments section. I’d love to hear from you and what you thought about today’s card.
Thank you for visiting and I hope you come back soon!
Happy Stamping and God Bless!!
Jeannie
