I want to start out by thanking everyone for the support and nice comments you all leave for me. I truly appreciate the support of this blog!! I enjoy card making and bringing my creations to you, this wouldn’t be possible without your support, so again, thank you!! *Affiliate links are used at no additional cost to you. When you purchase products through my links I receive a small commission from these sales, which helps me to purchase new products for the cards I share on my blog. Thank you so much for your support, it is greatly appreciated!! Don’t forget to check out my previous blog for MANY more card projects! You can find them HERE.
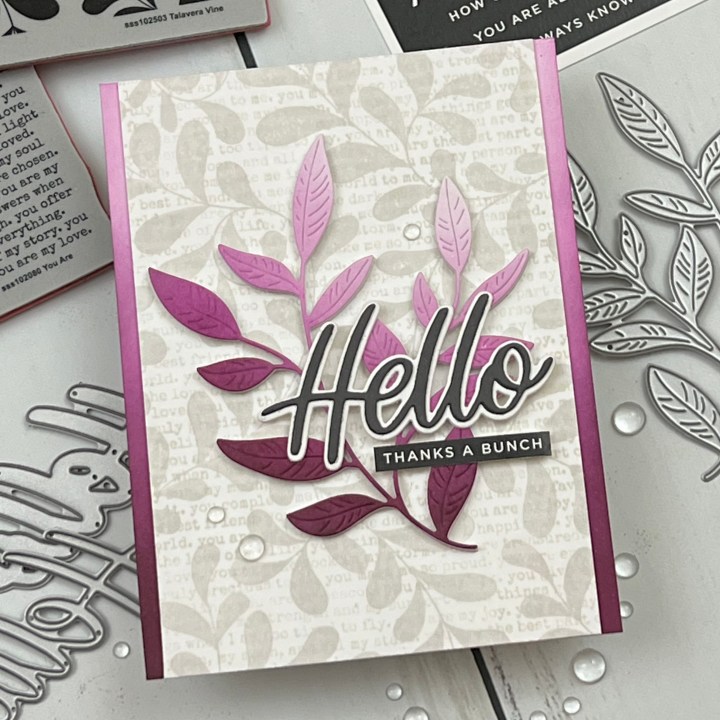
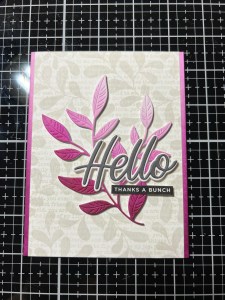
Today I have a card that uses some tone on tone stamping with two different background stamps to create a soft backdrop for my focal image. To add some interest to my focal image, I create a gradient ink blend for an Ombre look. I love these colors against each other and using two different background stamps together compliments each other while softening the stark white cardstock. I love creating different looks to a background and choosing a simple die cut image as the focal point which allows for any kind of occasion! To prevent any waste, I will use my ink blended panel to mount my finished panel onto, which ties everything together and matches my focal image. This card layout can be used with any ink combination and would be great for any occasion! Let’s get started!!

I will be doing all of my work today on my Tim Holtz Glass Media Mat.
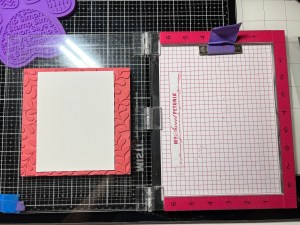
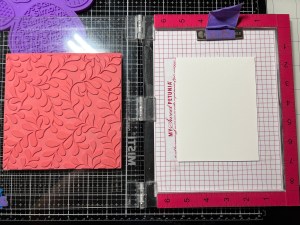
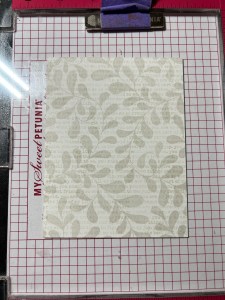
To start, I cut a 4 1/4″ x 5 1/2″ panel out of White Cardstock using my Guillotine Paper Trimmer. Next, I place the Talavera Vine Background Stamp onto the door of my MISTI Stamp Positioner. I then add a little Dot Runner Adhesive onto the back of my cardstock panel and place it face down onto the stamp. I close the base of my MISTI onto the door then flip it over and press the stamp down to adhere the panel to the MISTI base. I now ink up the stamp using Fog Ink and stamp it onto my panel. *I like to use this method as it ensures that my panel will be lined up the way I want it, which will come in handy when I stamp my script stamp. Because this is a red rubber stamp, I remove the foam insert from my MISTI before stamping.

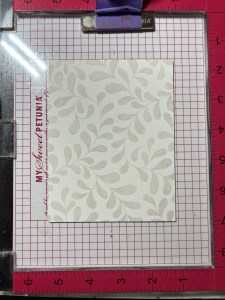
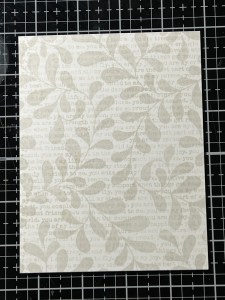
Now it’s time to stamp the script stamp. I repeat the above process and adhere the You Are Background Stamp to the door of my MISTI then line up my panel face down onto the stamp, making sure it is straight over the script. I close the base of my MISTI onto the door and flip it over. My panel is now ready to be stamped and is lined up perfectly. I ink up the stamp using Jellyfish Ink and stamp it onto my panel. These two inks are similar in color but are just different enough in tone that they show up well against each other. Now that my stamping is complete, I trim 1/4″ off the side making the panel 4″ x 5 1/2″. *This dimension will change further into the process when I change my mind. In hindsight, I would have just started out with the correct size before stamping but I wasn’t sure what I wanted to do with the stamped panel until I was further into the card.

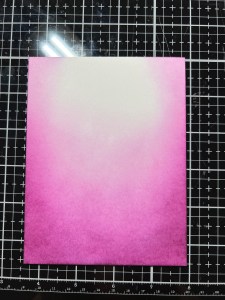
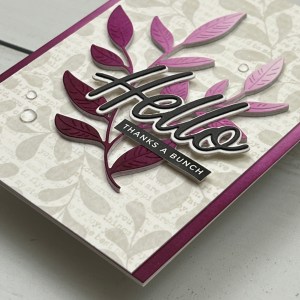
I next, take another 4 1/4″ x 5 1/2″ panel of White Cardstock and begin my ink blending. Using my Blending Brush, I blend Plum Punch Ink onto the lower portion of the panel and up the sides, softening and fading out the ink towards the top. To add some vibrancy to my shading, I blend Dark Orchid Ink to the bottom of the panel and fade the ink out into the previous color, fading as I go up the panel which creates an Ombre affect.

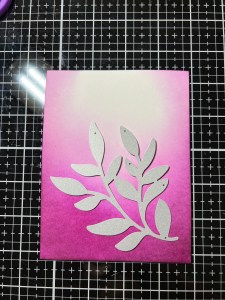
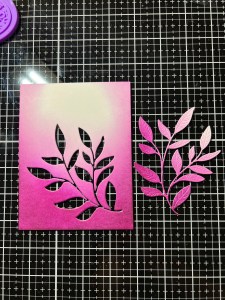
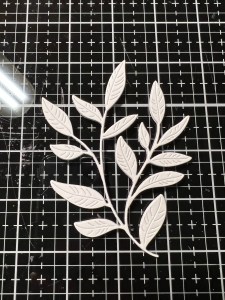
After allowing my inked blended panel to dry for several minutes, I take the Privet Branch Die and place it over an area that will show the gradient blend then run them through my Platinum 6 Die Cut Machine. I then cut out of White Cardstock four times, running them through my P6. Using Liquid Glue in my Fine Tip Bottle I stack and glue the white die cuts together then glue the ink blended piece on top.


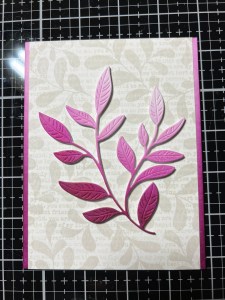
I knew I wanted to mount my stamped panel onto a gradient ink blended background to match my die cut piece. Rather than blending another panel, I just adhered my stamped panel onto the panel I die cut from so there would be no waste. Using Liquid Glue I adhere the two panels together allowing the blended panel to show evenly on both sides. Adding Liquid Glue to the back of my stacked die cut piece, I mount it onto the center of my panel. *Again, this measurement will change further into the card… so much for nothing going to waste, ha!!

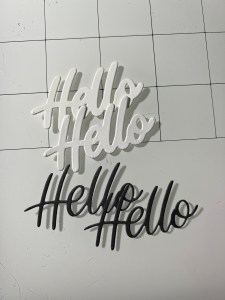
For a greeting, I use the Handwritten Hello Die and take the script piece to cut out of Slate Cardstock two times and the shadow piece to cut out of White Cardstock two times, running them through my P6. I then use Liquid Glue to stack and adhere the pairs together then mount the script piece onto the shadow piece. I add Liquid Glue to the back and mount it over the ink blended branch die to the right of center.


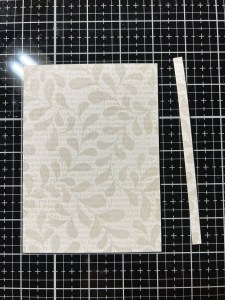
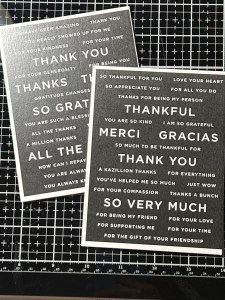
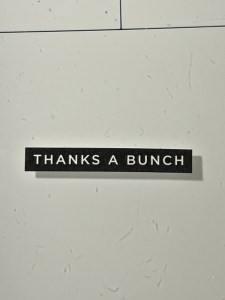
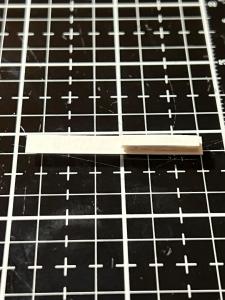
Taking the Sentiment Strips Reverse Gratitude, I choose a sentiment and cut it out using my Guillotine Paper Trimmer. Because a good portion of the sentiment strip will be hanging off of the stacked die cut I glued five pieces of thin cardstock scraps to the back of the strip where it will be hanging off. These stacked scraps will make up the difference and allow the strip to lay flat. I then add Liquid Glue to the back of the strip and stacked scraps then adhere it just under the greeting. Here’s where my dimension changes! After I have my card assembled, I feel like there is more empty space than I wanted with the background… kind of like the branch is just floating. I decided that I wanted the sides to be closer to the die cut piece, so I took my Guillotine Paper Trimmer and cut off the ink blended sides then cut the left side of the panel so it would be a finished 3 3/4″ x 5 1/2″. I then blended the sides of another panel (as nothing else would be showing) and glued my panel onto it then adhered them to a white card base. I felt like this adjustment balanced out the look of my card and it made me feel better, LOL!

Using my Pick & Stick Tool I add a few Dew Drops with Liquid Glue and this completes my card.

I hope you enjoyed today’s card, I love how it “finally” turned out, LOL! I know the change I made to the card may seem silly to some, but to me when I put so much work into a card I want to love it, not just like it. I know, it would have been fine as is also. 😉 This was a fun card to put together and I really like the fact that it can be used for so many occasions! I find that the “Hello” die is so versatile and the sentiment could be left off and sent as is or it can be chosen later as to fit whichever occasion comes up! Another idea I had was to use some fall colors for the ink blend on the leaves and sides to send out for autumn occasions… the color choices are endless!!
If this is your first time visiting my blog, welcome and I hope you return. If you are a returning visitor, thank you so much for your support!
If you would like to be notified by email each time I post a new project, there is an option to add your email (located at the top menu, or on the right side of my page) then hit the subscribe button. Should you have any questions or comments please leave them in the comments section. I’d love to hear from you and what you thought about today’s card.
Thank you for visiting and I hope you come back soon!
Happy Stamping and God Bless!!
Jeannie

Your card is stunning!! I love the color combination! Simple yet very elegant!
LikeLike
Thank you so much for your kind words Dorothy!!
LikeLike