
I want to start out by thanking everyone for the support and nice comments you all leave for me. I truly appreciate the support of this blog!! I enjoy card making and bringing my creations to you, this wouldn’t be possible without your support, so again, thank you!! *Affiliate links are used at no additional cost to you. When you purchase products through my links I receive a small commission from these sales, which helps me to purchase new products for the cards I share on my blog. Thank you so much for your support, it is greatly appreciated!! Don’t forget to check out my previous blog for MANY more card projects! You can find them HERE.
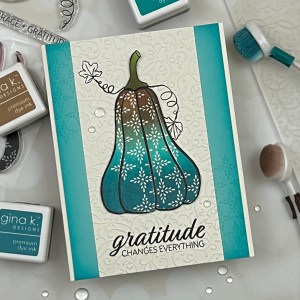
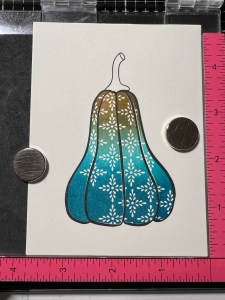
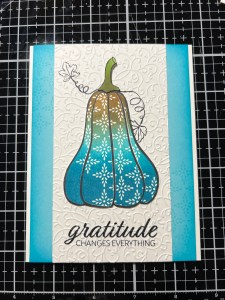
Welcome to my blog, today I have a fun card featuring the brand new Grace & Gratitude stamp set, illustrated by Lisa Hetrick! Gina K. Designs has a brand new release that is now available for purchase, you can find and shop the new release with me, HERE. Head over to Gina’s Facebook group or YouTube channel and check out her live. Here, she will showcase all of the new product up close, some of the illustrators will talk about their sets and have lots of card examples to share. Ending the live, Gina always creates a fun card using one of the new sets, always a fun time!! For today’s card, I am using a fun image to create a look with lots of color and texture. Did you know that you can dry emboss over stamped images?? YES, you can! It gives a ton of texture and does not distort the image at all! I love fall colors but wanted to add a twist and went with non traditional colors, and love the look it adds to my card. The Grace and Gratitude stamp set is filled with fun images that can be used year round. Even though the solid portion of my image looks like it was stamped as one, it is actually four separate pieces! The four sections are perfect to stamp one at a time, each in a different color or all the same color and everything in between! ***I wanted to add that this stamp was manufactured as one stamp instead of four slices as it was intended. No worries, there is a lot of room in between the image so they can be easily cut apart as I did with mine. There is also a unique small background stamp which is the same design on the pumpkin that is great for accents or creating backgrounds. I chose to use it to accent opposite corners of my blue panel. All of the stamps, inks, cardstock and supplies I am using are from Gina K. Designs. Let’s get started!!
I will be doing all of my work today on my Tim Holtz Glass Media Mat.
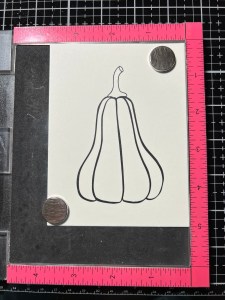
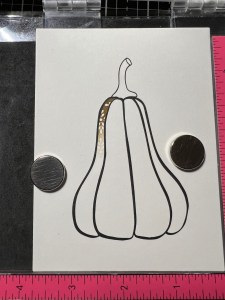
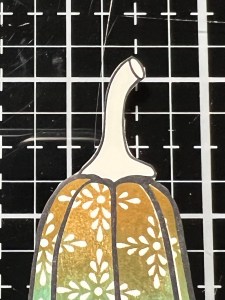
To start, I place a piece of Ivory Cardstock into my MISTI Stamp Positioner then stamp and image from the Grace & Gratitude Stamp Set onto it using Amalgam Obsidian Black Ink. Next, I line up the stem stamp from the same set and stamp it onto the top of my image.


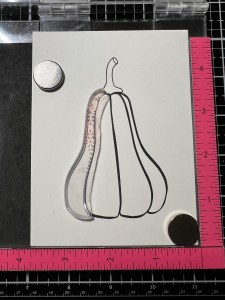
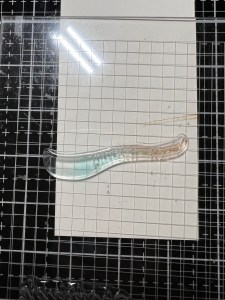
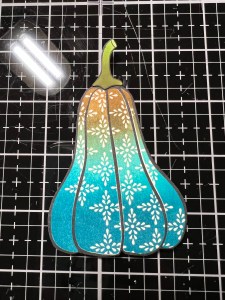
Now it’s time to add some color to my image! Taking one of the solid images from the Grace & Gratitude Stamp Set, I line it up over the coordinating space then pick up the stamp with the door of my MISTI. Using Warm Cocoa Ink, I ink up the top third of the stamp then take my Mini Blending Brush to soften the edge of the ink that will meet with the next color. I then stamp it onto the panel and end up repeating this process until I have the shade I want. Leaving the stamp still adhered to the door of my MISTI I ink the center portion of the stamp with Turquoise Sea Ink then use my Mini Blending Brush to soften each end of the ink where it will meet the other colors and stamp it onto my panel. I again repeat the process and stamp it a few times to achieve the shade I want. Finally, I ink the bottom third of the stamp with Tranquil Teal Ink and use my Mini Blending Brush to soften the top portion of the ink and stamp it onto my panel. I now have three colors of ink on one stamp that all blend into each other.
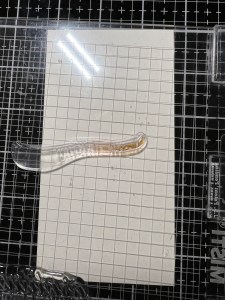
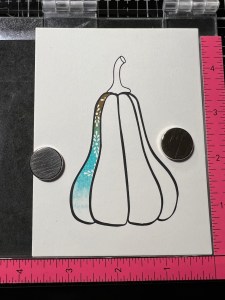

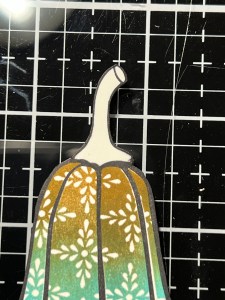
I now take the second solid stamp from the Grace & Gratitude Stamp Set and repeat the same process, using Warm Cocoa, Turquoise Sea and Tranquil Teal inks. I continue with the other solid stamps until my image is filled.

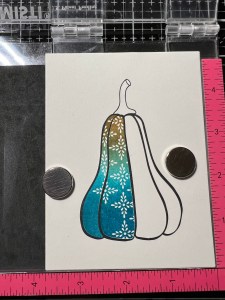
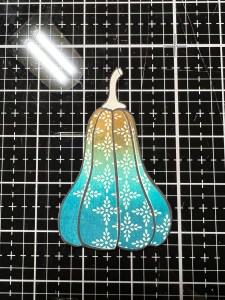
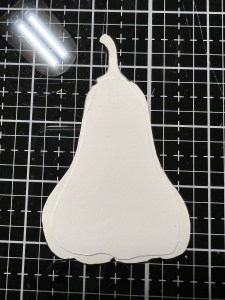
Now that my image is complete, I use my Micro Tip Scissors to fussy cut along the outside of the lines, including the stem. To cover up any “white” edges that I missed, I take a black marker and run it along the edges of my cut image.
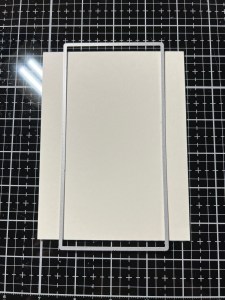
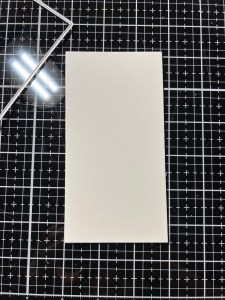
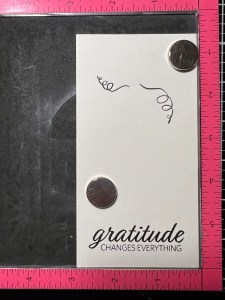
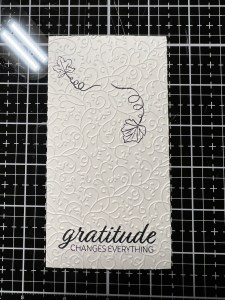
Next, I cut a 4 1/4″ x 5 1/2″ panel out of Ivory Cardstock using my Guillotine Paper Trimmer. To give my panel strip nice edges, I use the largest layering die from the Master Layouts 7 Die Set and cut my panel, making sure the die hangs off both ends of the panel then run them through my Platinum 6 Die Cut Machine. *This step could totally be skipped and the original panel could just be cut to 3″ wide. I just prefer the finished edge that dies give. I now place the panel into my MISTI and line up a sentiment from the Grace & Gratitude Stamp Set along the bottom portion and stamp it using Amalgam Obsidian Black Ink.


I wanted to add some vines and leaves to my pumpkin but didn’t want to fussy cut the thin images. I decided just to stamp them onto the panel so they look like they are coming from behind. To figure out my stamp placement, I place the pumpkin piece into my MISTI and center it over my sentiment. I then lay the vine images from the Grace & Gratitude Stamp Set over the area where the stem meets the pumpkin. I then pick up the stamps with the door of my MISTI, remove the pumpkin and stamp the vines onto my panel using Amalgam Obsidian Black Ink. I place the pumpkin again to see how I want my leaves. Once I figure out the placement I remove the pumpkin and stamp them with the same ink.


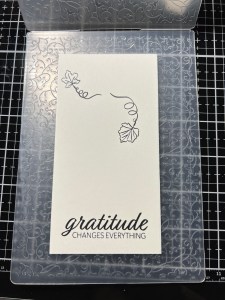
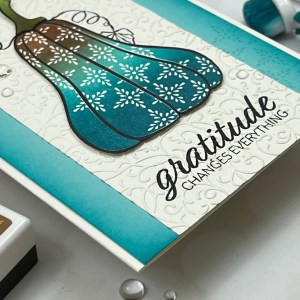
To add some texture and interest to my panel, I place it into my Petite Flourish Embossing Folder and run them through my P6. And look at that!! I have gorgeous texture and the stamping is not distorted… not even at all!!
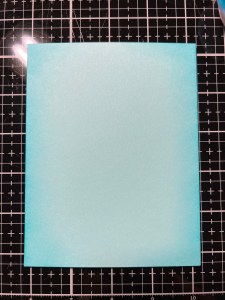
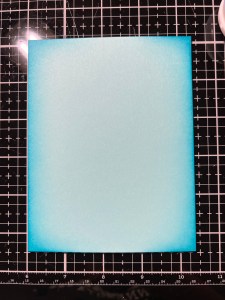
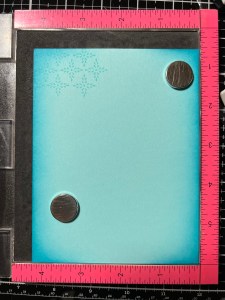
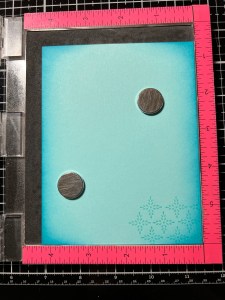
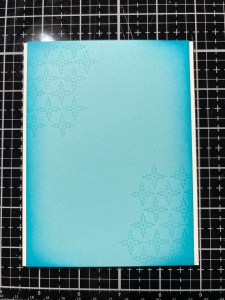
To create a colored background for my embossed panel, I take a 4″ x 5 1/2″ piece of Sea Glass Cardstock and lightly blend Turquoise Sea Ink around the side edges and corners using my Blending Brush. *I don’t want to cover all of the cardstock, I want the light color of the cardstock to still show. I only want to darken the edges a bit, with the light color of the cardstock still showing, it will give a bit of a “glow” look. To further deepen the very edges, I blend Tranquil Teal Ink very lightly to the edges and corners, being careful to not cover up the previous color as I want the ink to fade into the light color of the cardstock.
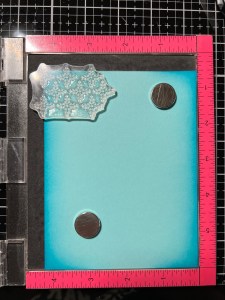
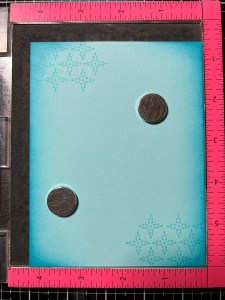
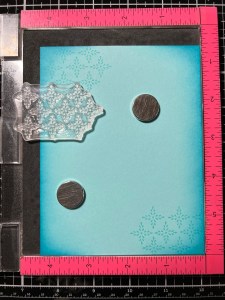
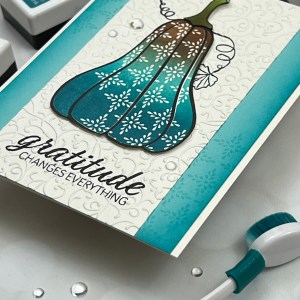
Next, I want to add subtle detail to my blended panel so I place the panel into my MISTI and take the small background stamp from the Grace & Gratitude Stamp Set and line it up at the top corner of the panel. I ink it up with Turquoise Sea Ink then stamp it onto the panel. Leaving the stamp still attached to the door of my MISTI, I rotate the panel and repeat the stamping on the corner. I then clean off the stamp, center it below and between the previous images and stamp it again. I then rotate the panel and stamp the second corner. *This stamp is great to add accents like I did here, or can be stamped continuously to create a background!

Now that my background is finished, I center and adhere it to an A2 ivory card base using Liquid Glue. I then mount my embossed panel centered over the blended panel, also using Liquid Glue.

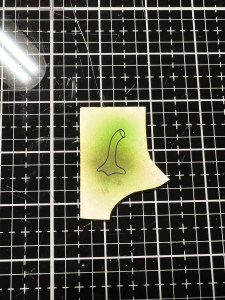
I wanted to give my pumpkin image a little lift to make it stand out from the background a bit more but didn’t want it lifted too much. To achieve this, I cut two pieces of scrap cardstock similar in shape and glued them to the back of the pumpkin image using Liquid Glue. I needed some color for my stem so I blended some Grass Green and Fresh Asparagus inks and stamped the stem using Amalgam Obsidian Black Ink. I then fussy cut the image and glued it over the existing stem. *The existing stem could have also been ink blended with a little masking, however, my ink wasn’t completely dry at the time and I didn’t want to risk smearing the ink. I then placed the pumpkin over the panel, lining it up over the vines and adhered using Liquid Glue.
To finish, I used my Pick & Stick Tool to add some Dew Drops with Liquid Glue and this completes my card.
I hope you enjoyed today’s card! This one was fun to make and see come together! I love how the design on the pumpkin is identical to the small background stamp, the subtle design really pulled things together. Adding a few things like the ink blending, dry embossing and layers adds interest to a simple ink blended image and pulls things together. This would be a fun layout to try with so many other images! Don’t forget to check out Gina’s live, you can also catch it on replay on her YouTube channel!
If this is your first time visiting my blog, welcome and I hope you return. If you are a returning visitor, thank you so much for your support!
If you would like to be notified by email each time I post a new project, there is an option to add your email (located at the top menu, or on the right side of my page) then hit the subscribe button. Should you have any questions or comments please leave them in the comments section. I’d love to hear from you and what you thought about today’s card.
Thank you for visiting and I hope you come back soon!
Happy Stamping and God Bless!!
Jeannie

Wow! Wonderful card & love the colors!!
LikeLike
Thank you so much, Margo!!
LikeLike