
I want to start out by thanking everyone for the support and nice comments you all leave for me. I truly appreciate the support of this blog!! I enjoy card making and bringing my creations to you, this wouldn’t be possible without your support, so again, thank you!! *Affiliate links are used at no additional cost to you. When you purchase products through my links I receive a small commission from these sales, which helps me to purchase new products for the cards I share on my blog. Thank you so much for your support, it is greatly appreciated!! Don’t forget to check out my previous blog for MANY more card projects! You can find them HERE.
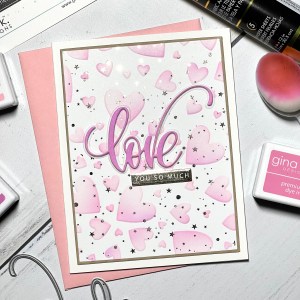
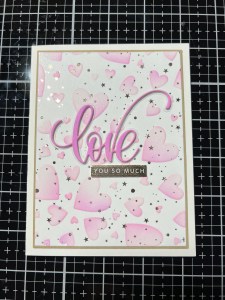
Wow! It’s been so long since I’ve posted a card… I apologize for my absence! I’ve been busy over the holidays, making homemade gifts, baking and getting our youngest moved out into her own apartment, whew! Hoping for a better schedule with the new year. Today, I have a card that is rather simple, but I have added some fun elements to step it up a bit! To add some sparkle and shine I used a foiled Poly Glaze card front which is so hard to show in photos, but in real life it has amazing shine. Because the pattern is petite and delicate it doesn’t take away from the ink blended design, it enhances it! Anytime I use stencils for ink blending, I LOVE to dry emboss first, this helps the design to really stand out allowing for a dimensional look and feel and really makes it POP! The background is so soft and pretty, that I chose to keep this card simple by just adding a die cut greeting and sentiment. Let’s get started!!
I will be doing all of my work today on my Tim Holtz Glass Media Mat.
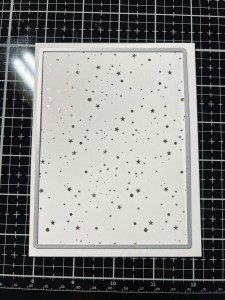
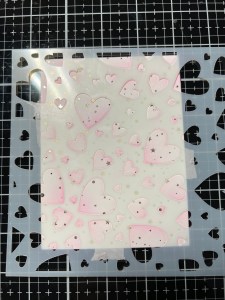
To start my card, I take a Flurries Poly Glaze panel along with a piece of Champagne Deco Foil and run them through my Fuse Laminator on the number 3 setting. To do this, I position my Poly Glaze panel up against the fold of the laminating folder that comes with the machine. I then trim a piece of Champagne Deco Foil and place it pretty side up, over my panel. I then close the laminating folder and run it through my Fuse Laminator, with the folded side going into the machine first. **I did notice some wrinkling of the foiled piece after running it through the laminator, however, it didn’t seem to affect the finished result. Afterwards, I tested trimming the foil into a smaller piece so it would only lay over the design and not the edges of the panel. That seemed to work much better and had a lot less wrinkling. Something to try if you experience wrinkling.
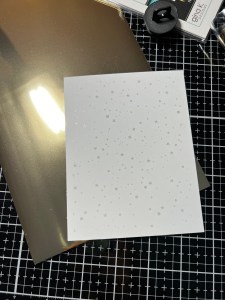


To trim my panel down and give it nice finished edges, I take the second largest rectangle die from my Master Layouts 1 Die Set and run them through my Platinum 6 Die Cut Machine.

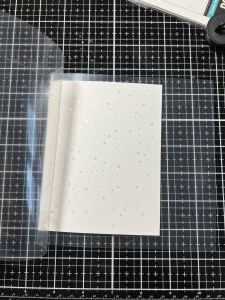
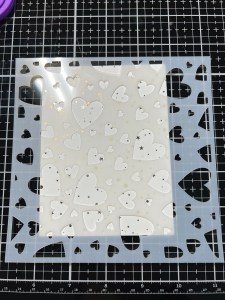
Next, I place my Tumbling Hearts Stencil over the panel and secure it in place using Pixie Tape then run them through my P6. **Check the owners manual for your machine on how to dry emboss. For my P6, I use the Platform Base A, Platform Top B, Rubber Mat E, my cardstock, stencil, Adaptor Plate D and the Shim F, in that order.
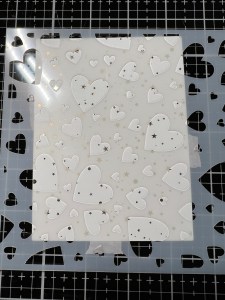
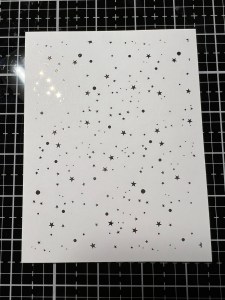
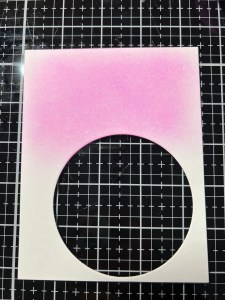
Leaving the stencil still attached to my panel, I begin my ink blending. I want to give the hearts a soft, faded look. I start by taking Light Carnation Ink and blending it lightly over the entire panel, using my Blending Brush. I then take Light Orchid Ink and blend it over different portions of the hearts, being careful not to completely cover up the previous color. To finish, I take my Mini Blending Brush and blend Bubble Gum Pink Ink over the very edges of the ink blend to add some depth and color variation.
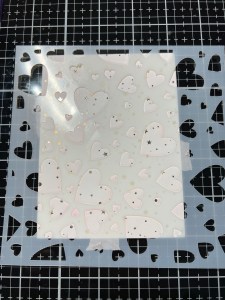
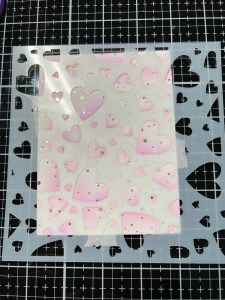
Now that my ink blending is finished, I remove the stencil. Just look at the dimension that the dry embossing gives!!! It really makes the ink blending stand out and look as if the images are popping off the panel… such a fun look!!


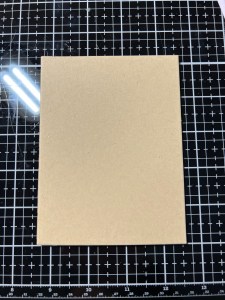
Using the largest die from the Master Layouts 1 Die Set, I cut out of Kraft Cardstock, running them through my P6. I then use Liquid Glue to layer and adhere the two panels together, then glue them onto a White Cardstock card base.

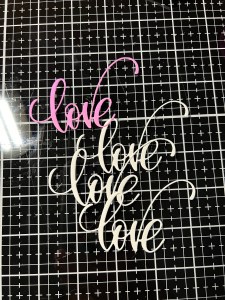
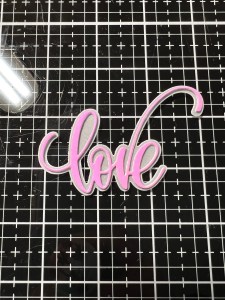
To color coordinate my die cut greeting, I take a piece of scrap White Cardstock and blend Light Carnation Ink onto it using my Blending Brush, then blend Light Orchid Ink over that. I then take the Love And Shadow Die and cut out of it, running them through my P6. I also cut out of White Cardstock three times.
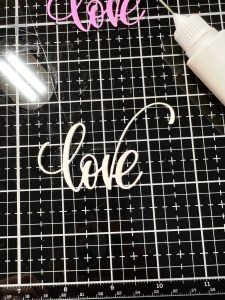
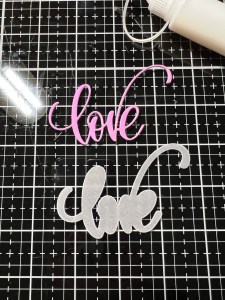
Using my Fine Tip Glue Bottle filled with Liquid Glue, I adhere the white pieces together then glue the ink blended piece on top for some dimension. Next, I take the shadow die and cut out of Vellum, running them through my P6. I then adhere the stacked die cut onto the vellum piece using Liquid Glue.

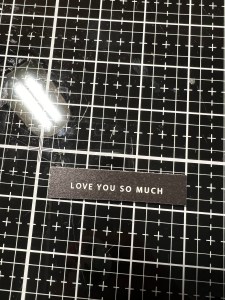
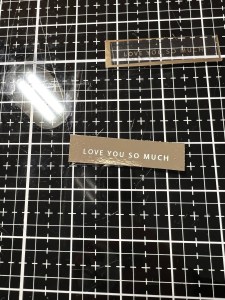
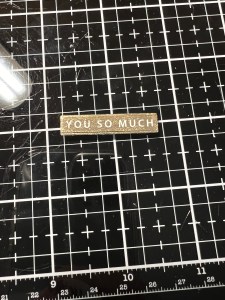
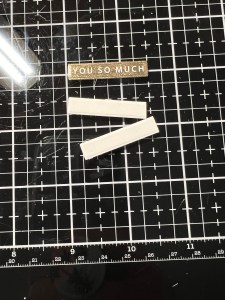
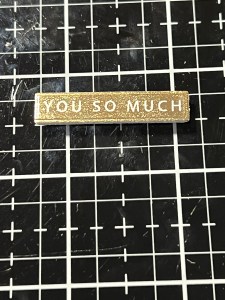
For my sentiment, I choose one from the Mixed Messages Sentiment Sheets and cut it apart. Because these sheets are printed in toner ink, they can be foiled! Using the same Champagne Deco Foil, I repeat the same foiling procedure as I did with my panel and run it through my Fuse Laminator. I then take a die from the Sentiment Strips Die Set and line it up to only cut out “you so much” as I didn’t want the “love” portion and hold it into place using Pixie Tape. I then run them through my P6 and now have a beautiful foiled sentiment.

To add some dimension behind my sentiment, I use the same die and cut out of some scrap white cardstock then glue them behind my sentiment.
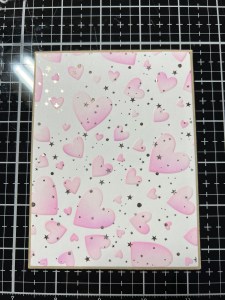
Using Liquid Glue, I add very small drops behind my die cut greeting using my Fine Tip Glue Bottle then adhere it onto the center of my card front. I then glue the sentiment strip just below and this finishes off my card.

I hope you enjoyed today’s card! I just love stenciling backgrounds and can’t get over how much of a difference dry embossing can make, it gives such an amazing look. The stencil I used today is one of my favorites as it is so versatile to use for so many occasions, perfect for baby showers, wedding, anniversary, birthday… the list goes on! If you love foiling with a heated laminator and haven’t yet tried the Poly Glaze sheets, I encourage you to give them a try! There are so many designs to choose from and can be used with a wide array of beautiful foils! ***Poly Glaze sheets will NOT work with “hot foil” foils. Foils that are made to adhere to toner ink when ran through a laminator are the foils to use.
If this is your first time visiting my blog, welcome and I hope you return. If you are a returning visitor, thank you so much for your support!
If you would like to be notified by email each time I post a new project, there is an option to add your email (located at the top menu, or on the right side of my page) then hit the subscribe button. Should you have any questions or comments please leave them in the comments section. I’d love to hear from you and what you thought about today’s card.
Thank you for visiting and I hope you come back soon!
Happy Stamping and God Bless!!
Jeannie

That is beautiful!
LikeLike
Thank you so much, Joanne!!
LikeLike
Try nice! 👍🏼
LikeLike
Thank you so much Ivy!!
LikeLike