I want to start out by thanking everyone for the support and nice comments you all leave for me. I truly appreciate the support of this blog!! I enjoy card making and bringing my creations to you, this wouldn’t be possible without your support, so again, thank you!! *Affiliate links are used at no additional cost to you. When you purchase products through my links I receive a small commission from these sales, which helps me to purchase new products for the cards I share on my blog. Thank you so much for your support, it is greatly appreciated!! Don’t forget to check out my previous blog for MANY more card projects! You can find them HERE.
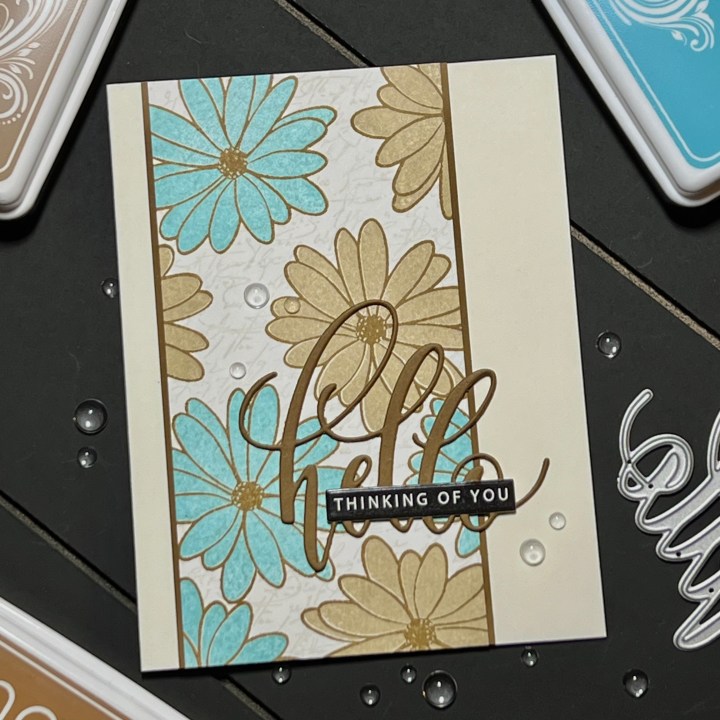
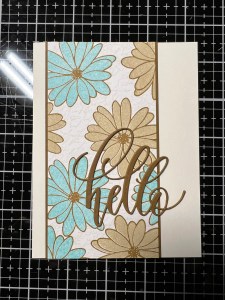
Tonight is the April release over at Gina K Designs, all products are now available and can be found HERE. Gina has a live presentation starting at 7:00 PM CST over on her YouTube channel and Facebook page where she shows all of the products up close then creates a card at the end, always so fun! Included in this release is a brand new kit also! (***Remember, Gina offers free shipping on orders of $50.00 or more before any tax and shipping is added. When orders reach $75.00 or more, you get free shipping and the current incentive mini stamp set. The incentive set will automatically be added to your order.) I have a card made with the new Kindred Spirits stamp set, illustrated by Lisa Hetrick. This stamp set is filled with outline floral images and a couple of them have coordinating solid elements for some two step stamping. The images can be stamped together or used on their own for so many different options. *This stamp set also comes as a stamp & die combo. I chose the largest floral to do some simple stamping and fill with color using the coordinating solid image. I love how easy these images were to line up but also think they would look great being stamped offset just a bit. To add a subtle look and break up the stark white of the panel, I stamped the script background stamp in a soft color, it’s soft enough to tone down the white without distracting the images. For another very subtle touch, I used ivory cardstock for my card base. Layering white cardstock over ivory is one of my favorites, it isn’t boldly noticeable but does does show and helps the panel to stand out just a bit. All of the stamps, dies, inks and cardstock I use are from Gina K Designs. Let’s get started!!

I will be doing all of my work today, on my Tim Holtz Glass Media Mat.
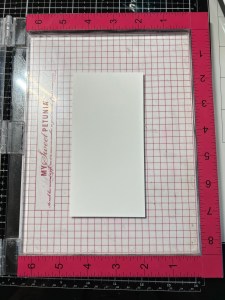
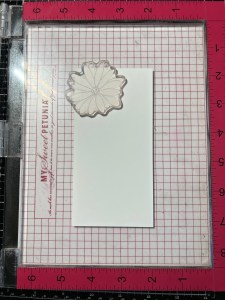
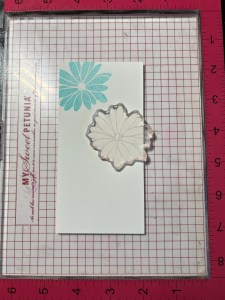
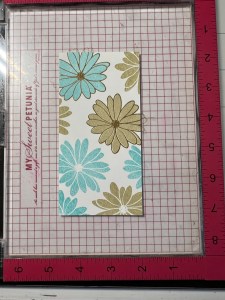
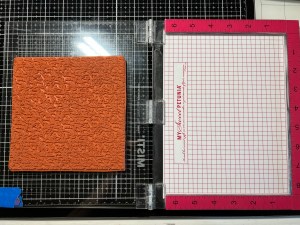
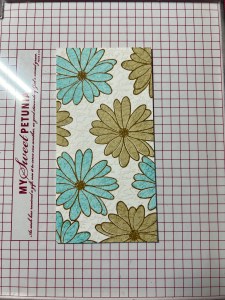
To start, I trim a 2 3/4″ x 5 1/2″ panel out of White Cardstock using my Guillotine Paper Trimmer. I then place it onto the Grip Mat in my MISTI Stamp Positioner to do some stamping. I start by placing an image from the Kindred Spirits Stamp Set over the top corner of my panel, allowing it to hang off a bit. I then pick up the stamp with the door of my MISTI and stamp it onto the panel using Sea Glass Ink.
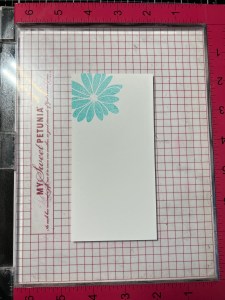
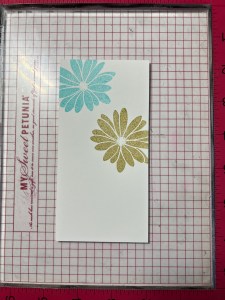
Next, I clean off the stamp and position it a little further down the panel and stamp it using Kraft Ink. I continue to alternate between inks until I’m happy with the coverage on the panel. *Allowing the images to hang off of the panel gives a more natural, continuous, kind of patterned paper look.
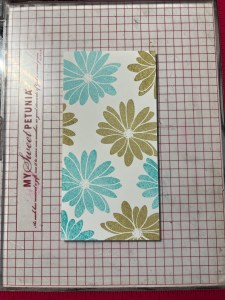
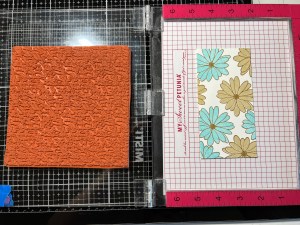
Now that my colored stamping is finished, I line up the coordinating out lined image from the same Kindred Spirits Stamp Set and line it up over my first image then stamp it using Warm Cocoa Ink. I then clean off the stamp and position it over the next image, stamp it using Warm Cocoa Ink and repeat with all remaining flowers.
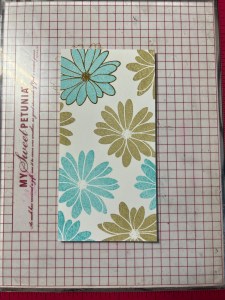

To soften the stark white background and add a little interest, I place my Elegant Script Background Stamp onto the door of my MISTI, add a little Adhesive Dot Runner to the back of my panel and place it face down, lined up over my stamp, then close the base of my MISTI onto the door and flip it over. I now have my panel line up with my stamp for stamping. I ink up the stamp using Whisper Ink and stamp it onto my panel. This light colored stamping, though subtle, I feel adds so much and anchors the flower images. ***My Script Background stamp is the previous version in red rubber, that is the reason I had to remove my Grip Mat from my MISTI to allow for the thickness of the rubber stamping. This same stamp is now available in clear photopolymer only which makes it much easier to line up.


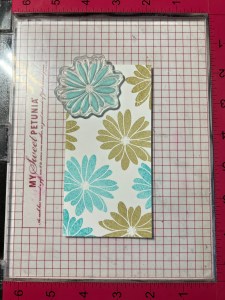
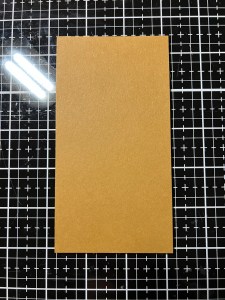
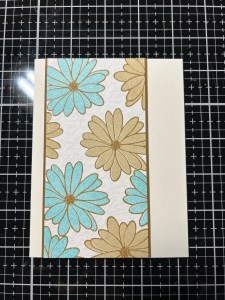
Next, I cut a 2 7/8″ x 2 1/2″ panel out of Warm Cocoa Cardstock using my Guillotine Paper Trimmer. Using Liquid Glue, I adhere the two panels together leaving equal space on each side. I then Mount the panel onto an Ivory Cardstock card base, offsetting it to the left side a bit.

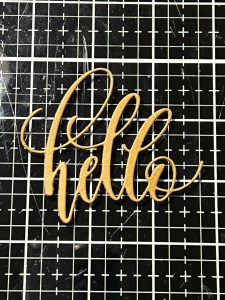
For a greeting, I take the Hello & Shadow Die and cut out of Warm Cocoa Cardstock three times, running them through my Platinum 6 Die Cut Machine. Using Liquid Glue, I stack the die cuts together then adhere them onto my card front, also using Liquid Glue.

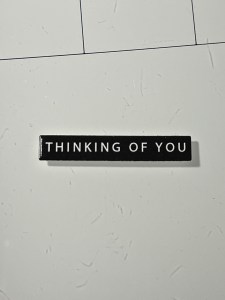
For a sentiment, I take my Sentiment Strips Dies and cut out a sentiment from the Mixed Messages Sentiment Sheets. Using Liquid Glue, I mount the sentiment across my die cut greeting.
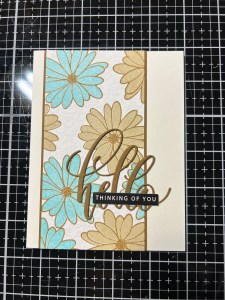
To finish, I take my Pick & Stick Tool to add a few Dew Drops using Liquid Glue and this completes my card.
I hope you enjoyed today’s card. Adding little things, like the background stamping, layering my strip with a coordinating cardstock color to help it stand and using an offset layout helps to step up simple stamped images. This card layout could be used for almost any occasion by changing the greeting and or sentiment. I hope you get a chance to check out Gina’s live. If you are unable to watch at 7:00 PM CST, you can always watch the replay on Gina’s YouTube channel. Thank you for taking the time to visit my blog!
If this is your first time visiting my blog, welcome and I hope you return. If you are a returning visitor, thank you so much for your support!
If you would like to be notified by email each time I post a new project, there is an option to add your email (located at the top menu, or on the right side of my page) then hit the subscribe button. Should you have any questions or comments please leave them in the comments section. I’d love to hear from you and what you thought about today’s card.
Thank you for visiting and I hope you come back soon!
Happy Stamping and God Bless!!
Jeannie

I just found your blog and have spent an hour scrolling through your beautiful cards. Thank you for sharing. I have a few of the Gina K sets you used. Now I have some new ideas!
LikeLike
Thank you for visiting my blog, Ros! I’m happy you found some inspiration and come back soon!
LikeLike