I want to start out by thanking everyone for the support and nice comments you all leave for me. I truly appreciate the support of this blog!! I enjoy card making and bringing my creations to you, this wouldn’t be possible without your support, so again, thank you!! *Affiliate links are used at no additional cost to you. When you purchase products through my links I receive a small commission from these sales, which helps me to purchase new products for the cards I share on my blog. Thank you so much for your support, it is greatly appreciated!! Don’t forget to check out my previous blog for MANY more card projects! You can find them HERE.
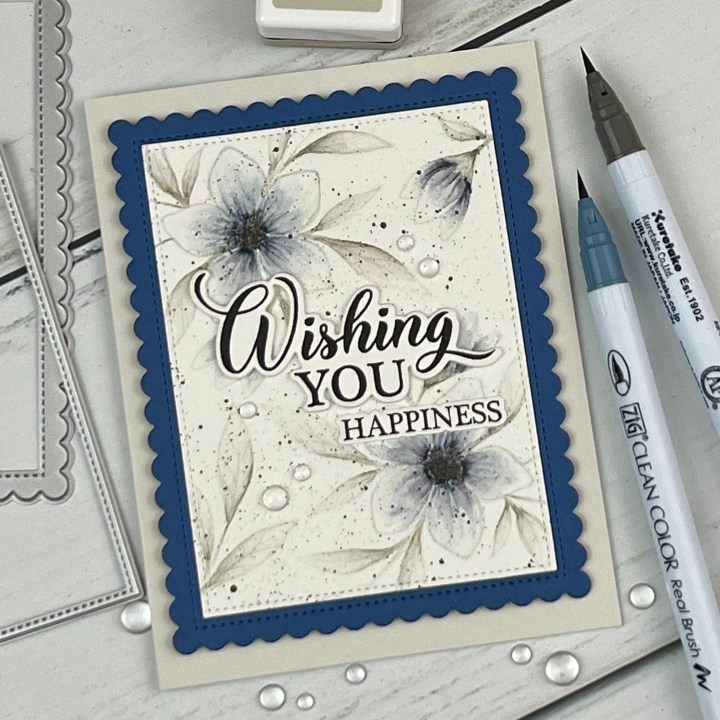
Today, I have a card made with the Wishful Florals stamp set which was previously part of last months kit. This stamp set is now available for purchase on it’s own, as a stand alone stamp set or a stamp and coordinating dies bundle. This is a beautiful stamp set that also offers a coordinating Poly Glaze set for separate purchase if you’d like to step up the look to add foil accents. Today, I will be watercoloring my images, however, there is also available for purchase, coordinating layering stencils for quick and easy coloring. I’m really enjoying these stamp sets that Gina is offering with Poly Glaze and layering stencils for coloring, giving so many options for creating beautiful images! I will be using Zig Clean Color Real Brush Markers for my coloring in the gray-tone shades to add soft colors. All of the stamps, dies, stencils and cardstock I will be using are from Gina K Designs. Let’s get started!!

I will be doing all of my work today on my Tim Holtz Glass Media Mat.
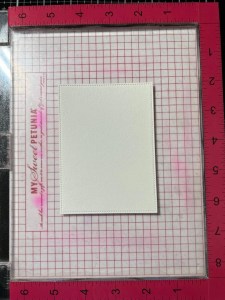
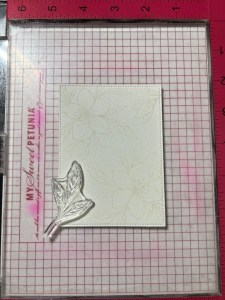
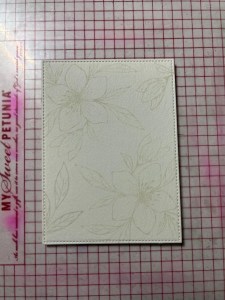
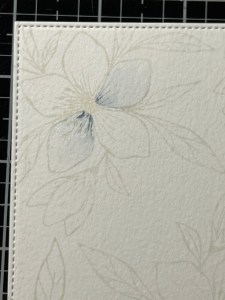
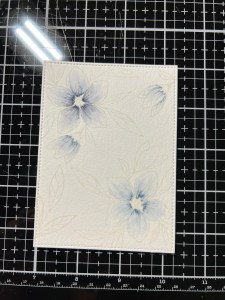
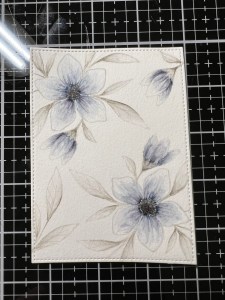
To start, I take the large stitched rectangle from the Master Layouts 5 Die Set and cut out of Watercolor Cardstock, running them through my Platinum 6 Die Cut Machine. I then place the panel onto the center of a Grip Mat that I keep in my MISTI Stamp Positioner to hold it in place. Next, I place an image from the Wishful Florals Stamp Bundle and place it over the top left corner of my panel, allowing the image to hang off the edges a bit. I pick up the stamp with the door of my MISTI and stamp it onto the panel using Whisper Ink. *I end up stamping my image two times for even coverage.

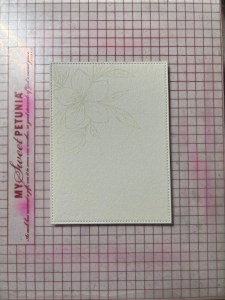
To stamp the opposite corner of my panel with the same image, I pay close attention to the measurement markings on my MISTI of where my panel currently sits. I then pick up the panel and rotate it so that my previous image is now in the lower right corner then line the panel back up to the measurements where the panel was previously. I now ink up the image with the same Whisper Ink and stamp it onto my panel. Now I have the same image stamped in opposite corners of the panel equally. Taking two of the smaller images from the same Wishful Florals Stamp Bundle, I stamp the open corners.


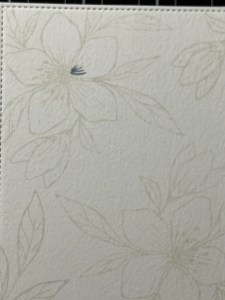
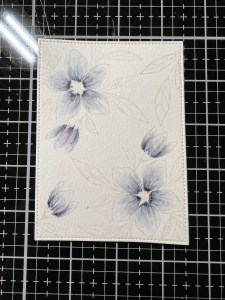
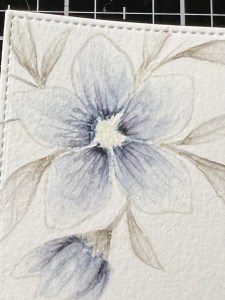
It’s now time to color the panel. I will be using Zig Clean Color Real Brush Markers in the gray tones for a soft, muted palette. Before starting, I like to swatch the colors on the same cardstock I will be using to see what they will look like. I scribble each color, then take my Water Brush and blend the color out. To keep track of which color I use, I like to write the number next to each color. To start, I add a little Blue Gray 092 to the base of my first petal. I then take my Water Brush and blend and fade the color out, toward the end of the petal. I repeat this process for the next petal, and all other petals on each flower. To prevent color bleeding onto the previous petals that may still be damp, I work on opposite petals which gives time for any previously painted petals to dry. *I squeeze my water brush barrel just enough so that the bristles are damp and not too wet which helps my be able to control the blend better. If I’ve squeezed the barrel too much and my bristles become too wet for my liking, I just dab my brush onto a paper towel. I also use this paper towel to clean my brush off when changing colors. **If you would like to remove some color, you can add clean water over that area and blot it up with a dry paper towel. This may not completely remove all of the color, but it will remove enough for you start over if need be.
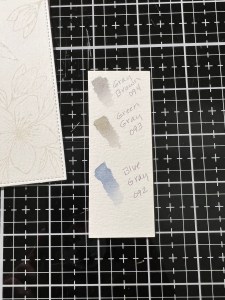

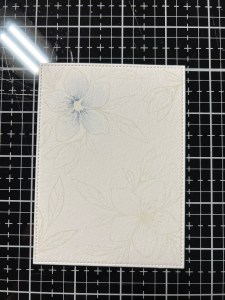

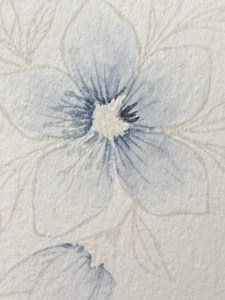
Before moving on to my next color, I did add another layer of the same Blue Gray 092 to the petals of each flower to darken the color a bit, repeating the same previous process. I now add a little Gray Brown 094 to the base of each of the petals and blend it out about half way with my Water Brush, being careful not to completely cover up my previous color. I also tap my Water Brush over the petals to add some “stippling” as I blend this color.

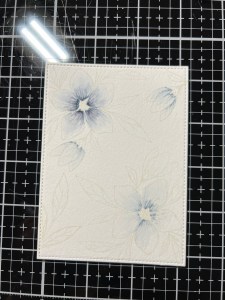
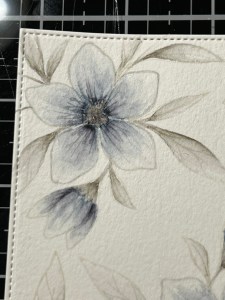
Now it’s time to add color to my leaves. Using Green Gray 093, I add a small amount to the base of my first leaf. I then take my Water Brush and blend the color out, towards the end of the leaf. I repeat this process for all of the leaves and also trace over each stem with any remaining ink on my Water Brush. I like this light wash of color, however, if a darker shade is desired, just go back and add another layer of color.
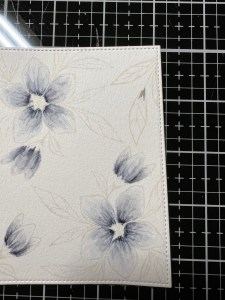

To color the center of the two large flowers, I dot on Gray 090 marker then take my Water Brush and dot the color until it is blended a bit. To add a bit of dimension, I use the same Gray 090 and dot it towards the bottom of the center area until I am satisfied with the look.
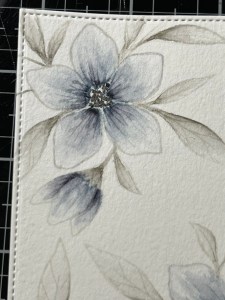
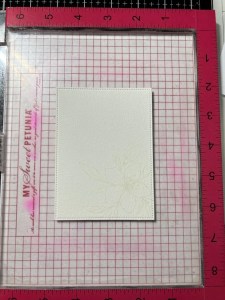
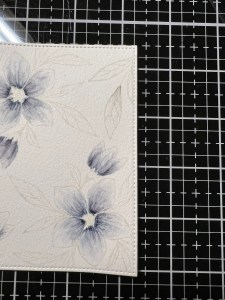
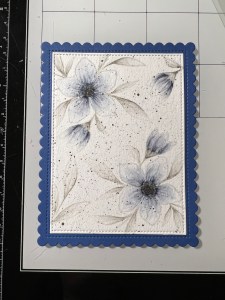
Now that my coloring is complete, I add a small amount of Forest Moss Distress Paint to my Glass Mat and pick it up with a small paintbrush then spatter it over my colored panel and set it aside to completely dry.


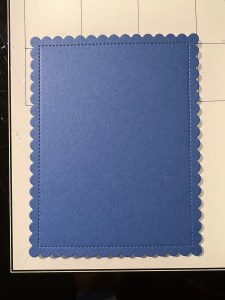
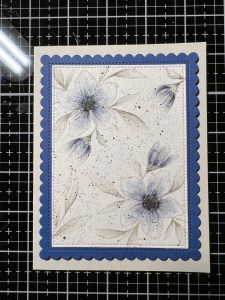
Next, I take the scalloped die from Master Layouts 4 Die Set and cut it out of Blue Denim Cardstock, running them through my P6. Using Liquid Glue, I adhere my painted panel onto the scalloped panel. To add some dimension and lift to my panel, I add Foam Tape to the back of my panel then mount it onto a Whisper Cardstock card base.
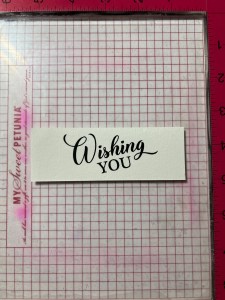
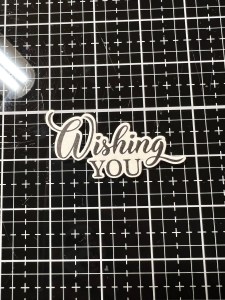
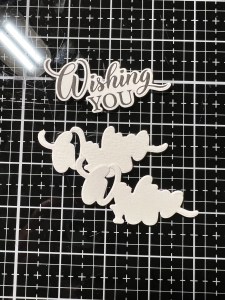
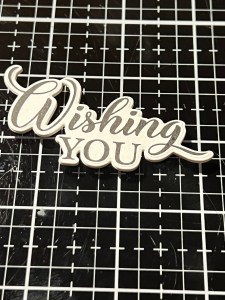
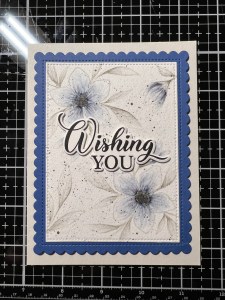
For my greeting, I place a piece of the same Watercolor Cardstock into my MISTI and choose a greeting from the Wishful Florals Stamp Bundle and stamp it onto the cardstock using Amalgam Obsidian Black Ink. Once the ink has dried, I take the coordinating die from the Wishful Florals Stamp Bundle and cut my greeting out, I also use the same die to cut out of Watercolor Cardstock two times, running them through my P6. Using Liquid Glue, I stack and glue the pieces together.

For a sentiment, I place another piece of Watercolor Cardstock into my MISTI and choose a sentiment from the same Wishful Florals Stamp Bundle then stamp it using Amalgam Obsidian Black Ink. After the ink has dried, I take the coordination die from the Wishful Florals Stamp Bundle and cut it out, running them through my P6.


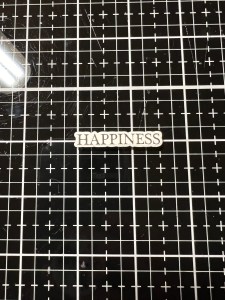
Using Liquid Glue I adhere my greeting onto the center of my panel. I then mount the sentiment just under the greeting with Liquid Glue.
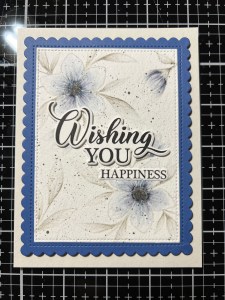
Using my Pick & Stick Tool, I add some Dew Drops with Liquid Glue and this completes my card.
I hope you enjoyed today’s card and learned how easy watercoloring can be using Zig markers. Ink pads pressed onto a surface or ink refills can also be used to achieve a beautiful watercolor look! I absolutely love gray tone colors and the soft look they give. The blue along with the brown and green gray tones were just the look I was hoping to get. If you like the look of foiled greetings, there is also Wishful Florals Poly Glaze sheets that also coordinate with the dies from this stamp bundle that can be foiled. I am really loving the floral sets that Gina is coming out with that gives these options!
If this is your first time visiting my blog, welcome and I hope you return. If you are a returning visitor, thank you so much for your support!
If you would like to be notified by email each time I post a new project, there is an option to add your email (located at the top menu, or on the right side of my page) then hit the subscribe button. Should you have any questions or comments please leave them in the comments section. I’d love to hear from you and what you thought about today’s card.
Thank you for visiting and I hope you come back soon!
Happy Stamping and God Bless!!
Jeannie

Beautiful Jeanne! I love your style.
LikeLike
Thank you so much, Barb and for visiting my blog!!
LikeLike
That is beautiful. Thank you for your tutorial.
LikeLike
Thank you so much, Diana!!
LikeLike