
I want to start out by thanking everyone for the support and nice comments you all leave for me. I truly appreciate the support of this blog!! I enjoy card making and bringing my creations to you, this wouldn’t be possible without your support, so again, thank you!! *Affiliate links are used at no additional cost to you. When you purchase products through my links I receive a small commission from these sales, which helps me to purchase new products for the cards I share on my blog. Thank you so much for your support, it is greatly appreciated!! Don’t forget to check out my previous blog for MANY more card projects! You can find them HERE.
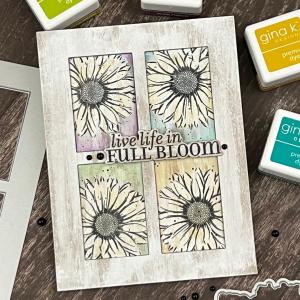
Welcome to Gina K Designs July release!! The months are just flying by, and here we are with July already in full swing and winding down. While we are in the heat of summer, included in this month’s release is a Christmas In July card kit! I appreciate Gina offering holiday sets earlier in the year for those who like to get an early start on holiday cards. The July release party starts, tonight at 7:00 PM CST over on Gina’s YouTube channel and Facebook page where she will be showcasing all of the new products close up and will have LOTS of inspiration! New release products can also be found HERE. For my card, I used the Life In Full Bloom stamp set as well as the Life In Full Bloom die set, illustrated by Lisa Hetrick for July’s release. *There is also a coordinating stencil for additional purchase that goes with this set. I decided to use one of the layering stamps for the larger daisy to do some bleaching. I’ve been loving the whitewash look and wondered how it would look, and even “if” it would work over the white paint… I LOVED the results it gave!! Using Master Layouts 11 Die Set, I not only created my window frame but also used the negative, cut out pieces to do my stamping on. This was the perfect sized flower for the openings of the window and the petals were so easy to bleach! All of the stamps, dies, inks and cardstock I use are from Gina K Designs. Let’s get started!!
I will be doing all of my work today on my Tim Holtz Glass Media Mat.
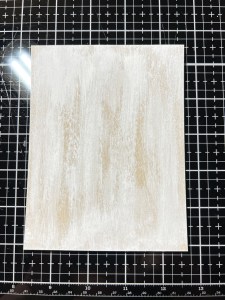
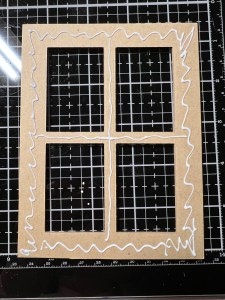
To start, I cut a 4 1/4″ x 5 1/2″ panel of Kraft Cardstock using my Guillotine Paper Trimmer. I then add some white acrylic paint to my Glass Mat then used my Jumbo Sponge Dauber to pick up the paint and swipe it up and down over my panel. I be sure to start on my mat before bringing the dauber to my card, to avoid round sponge marks on my panel. I continue picking up more paint and swiping it onto the panel, being sure to leave some of the cardstock showing through until I am satisfied with the coverage. *The acrylic paint that I use is just the cheapest kind from Walmart.


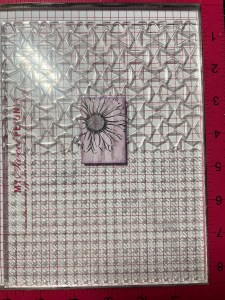
After giving my panel a few minutes to dry, I take the large window frame die from the Master Layouts 11 Die Set and cut out of the panel, running them through my Intri-Cut Die Cutting Machine.
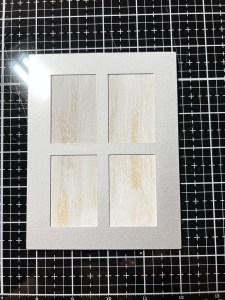

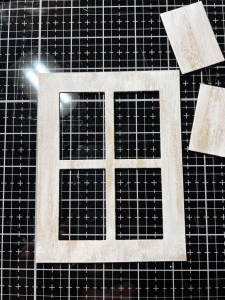
Using the same window die, I cut out of Kraft Cardstock three times. I then stack and glue the pieces together with Liquid Glue then glue my whitewashed piece on top. I like to have the stacked dimension which allows my finished pieces to “sit back” into.


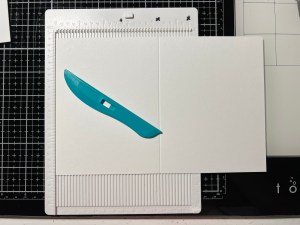
For my card base, I cut a 5 1/2″ x 8 1/2″ panel out of White Cardstock then use my Scoring Board to score it at 4 1/4″. I add Liquid Glue to the back of the frame and adhere it onto my card base.
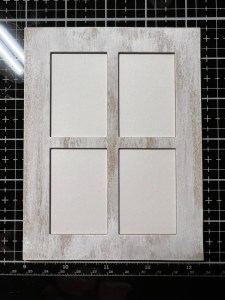
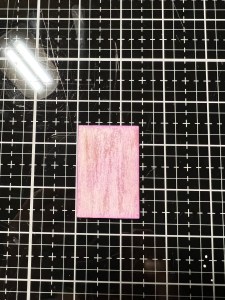
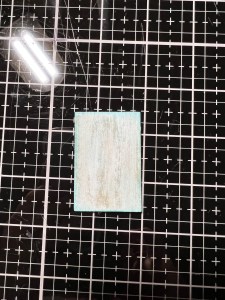
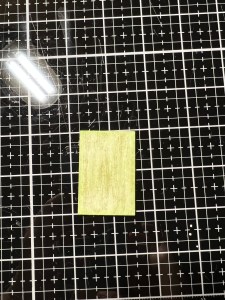
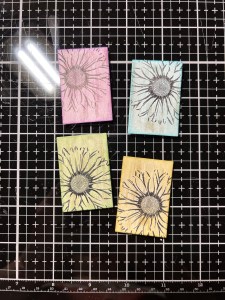
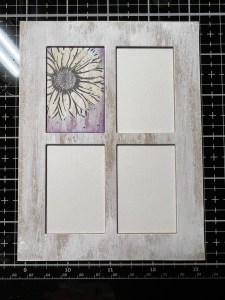
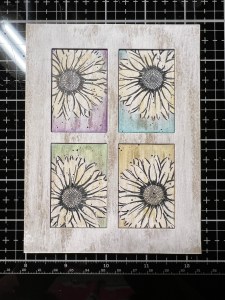
Going back to the negative rectangle die cut pieces from the window, I want to add some color to each one. I use my Blending Brushes to blend Plum Punch Ink on the first one, followed by Turquoise Sea Ink, then Jelly Bean Green Ink and finally Prickly Pear Ink.
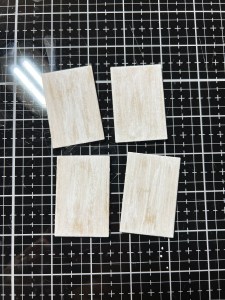

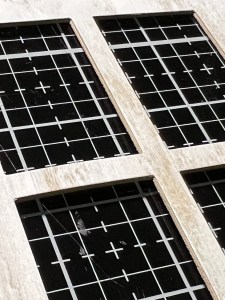
Now that my pieces are colored, I place one into my MISTI Stamp Positioner and choose the more detailed image to the largest flower from the Life In Full Bloom Stamp Set and stamp it onto my die cut piece using Amalgam Obsidian Black Ink. I stamp this image more to the top left corner area, being mindful as to where I will place each piece into my window. I want the images to be coming from the outside corners when placed into the finished window of my card.

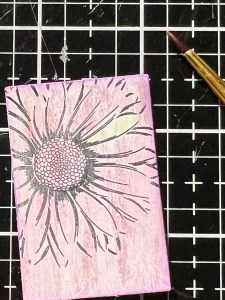
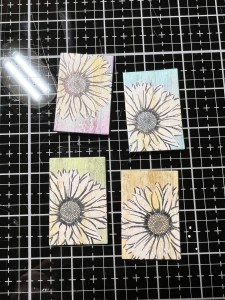
Once my stamped images have completely dried, I use a very small paintbrush and paint a small amount of bleach over each petal. I then repeat this process for all four pieces. To add some subtle detail to each piece, I splatter a small amount of Distress Black Soot Paint over the pieces using a small paintbrush and allow them to dry while I work on my sentiment.


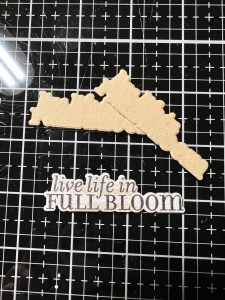
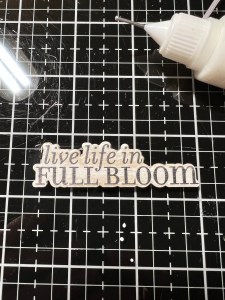
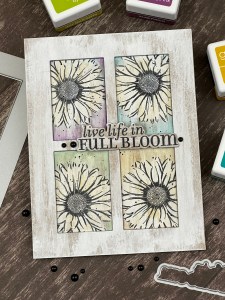
Taking a small scrap of Kraft Cardstock, I whitewash it using the same acrylic paint, allow it to dry, then place it into my MISTI and stamp a sentiment from the same Life In Full Bloom Stamp Set using Amalgam Obsidian Black Ink. Using the coordinating die from the Life In Full Bloom Die Set, I cut out my sentiment, I also use the same die and cut out of Kraft Cardstock two times. Using Liquid Glue, I stack and glue the sentiment pieces together, giving my sentiment some stability.
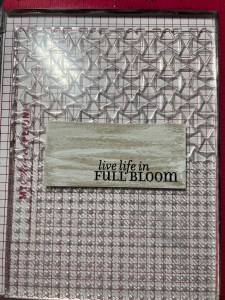
It’s now time to assemble my card. I add Liquid Glue to the back of my first die cut piece and press it into the frame opening, followed by the other three. I then add Liquid Glue to adhere my sentiment to the center of my window pane, a bit off center.

Using my Pick & Stick Tool I add a few Black Pearls with Liquid Glue and this completes my card.
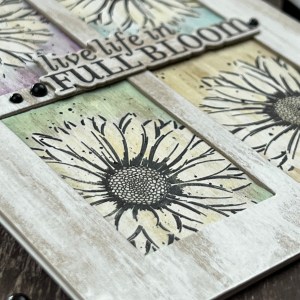
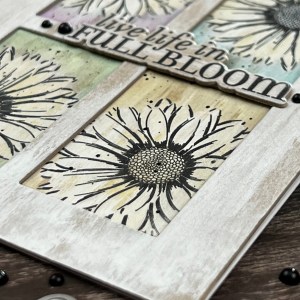
I hope you enjoyed today’s card and if you haven’t already, give this whitewash technique a try! I love the unique, weathered look it gives. I wasn’t sure if the bleach would eat away at the paint, but it actually only removed the ink and left the paint intact. I also love how the flower petals have some aged looked by leaving the streaks from the paint. I’m guessing the yellowish hue the flowers have is from the bleaching on the kraft cardstock. These florals would be beautiful watercolored with paints, inks, Zig Markers or colored with pencils or markers, and I love the option of simply bleaching for an entirely different look! Be sure to check out Gina’s live and if you are unable to catch it at 7:00 PM CST remember, you can always watch it on replay on Gina’s YouTube channel… always such a fun time!!
If this is your first time visiting my blog, welcome and I hope you return. If you are a returning visitor, thank you so much for your support!
If you would like to be notified by email each time I post a new project, there is an option to add your email (located at the top menu, or on the right side of my page) then hit the subscribe button. Should you have any questions or comments please leave them in the comments section. I’d love to hear from you and what you thought about today’s card.
Thank you for visiting and I hope you come back soon!
Happy Stamping and God Bless!!
Jeannie

This is a beautiful card and I appreciate the step by step instructions. It’s above my abilities, but maybe someday I’ll be ready to take on something like this.
LikeLike
Thank you so much for your kind words, Linda! Please give this technique a try one day, it is so much easier than it looks. Have fun creating!!
LikeLike