Hello, welcome to my blog!!
I want to start out by thanking everyone for the support and nice comments you all leave for me. I truly appreciate the support of this blog!! I enjoy card making and bringing my creations to you, this wouldn’t be possible without your support, so again, thank you!! *Affiliate links are used at no additional cost to you. When you purchase products through my links I receive a small commission from these sales, which helps me to purchase new products for the cards I share on my blog. Thank you so much for your support, it is greatly appreciated!!
I also wanted to make everyone aware of Gina K. Designs’ Labor Day sale going on right now! EVERYTHING in the Online Store is 15% off now through 9/6/21, just use code LABOR15 at checkout. This is a good time to stock up on cardstock and supplies. If you have never tried Gina’s blending brushes and are in need of new brushes now is the time to get them ordered! I have blending brushes from a couple different companies and Gina’s are most favorite! I like to have a set dedicated to my Oxide Inks and a set used for all of my dye inks. Having the two sets prevents cross contaminating my dye pads with the pigment in the Oxide pads. Gina recently released her mini blending brushes so I picked up one for each color family (10 in all). These mini brushes are super soft and excellent for ink blending into the small areas of a stencil or any small stamped images. I use both the regular size and mini blending brushes on today’s project. I also use a magnetized art station to help hold things in place when I do my ink blending. I will be using the Wendy Vecchi Make Art Stay-tion to hold my stencil over the cardstock to keep it in place. This product works great, eliminating the need for tape. It comes in sizes of 7 x 7 and 12 x 12, I will be using the smaller size. All of the inks, stamps, stencils, dies and cardstock I use on today’s project is from Gina K. Designs. Let’s get started!!
I will be doing all of my work today on my Tim Holtz Glass Media Mat.
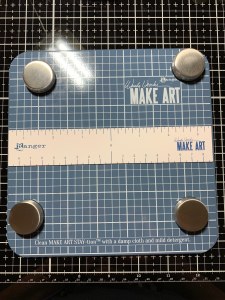
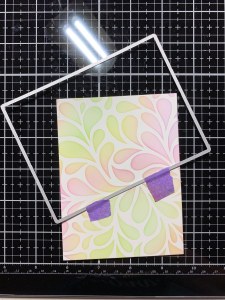
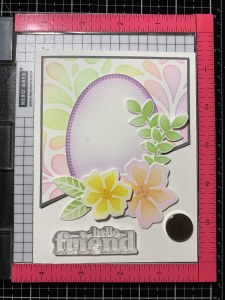
I want to start out by showing you the Make Art Stay-tion. Mine is the 7 x 7 size and it comes with the etched magnetic platform, a flexible magnetic ruler that can be removed and four magnets with foam backed bottoms, which will not pinch your fingers or break easily. These magnets are strong and are easy to handle and remove from the platform, they can also be placed close together for smaller projects.
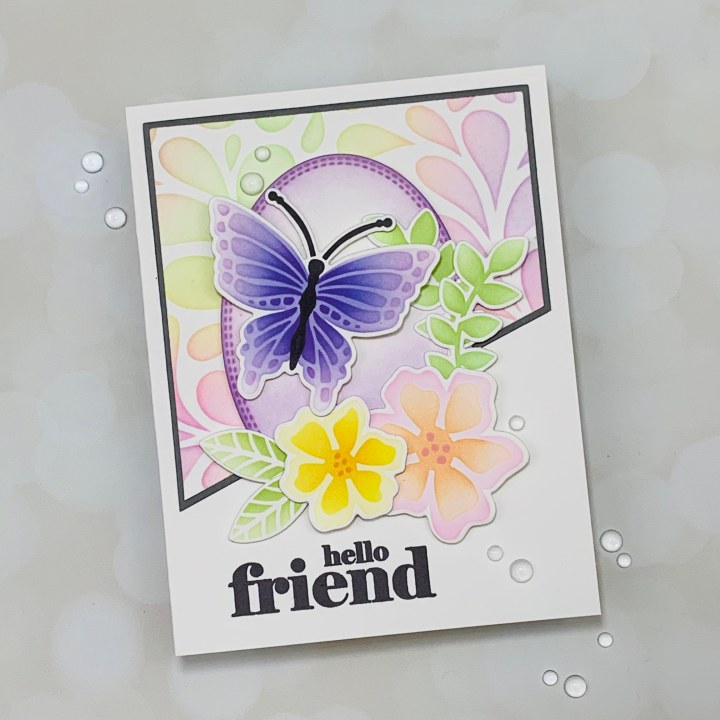
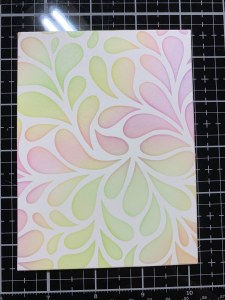
I start by cutting a 4 1/4″ x 5 1/2″ panel out of White Cardstock using my Guillotine Paper Trimmer. Next, I place the panel onto my Make Art Stay-tion and place my Water Droplets Stencil over it and securing it into place with the four magnets. Using my Blending Brushes I blend Applemint Ink over the stencil in a couple of areas. I then blend Lemon Drop Ink around the outside area of the previous color.
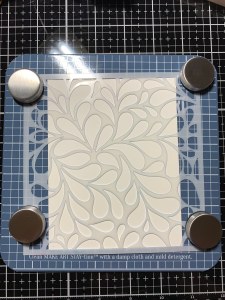
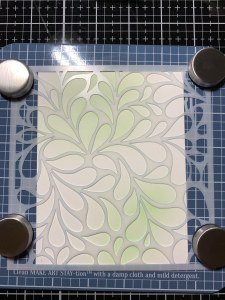
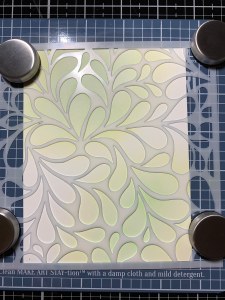
Next, I blend Bubble Gum Pink Ink around the yellow inked areas, blending back into it a bid to create a soft orange color. For my final color I blend Lovely Lavender Ink around the pink inked areas. To get around any areas where the magnets were I simply moved the magnets around while I was blending. Now that my blending is complete, I remove the magnets and stencil from my panel. *I kept in mind the colors I was using and joined colors together that would blend nicely with each other to avoid any muddy colors.


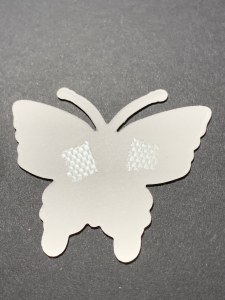
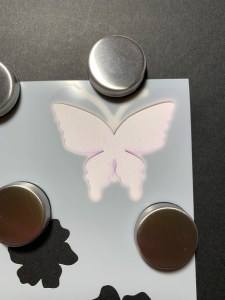
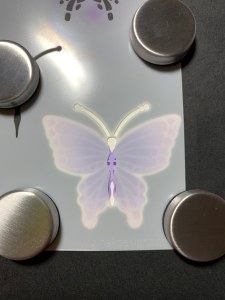
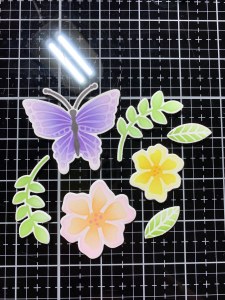
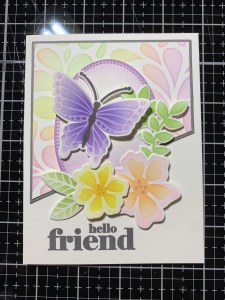
Now it’s time to work on the elements of my card. Using the dies from the Fluttering Fall Layering Stencil Bundle I cut one of the butterflies out of White Cardstock, running them through my Big Shot Die Cut Machine. I then add a small amount of Adhesive Dot Runner to the back of the die cut to temporarily hold it in place while I do my stenciling. I then adhere it to a piece of black cardstock, this helps me to see the white die cut piece better to line up my stencils. (If I were using a darker colored die cut I would use a white piece of cardstock as my background). I now place the piece of cardstock with the die cut onto my Make Art Stay-tion then line up my first stencil from the Fluttering Fall Layering Stencil Bundle (stencil #1, which is etched on the bottom of the stencil) over the die cut piece and hold it in place with the magnets.

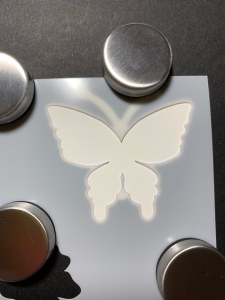
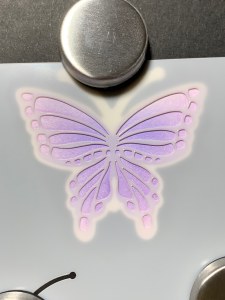
Using my Blending Brushes I first blend Lovely Lavender Ink over the stencil until I have a nice light coverage. To add a little contrast I use my Mini Blending Brush and blend Wild Wisteria Ink onto the center of the butterfly and fade the ink out.


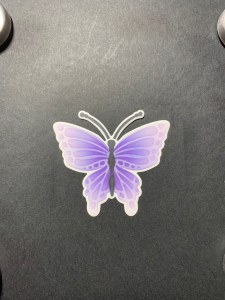
Next, I take the detail stencil (stencil #2, which is etched on the bottom of the stencil) and line it up over the die cut then place the magnets over the stencil to secure it in place. I start by blending Lovely Lavender Ink over the stencil. I then use my Mini Blending Brush to blend Wild Wisteria Ink towards the center of the butterfly and fade the ink out. To deepen the color at the very center I use my Mini Blending Brush and blend Wild Lilac Ink to the very center of the butterfly and fade the ink out just a little being careful not to fully cover up the previous color.
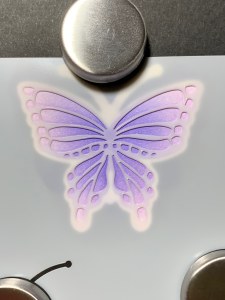
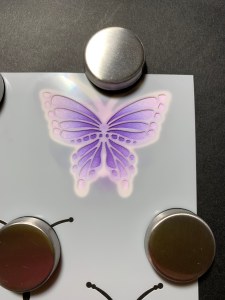

For the body of the butterfly I take the same stencil (stencil #2, which is etched on the bottom of the stencil) and line up the correct body over my die cut then place the magnets over the stencil to secure it in place. *There are three butterfly bodies on this stencil with two of them looking very similar. Just make sure the antennae and body lines up properly. Using my Mini Blending Brush I blend Slate Ink over the body and antennae until I have full coverage. Now that my ink blending is complete I remove the stencil and carefully remove the die cut from the cardstock.
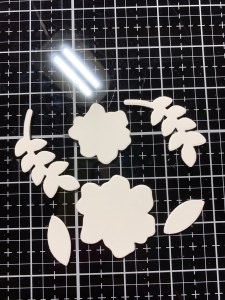
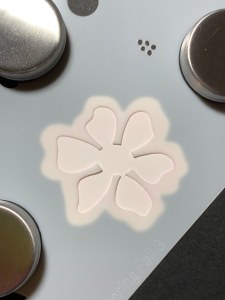
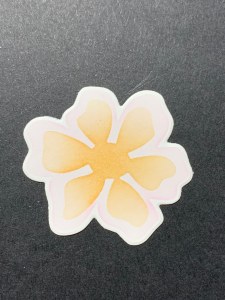
For the other elements I take the two flowers, leaves and sprig dies from the Fluttering Fall Layering Stencil Bundle and cut out of White Cardstock, running them through my Big Shot. I again add a small amount of Adhesive Dot Runner to the back of all my die cut pieces which will hold them down on the cardstock when I do my ink blending. Starting with the large flower I adhere it onto the cardstock then place the outline image from the stencil (stencil #1, which is etched on the bottom of the stencil) over the die cut and hold into place with the magnets. I then use my Blending Brush to blend Bubble Gum Pink Ink over the stencil blending a little heavier around the edges, then remove the stencil.

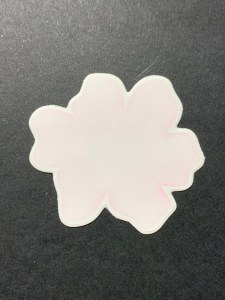
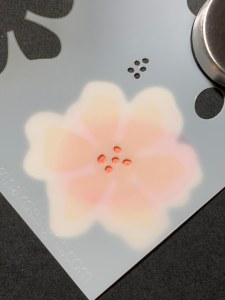
I now place the detail stencil (stencil #3, which is etched on the bottom of the stencil) over the die cut and hold it in place with the magnets. Using my Mini Blending Brush I blend Sweet Mango Ink over the stencil, blending a bit heavier at the center. Using the same stencil (stencil #3) I line up the small dots to the center of my die cut piece and hold it in place with the magnets. Using my Mini Blending Brush I blend Bubble Gum Pink Ink over the stencil. I then remove the stencil and carefully remove the die cut piece from the cardstock.
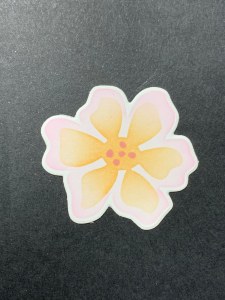
I repeat the process for the smaller flower, this time using Lemon Drop Ink for the background blend (stencil 1) and Wild Dandelion Ink for the detail blend (stencil3). For the small dots I blend Sweet Mango Ink (stencil #3). For the leaves I first blend Applemint Ink (stencil #3) over the entire area then add Jelly Bean Green Ink towards the base of each leaf. For the sprigs (stencil #3) I first blend Applemint Ink over the entire area then blend Jelly Bean Green Ink at the base and edges for a little shading. *Using the Mini Blending Brush worked great for these smaller areas to help control the ink coverage with the shading.
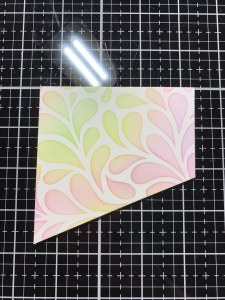
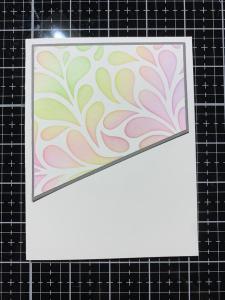
I now take the second largest rectangle from the Master Layouts 1 Die Set and cut out of my blended panel, running them through Big Shot. Next, I take the largest layering rectangle from the Master Layouts 1 Die Set (because it is a bit longer) and place it at an angle over my blended panel then run them through my Big Shot. *The reason I used the die to cut my angle is that I like the slight beveled edge these dies give and wanted it to match the rest of the panel. I could have also just used my paper trimmer to cut the angle.
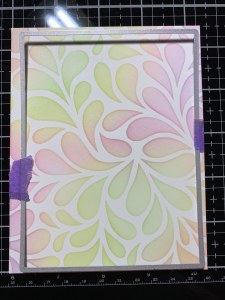
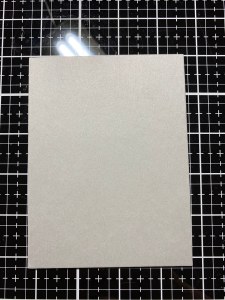
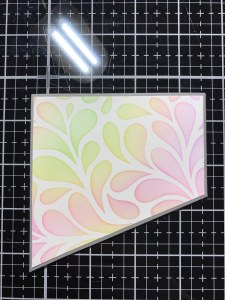
Taking the same largest layering rectangle from the Master Layouts 1 Die Set I cut out of Stormy Sky Cardstock, running them through my Big Shot. Using Terrific Tape I adhere my angle cut panel onto the top of the gray panel. I then take the same layering rectangle die and line it up over the angled edge so that there will be and equal border around the panel then run them through my Big Shot. I now have an angled piece with equal gray borders going around it.

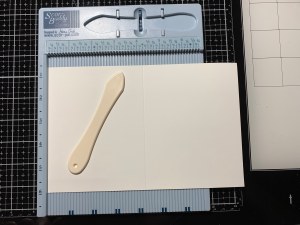
Next, I place a 5 1/2″ x 8 1/2″ piece of White Cardstock into my Scor Buddy and score it at 4 1/4″ creating a side folding card base. Using Terrific Tape I adhere my angled panel onto the card base so that there is equal space on the top and sides.
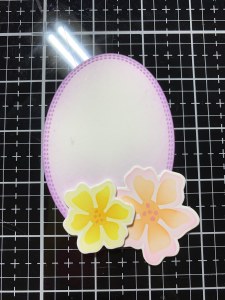
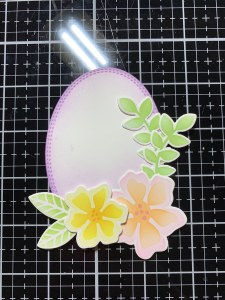
To create a base for my elements I use the second largest oval from the Double Stitched Oval Die Set and cut out of White Cardstock, running them through my Big Shot. I then use my Blending Brush to blend Lovely Lavender Ink around the edges and along the bottom of the die cut, fading out to white in the center. Next, using Liquid Glue I adhere the large flower to the bottom of the die cut. I then add Foam Tape to the smaller flower and mount it slightly overlapping the first flower. I then use Liquid Glue to attach the leaves and sprigs behind the flowers.

To stamp my greeting I place the card into my MISTI Stamp Positioner and temporarily lay out my oval so I can figure out my stamp placement. I then choose a greeting from the Painted Blossoms Mini Stamp Set then remove the oval and stamp the greeting using Slate Ink.

Next, I add Foam Tape to the back of the oval die cut and mount it onto the front of my card. I also add Foam Tape to the back of the butterfly body and mount it at an angle over the oval.
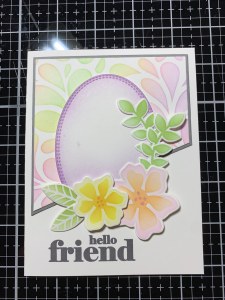
To finish, I use my Jewel Picker and add some Clear Dew Drops with Liquid Glue and this completes my card.

I hope you enjoyed today’s card! I enjoyed using the layering stencils to create ink blends on today’s images, such a quick and easy way to add color! Also included in this bundle is a coordinating 6 x 8 stamp set that includes images to stamp if you prefer that over stenciling, sentiments, beautiful scripted greetings and smaller images that would also be perfect to use with Gina’s Wreath Builder! That’s not all, there is also a scripty “Grateful” die with a coordinating shadow die that is just gorgeous!! So much packed into this bundle! If you are interested in this bundle, through 9/6/21 you can purchase it at 15% off, just remember to use LABOR15 at checkout! I hope you all have a wonderful weekend, I will be back next week with another fun card project to share with you!!
If this is your first time visiting my blog, welcome and I hope you return. If you are a returning visitor, thank you so much for your support!
If you would like to be notified by email each time I post a new project, there is an option to add your email (located on the right side of my page) then hit the subscribe button. Should you have any questions or comments please leave them in the comments section. I’d love to hear from you and what you thought about today’s card.
Thank you for visiting and I hope you come back soon!
Happy Stamping and God Bless!!
Jeannie

Gorgeous are as usual Jeannie, I’m in Scotland and still wait on my kit to arrive so looking forward to receiving it and trying it out
Hugs
CraftyJacq
XX
LikeLike
Thank you so much Jacqueline!! I hope your bundle gets to you soon!!! Have fun crafting!
LikeLike
I love this card. I’m most impressed with the clear and concise instructions. I sometimes struggle to follow written instructions and do better with video. But you make it very easy to follow. Thank you. 😁
LikeLike
Thank you so much Dallas!! I try to be as thorough as I can with my directions, I’m happy you find them helpful!
LikeLike
Very pretty card! I really love the soft blending.
LikeLike
Thank you so much Jess!! I love blending with Gina’s inks!
LikeLike
Beautiful. Especially love the background and your awesome blended colors!
LikeLike
Thank you so much!! Gina’s inks blend so easily!
LikeLike