Hello, welcome to my blog!!
I want to start out by thanking everyone for the support and nice comments you all leave for me. I truly appreciate the support of this blog!! I enjoy card making and bringing my creations to you, this wouldn’t be possible without your support, so again, thank you!! *Affiliate links are used at no additional cost to you. When you purchase products through my links I receive a small commission from these sales, which helps me to purchase new products for the cards I share on my blog. Thank you so much for your support, it is greatly appreciated!! Don’t forget to check out my previous blog for many more card projects! You can find them HERE.
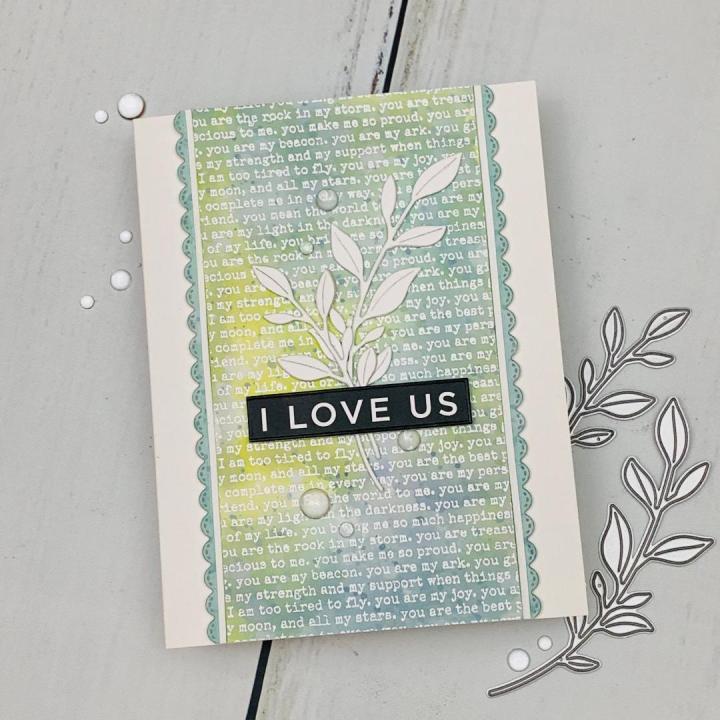
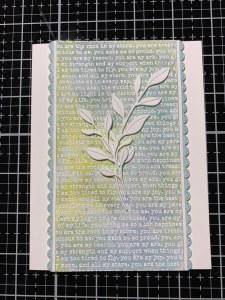
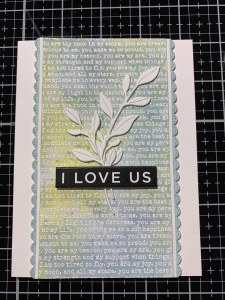
STAMPtember is in full swing over at Simon Says Stamp! STAMPtember runs through the month of September and kicked off with lots of new released Simon Says Stamp branded products that are now available. These SSS branded products will be restocked if they should sell out. The highlight of STAMPtember is the daily stamp sets which SSS collaborates with other stamp companies to create. These stamp sets will release every day in September at midnight EST. Some of these collaboration sets are known to be super popular and can sell out in a matter of hours. I recommend checking out the SSS website at midnight (EST) each night to see the featured set if you are interested. The collaboration sets are limited editions and once they sell out they are gone and will not be restocked. I placed an order for some of the SSS branded products (which will restock) and decided to use one of the beautiful die cut sets on today’s card. I love these types of dies that are great as accent pieces or can be used alone as a focal image with a simple sentiment placed across it. I created a background panel using Distress Oxide Inks with a simple text background embossed over it for a soft watercolored look. I forget how much fun it is to create Distress Inked backgrounds! Let’s get started!!
I will be doing all of my work today on my Tim Holtz Glass Media Mat.
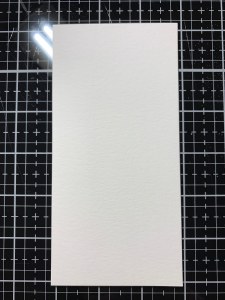
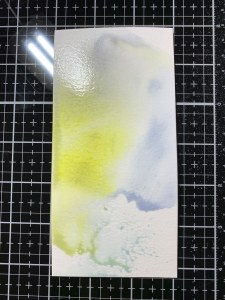
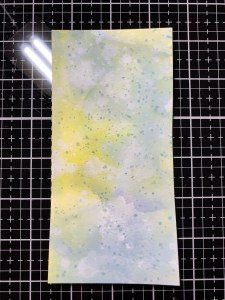
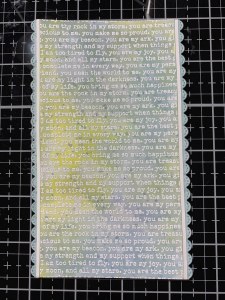
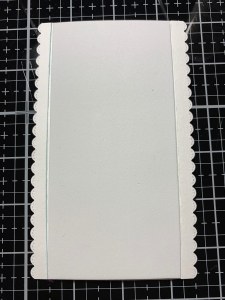
To start I cut a 3″ x 5 1/2″ panel out of Watercolor Cardstock using my Guillotine Paper Trimmer. To give a watercolored look to my panel I start by pressing my ink pads onto the white area of my Glass Mat… Speckled Egg Distress Oxide Ink, Stormy Sky Distress Oxide Ink, Shabby Shutters Distress Oxide Ink, and Weathered Wood Distress Oxide Ink then spray the ink with water using my Distress Sprayer.
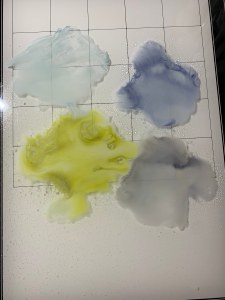
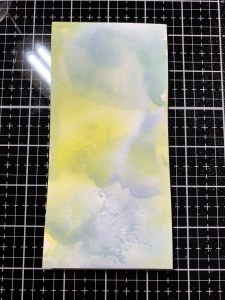
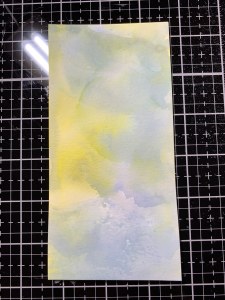
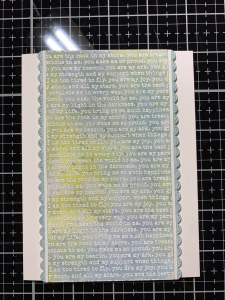
Taking my panel I place the textured side down and drag it through the ink. I then use my Heat It Tool to dry the panel. I repeat this process a few times until I am happy with the look of the panel. *You could also press the ink onto a silicone mat so that the color would bead up which would create droplets of ink onto the panel. However, I was going for more of a clean watercolored look.
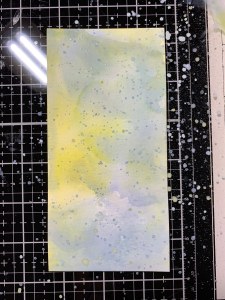
To add some texture to my panel I picked up some of the leftover paint from my Glass Mat using a small paintbrush and spattered the panel. I then created large water drips using my Distress Sprayer filled with clean water, then placed a paper towel over the panel to pick up the water. Finally, I use my Heat It Tool to completely dry my panel. *To create a fine mist with the distress sprayer, pull the trigger rather quickly and all the way. To create large water droplets, pull the trigger slowly and large droplets will come out.
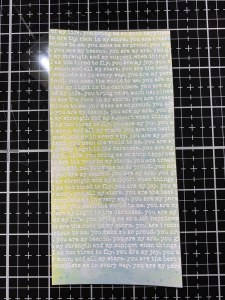
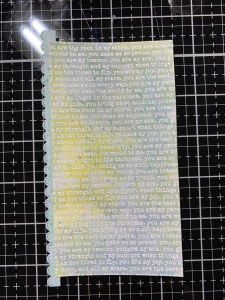
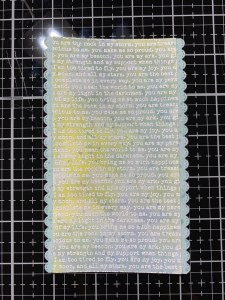
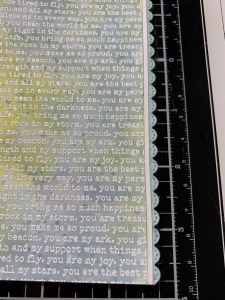
Next, I place my You Are Background Stamp on the door of my MISTI Stamp Positioner then add a little Adhesive Dot Runner to the back of my blended panel. I then line up my panel face down over the stamp and close the base of the MISTI onto the door then flip it over. My panel is now attached to the base of the platform and perfectly lined up. (Sorry I didn’t get a photo!) I prep the panel with my Anti Static Powder Tool then use Versamark Ink to stamp my image. I add White Embossing Powder then heat set with my Heat Tool.
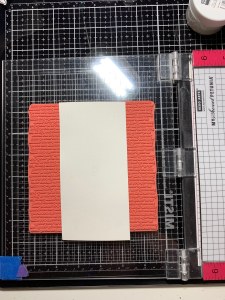
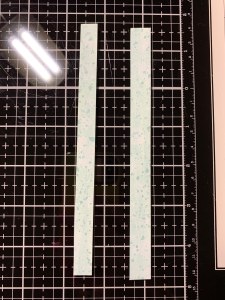
To create a decorative edging for my panel I take a scrap piece of the same Watercolor Cardstock and use a paintbrush to paint Speckled Egg Distress Oxide Ink onto it. I then add water droplets to the strip then spatter Speckled Egg Distress Oxide Ink with a small paintbrush. I dry the strip with my Heat It Tool then cut the strip in half using my Guillotine Paper Trimmer, I now have a strip for each side of the panel.
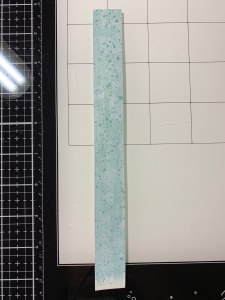
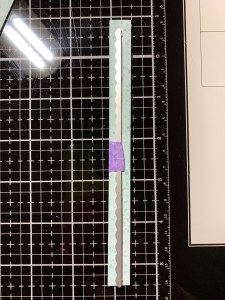
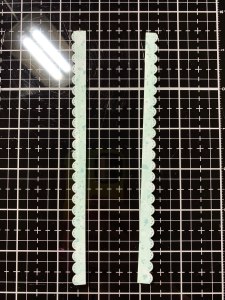
Using the smallest die from the Stitched Scalloped Borders Die Set I adhere it down to the center of my first strip then run them through my Big Shot Die Cut Machine and repeat for the second strip. I now have a decorative strip for each side of my panel. Using Liquid Glue I attach both strips to my panel then trim off the overhang.
To add a little separation to my panel and edge, I use my Guillotine Paper Trimmer to cut two very thin strips out of White Cardstock then add a thin line of Liquid Glue to the edge where the border meets the panel and adhere the strips into place. This small detail gives the panel more of a finished edge and ties in nicely with the white embossing.
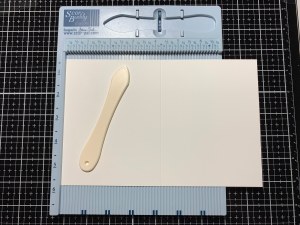
I now place a 5 1/2″ x 8 1/2″ piece of White Cardstock into my Scor Buddy and score it at 4 1/4″ creating a side folding card base. To add some dimension to my panel before mounting it to the card base, I adhere a 2 1/2″ x 5 1/2″ piece of Fun Foam to the back using Liquid Glue then mount it to the card base so that there is equal white space on either side.
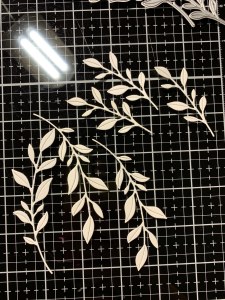
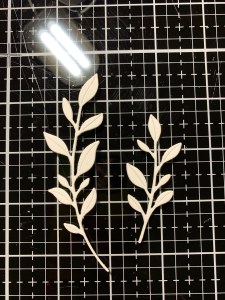
For my focal image, I take the two leaves from the Etched Meadow Flower And Leaves Dies Set and cut out of White Cardstock three times each, running them through my Big Shot. Using Liquid Glue I stack and glue the die cuts for dimension. Starting with the larger leaf die cut I adhere it onto my card front at an angle using Liquid Glue. I then add glue to the back of the smaller leaf die cut and adhere it crossing over the lower section of the first die cut.

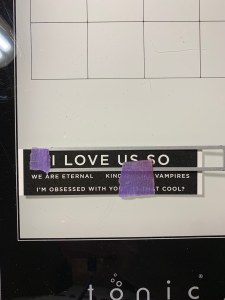
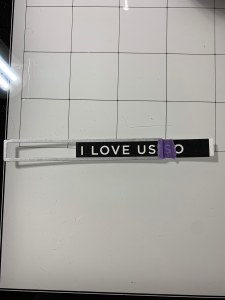
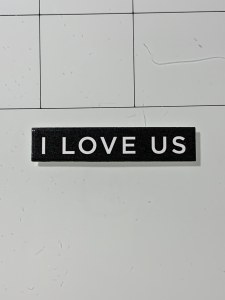
I now choose a preprinted sentiment from the Reverse Sentiment Strips Love. I use one of my Sentiment Labels Die to cut out the strip, running them through my Big Shot. I want to shorten the sentiment a bit and only want the words “I love us” so I line up the same die to cut off the word “so” then run them through my Big Shot. *Did you know that these sentiment strips are printed with toner ink and can be foiled!!!? They are also available with black print on white background and can also be foiled.
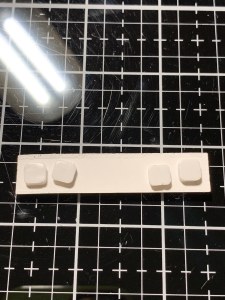
Next, I add 3D Adhesive Squares to the back of my sentiment strip but only to each end, leaving the center open. I remove the release papers then place my sentiment over the stems of the die cut so that the foam sits on either side allowing the sentiment strip to lay flat over the die cuts.
Using my Jewel Picker I add a few Clear Round Drops with Liquid Glue and this completes my card.
I hope you enjoyed today’s card! I knew I wanted to use my new dies for my focal image and loved the way the background turned out to showcase them! Whether it’s ink blending, alcohol inks, or ink smooshing I absolutely LOVE creating backgrounds! I love the watercolored look the Oxide Inks give and once the background text was embossed it just pulled everything together. Though I like bright vibrant color blends, there is just something so calming about muted soft blends… I really enjoy these colors and definitely do not use them enough! How relaxing and fun would it be to take an afternoon and make nothing but inked backgrounds?? It’s always great to have backgrounds on hand ready to go!
If this is your first time visiting my blog, welcome and I hope you return. If you are a returning visitor, thank you so much for your support!
If you would like to be notified by email each time I post a new project, there is an option to add your email (located on the right side of my page) then hit the subscribe button. Should you have any questions or comments please leave them in the comments section. I’d love to hear from you and what you thought about today’s card.
Thank you for visiting and I hope you come back soon!
Happy Stamping and God Bless!!
Jeannie

Great Card Jeannie! Love the process and the colors you chose.
LikeLike
Thank you so much Jess!!
LikeLike
very pretty
LikeLike
Thank you Alyssa!!
LikeLike