I want to start out by thanking everyone for the support and nice comments you all leave for me. I truly appreciate the support of this blog!! I enjoy card making and bringing my creations to you, this wouldn’t be possible without your support, so again, thank you!! *Affiliate links are used at no additional cost to you. When you purchase products through my links I receive a small commission from these sales, which helps me to purchase new products for the cards I share on my blog. Thank you so much for your support, it is greatly appreciated!! Don’t forget to check out my previous blog for many more card projects! You can find them HERE.
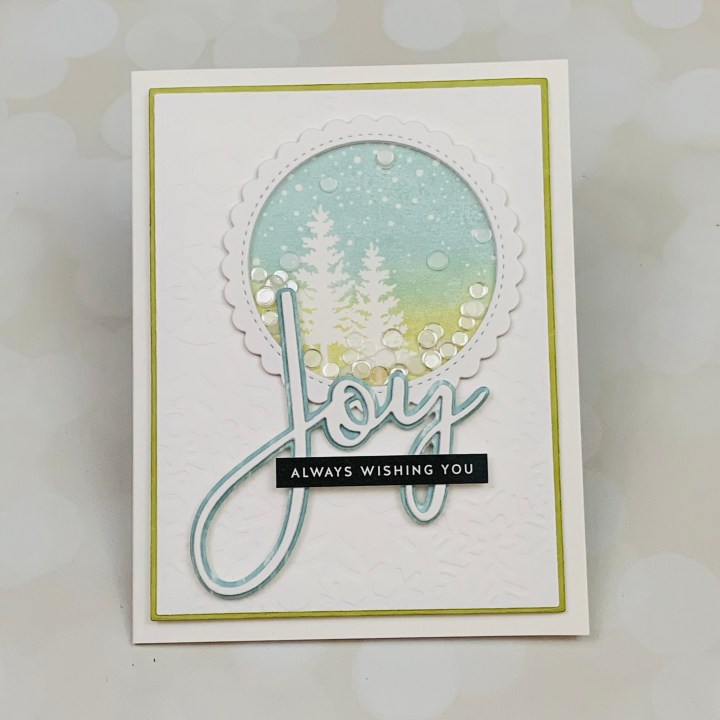
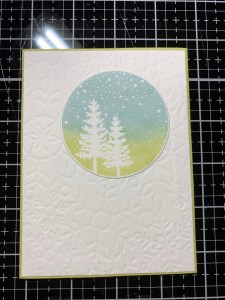
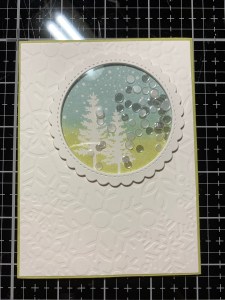
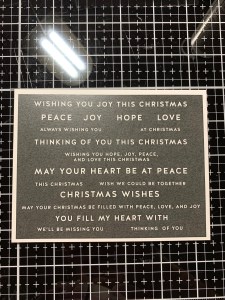
Today I have a card using some products from Simon Says Stamp’s newest release!! I was excited to play with my purchases and ended up using four of the new products on this card! I went with a clean look for my card and wanted lots of white space with some soft, subtle colors. The stamp set I used for my shaker window includes four stamps, three being scenes and one with words. Each stamp has a decorative ring that is removeable and can be interchangeable with the others. *I did not use the decorative ring on today’s card. The stamps set is red rubber, which I love as it gives such a nice solid stamped image! To add some texture on my background I dry embossed it using a stencil, so fun! Seeing there is no coordinating cardstock for distress ink, I used the directed to paper technique to create colored cardstock for the layering pieces to match my stamped image and really loved the results! All of the products I use on today’s card can be found at Simon Says Stamp. Let’s get started!!

I will be doing all of my work today on my Tim Holtz Glass Media Mat.
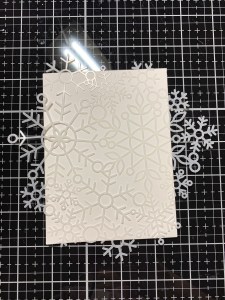
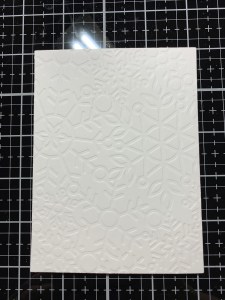
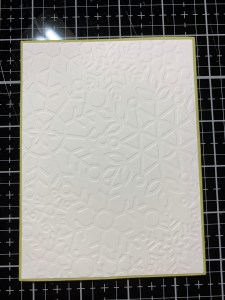
I start out by taking the largest die from the Master Layouts 1 Die Set and cut out of White Cardstock, running them through my Big Shot Die Cut Machine. To create some texture on this panel I place the Snowflake Cluster Stencil over the panel and run it through my Big Shot in the same order I would use if I were die cutting. *One or two cardstock shims can be added if you are not getting a good impression.
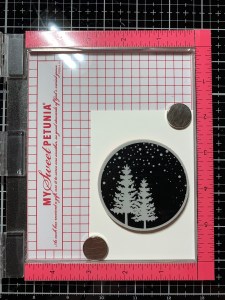
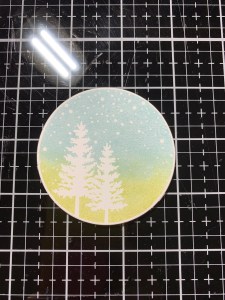
Next, because I am using a red rubber stamp I remove the mousepad from my MISTI Stamp Positioner then place a scrap piece of White Cardstock into the MISTI. I then choose an image from the Winter Seals Stamp Set and pick it up with the door of my MISTI. I want to stamp this image with two colors of ink and create a soft blend where the colors meet. I have found that the best way to do this is to use a Blending Brush to apply the ink to the stamp. I start by using my Blending Brush to add Shabby Shutters Distress Ink to the bottom portion of the stamp then stamp the image onto my panel. I add more ink to the stamp and stamp it onto the panel until I am satisfied with the intensity of color. Next, I use my Blending Brush and add Speckled Egg Distress Ink to the top portion of the stamp, overlapping just a bit where the previous color was and stamp it onto my panel. Again, I repeat applying ink and stamping until I am satisfied with the intensity of color. *I like to brush the ink onto the stamp in a circular motion then tap the brush over the stamp a bit before stamping to avoid any harsh lines or brush marks.
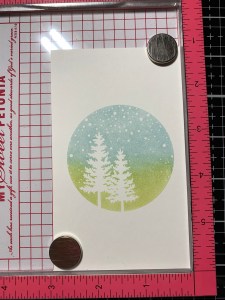
Using a die from the Infinity Circles Die Set I cut out my stamped image, running them through my Big Shot then set it aside while I work on my card front.
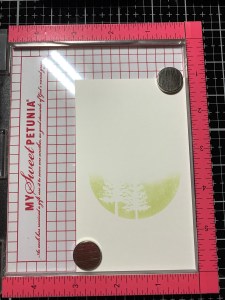
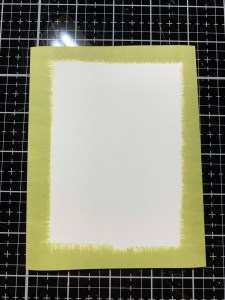
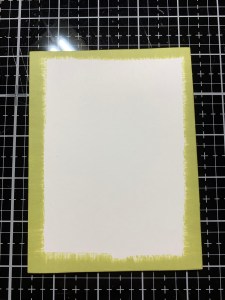
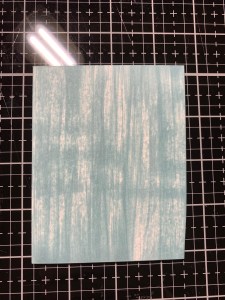
I want to create a layered panel for my card that matches my stamped image, to do this I take my Shabby Shutters Distress Ink Pad and go direct to paper. I drag the edge of the ink pad around all four edges until I have even ink coverage and now my cardstock coordinates with my image! Next, I take the layering die from the Master Layouts 1 Die Set to cut out of the panel, running them through my Big Shot. I then add Double Sided Adhesive Tape to the back of my dry embossed panel and adhere it to the layered panel.
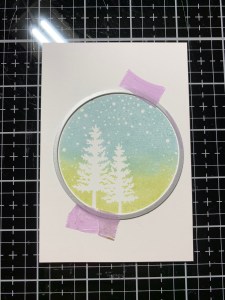
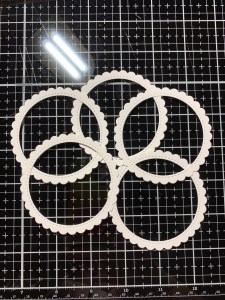
Going back to my stamped image, I add Double Sided Adhesive Tape to the back of it and adhere it onto my panel. To work on the shaker element for my image I take the smaller die from the Stitched Scallop Circle Die Set and cut out of White Cardstock five times, running them through my Big Shot. I then stack and glue four of the die cut pieces together using Liquid Glue, saving the fifth die cut piece for the next step.
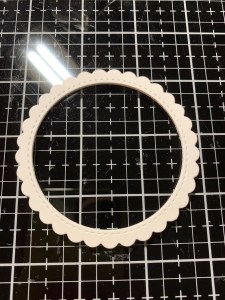
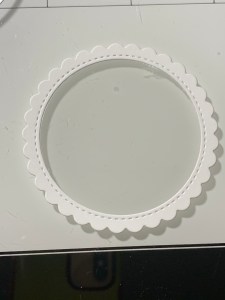
Using the same size die from the Infinity Circles Die Set that I used to cut out my stamped image, I cut out of Acetate, running them through my Big Shot. I then add a thin line of Liquid Glue to the back side of the fifth scalloped die cut and adhere the Acetate circle over the glue, pressing around the edges to seal. I then adhere this acetate frame onto the (four) stacked die cuts, I now have a well for my shaker bits!


To complete my shaker window I place a small amount of Marshmallow Confetti and Majestic Confetti over my stamped image. I then add Liquid Glue to the back of my stacked dies and mount it over my image. I place my hand over the shaker window, pressing down for several seconds until the glue sets and seals to ensure the shaker bits don’t escape.

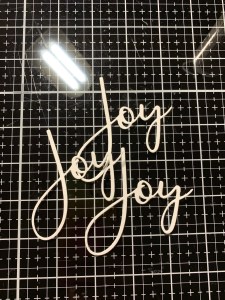
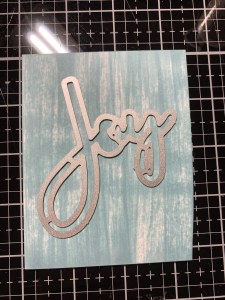
For my greeting I take the Large Joy Die Set and cut out of White Cardstock three times, running them through my Big Shot. I then stack and glue the die cuts together using Liquid Glue.
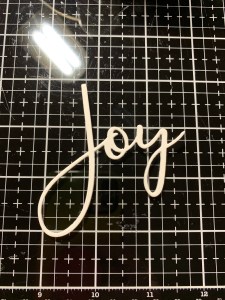
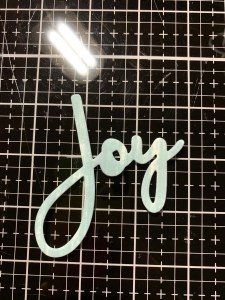
I again want to color coordinate my cardstock, this time for the shadow layer to my greeting. I take my Speckled Egg Distress Ink Pad, and lightly drag it over a scrap piece of White Cardstock leaving some open white space. I then use the layering die from the Large Joy Die Set to cut out of this panel, running them through my Big Shot. Using Liquid Glue I adhere the stacked greeting onto the shadow die cut.

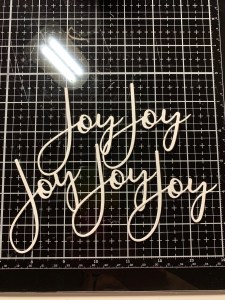
I want to mount my greeting partially over the shaker window and the rest onto the card panel. Because the shaker window is five die cuts stacked, I need to make up the height difference so that my greeting lies flat. To do this I take the word die from the Large Joy Die Set and cut out of White Cardstock five times, running them through my Big Shot. I stack and glue all five die cuts together using Liquid Glue then cut off half of the die cut where it will lay over the shaker window. I then use Liquid Glue and adhere the stacked die cuts to the back of my greeting. Next, I apply Liquid Glue to the back of my greeting where the stacked dies are and also to the areas that will overlap the shaker window and adhere it into place. My greeting now lays flat onto my card front while partially overlapping the shaker window.

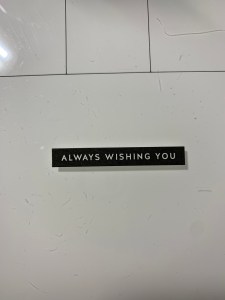
I now choose a sentiment from the Sentiment Strips Reverse Love Peace Joy and trim it down using my Guillotine Paper Trimmer. I add Liquid Glue to the back of the strip and mount it over my greeting.

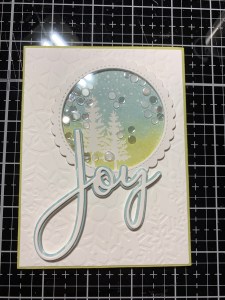
To finish, I place a 5 1/2″ x 8 1/2″ piece of White Cardstock into my Scor Buddy and score it at 4 1/4″ creating a side folding card base. Using Liquid Glue I adhere a panel of Fun Foam to the back of my card front and mount it onto the card base, and this completes my card.

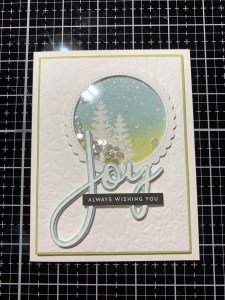
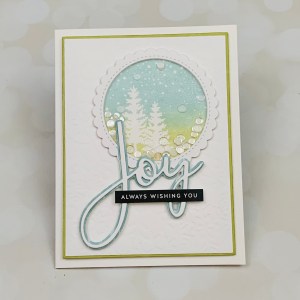
I hope you enjoyed today’s card! I love the soft image of this stamp with gently falling snow, it really adds to the shaker element and the soft texture that the stencil gives really pulls this card together. We don’t always have coordinating cardstock to match our inks, but when we use the ink to color white cardstock, it is a perfect match!! With so many beautiful distress ink colors available, we can now have coordinating cardstock when we create it ourselves!
If this is your first time visiting my blog, welcome and I hope you return. If you are a returning visitor, thank you so much for your support!
If you would like to be notified by email each time I post a new project, there is an option to add your email (located on the right side of my page) then hit the subscribe button. Should you have any questions or comments please leave them in the comments section. I’d love to hear from you and what you thought about today’s card.
Thank you for visiting and I hope you come back soon!
Happy Stamping and God Bless!!
Jeannie

A truly lovely Christmas card! Thank you
LikeLike
Thank you so much Kathy!!
LikeLike