
I want to start out by thanking everyone for the support and nice comments you all leave for me. I truly appreciate the support of this blog!! I enjoy card making and bringing my creations to you, this wouldn’t be possible without your support, so again, thank you!! *Affiliate links are used at no additional cost to you. When you purchase products through my links I receive a small commission from these sales, which helps me to purchase new products for the cards I share on my blog. Thank you so much for your support, it is greatly appreciated!! Don’t forget to check out my previous blog for many more card projects! You can find them HERE.
Hello and Happy New Year!!! I can’t believe we are at the beginning of a brand new year already, this past year has went by so fast for me! My husband and I welcomed two new grandsons, a new daughter (in-law) and had many wonderful visits from family and friends throughout the past year. We are looking forward to adding two more grandchildren in the summer and fall, we are truly so blessed!! I wish good health and many blessing to all of you in the new year!
Today I have a card made with the new Friendly Silhouettes stamp set from Gina K. Designs. While I struggle with making masculine cards, I needed one to give to my husband for our anniversary and this stamp set was the perfect set! This stamp set is filled with several silhouette images that are perfect to use on any card for any occasion and also includes a large “friend” stamp as well as smaller sentiments. This is all around a versatile set that is perfect to use over ink created backgrounds. All of the inks, dies, stamps and cardstock I used on today’s card are from Gina K. Designs. Let’s get started!!

I will be doing all of my work today on my Glass Media Mat.
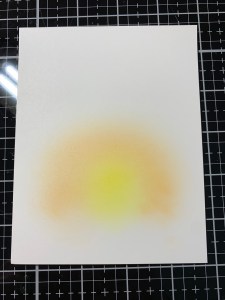
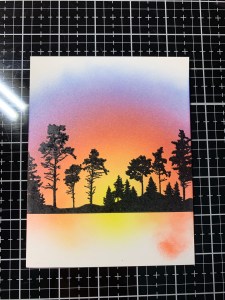
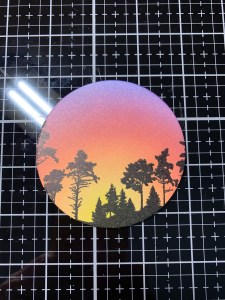
To start I take a panel of White Cardstock and begin doing my ink blending using my Blending Bushes. I start towards the center bottom of the panel and blend a circular area using Wild Dandelion Ink, fading the ink out toward the outside of the circle blend. I then blend Sweet Mango Ink around the previous color, blending back into it a bit and fading the ink out towards the outside of the blend.

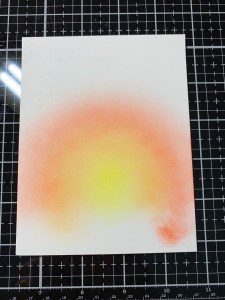
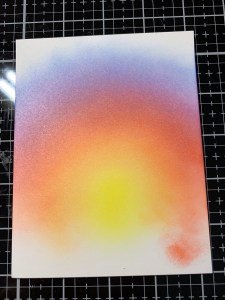
Next, I blend Coral Reef Ink around the previous color, blending back into it a bit and fade the ink out towards the outside of the blend. The next color I blend is Plum Punch Ink, fading back into the previous color and fading the ink out towards the outside of the blend. For my final color I blend Blue Denim Ink around the previous color, fading back into it a bit. Now that my colors are blended, I go back with each ink color and blend for a more intensified look.


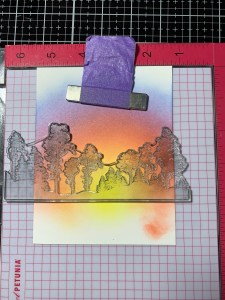
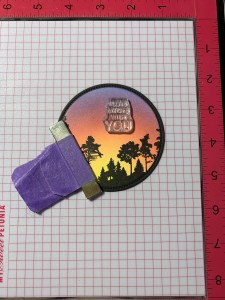
I now place the blended panel into my MISTI Stamp Positioner and lay out an image from the Friendly Silhouettes Stamp Set over the bottom portion of my ink blend. I pick up the stamp with the door of my MISTI and stamp it onto the panel using Amalgam Obsidian Black Ink. I then reink the stamp and again stamp it onto the panel to achieve a dark, solid image.

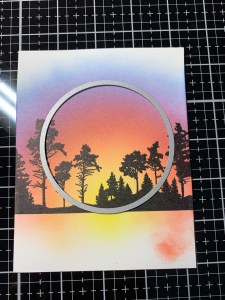
After a few minutes of allowing the ink to dry, I place the plain circle die from the Master Layouts 8 Die Set over the area of the panel that I want to cut out and run them through my Big Shot Die Cut Machine. To intensify the top color a bit I take my Blending Brush that has Blue Denim Ink left on it and blend over the top portion of my die cut to darken the color a bit.
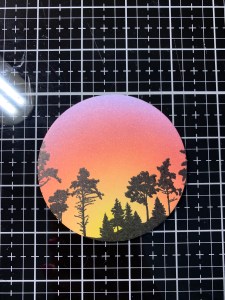
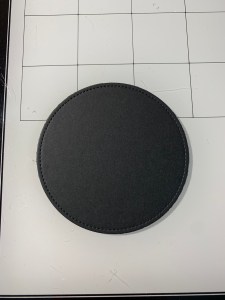
Next, I take the largest die from the Single Stitched Circles Die Set and cut out of Black Onyx Cardstock. I then add Liquid Glue to the back of my blended die cut and adhere it onto the black die cut.
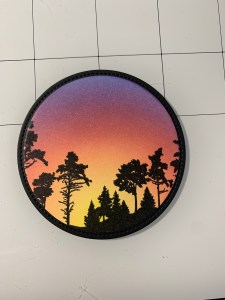
I now place the blended die cut into my MISTI, holding it down with the magnet. I then position a sentiment from the It’s All You Stamp Set and stamp it onto the die cut using Amalgam Obsidian Black Ink.

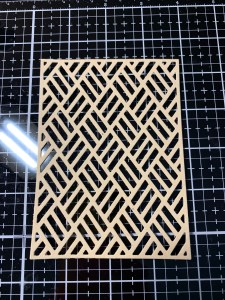
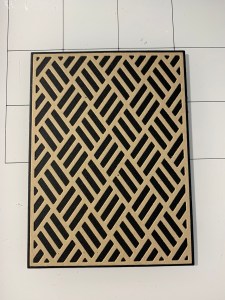
Next, I take the Basket Weave Cover Plate Die and cut out of Kraft Cardstock, running them through my Big Shot. I then take the largest layering die from the Master Layouts 2 Die Set and cut out of Black Onyx Cardstock, running them through my Big Shot. Using Liquid Glue I add it to the back of the kraft die cut then mount it onto the black panel. Using the layering die from the Master Layouts 2 Die Set not only gives the basket weave die cut a nice background that shows through, it also gives an even border around the die cut. *When using intricate dies I place a Metal Shim under the bottom cutting plate of my die cut machine. This helps give even pressure so that all of the intricate pieces cut and easily fall out.


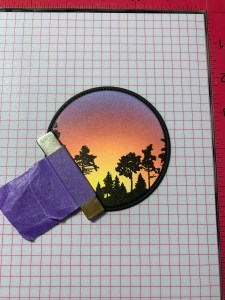
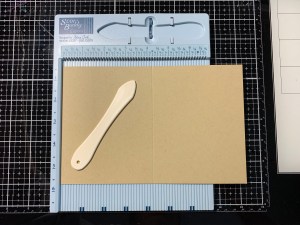
Placing a 5 1/2″ x 8 1/2″ piece of Kraft Cardstock into my Scor Buddy, I score it at 4 1/4″ creating a side folding card base. I then add Terrific Tape onto the back of my panel then adhere it onto the card base.

For a little dimension I add Black Foam Squares to the back then mount it onto the center of my card front, slightly above center.

Using my Jewel Picker I add a few Dew Drops with Liquid Glue and this completes my card.
I hope you enjoyed today’s card. Making masculine cards can be a struggle for me but I knew with this silhouettes stamp set I wanted to use the line of trees image to create a simple card. Adding a decorative background to the card base steps up this simple card and pulls it all together.
If this is your first time visiting my blog, welcome and I hope you return. If you are a returning visitor, thank you so much for your support!
If you would like to be notified by email each time I post a new project, there is an option to add your email (located on the right side of my page) then hit the subscribe button. Should you have any questions or comments please leave them in the comments section. I’d love to hear from you and what you thought about today’s card.
Thank you for visiting and I hope you come back soon!
Happy Stamping and God Bless!!
Jeannie

Love this card – nice job!
LikeLike
Thank you so much Debra!!
LikeLike
I came across this card on “share handmade kindness” and had to know more. I really appreciated the pics and the description as aposed to videos. Keep your great ideas coming.
LikeLike
Thank you so much for your kind words!! I’m happy that you find my blog helpful. 🙂
LikeLike
Thank you so much for sharing, and explaining every detail. You are amazing!
LikeLike
Thank you so much for your kind words, Andrea!!
LikeLike