
I want to start out by thanking everyone for the support and nice comments you all leave for me. I truly appreciate the support of this blog!! I enjoy card making and bringing my creations to you, this wouldn’t be possible without your support, so again, thank you!! *Affiliate links are used at no additional cost to you. When you purchase products through my links I receive a small commission from these sales, which helps me to purchase new products for the cards I share on my blog. Thank you so much for your support, it is greatly appreciated!! Don’t forget to check out my previous blog for many more card projects! You can find them HERE.
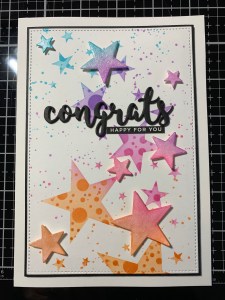
Today I have a fun card created with the Fading Stars stencil from Simon Says Stamp. I chose to go with a congrats greeting making this card useful for many different occasions. This is a slimline stencil that is meant to be used on a full size slimline card, however, I decided to create a 5×7 card with it. One great thing about slimline stencils is that they can be used on any size card, including a standard A2 size. I went with a colorful ink blend and added some extra detail using another stencil over top of the first stencil. Doubling up on stencils is a great way to change the look and add details to the design. I will also be using the Stars die set to add some dimension to my card, this set is a great compliment to the stencil with so many different sizes to choose from. For a little added pizzazz I will add some splatter and rainbow colored jewels for a look of confetti. Let’s get started!!

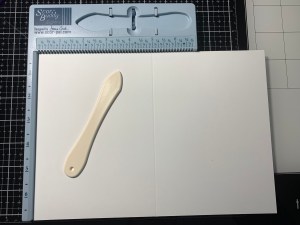
I will be doing all of my work today on my Tim Holtz Glass Media Mat.
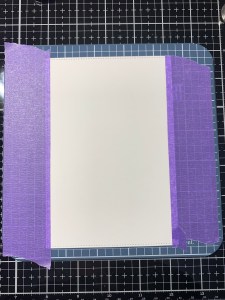
To start I take the large stitched rectangle from the Master Layouts 8 Die Set and cut out of White Cardstock, running them through my Big Shot Die Cut Machine. I then place the panel onto my Make Art Stay-tion and add some tape to the sides of the panel to protect from getting any ink blended onto the edges.


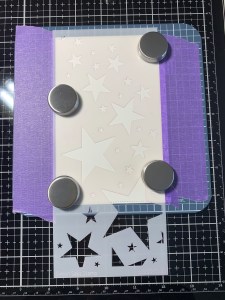
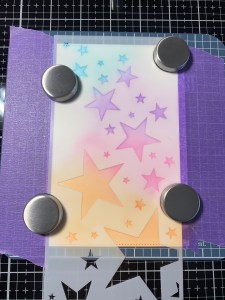
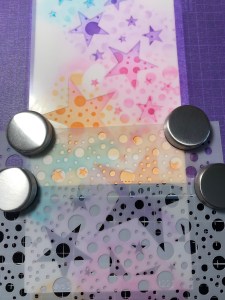
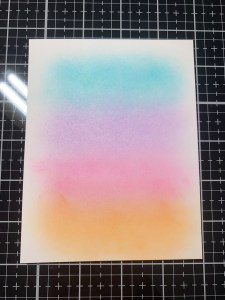
Next, I place the Fading Stars Stencil over my panel and hold into place using the magnets. For my first color I take my Blending Brushes and blend Blue Lagoon Ink and blend over the top left portion of the stencil and fade the ink out a bit where the next color will be added. I then blend Wild Lilac Ink over the next cluster of stars, blending back into the previous color and fading the ink out to where the next color will be added. Next, I blend Passionate Pink Ink over the next cluster of stars, again blending back into the previous color and fading the ink out to where the final color will be added. For my final color I blend Tangerine Twist Ink over the remainder bottom portion of the stencil, blending back into the previous color.
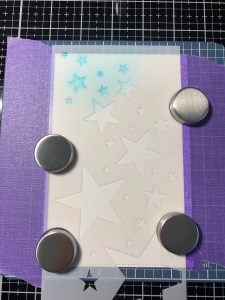

Leaving the Fading Stars Stencil still in place, I remove the magnets and line up at the top my Fizzy Stencil over the openings of the star stencil then replace the magnets to hold everything into place. *This stencil will not cover the entire area of a 5×7, however, I will shift the stencil down to fix that once the ink blending is complete on the rest of the panel. I now go back through each of the four colors with my Blending Brushes and blend each coordinating color over the small circle openings of the stencil. Because I kept the original stencil in place then layered the second stencil over top, the details of the second stencil will only be where the stars are and not on the rest of the panel.
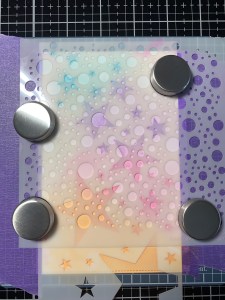
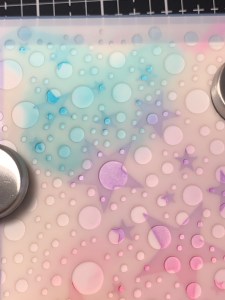
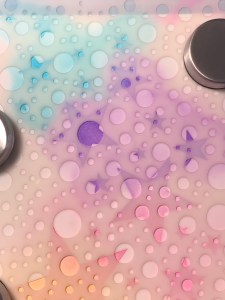

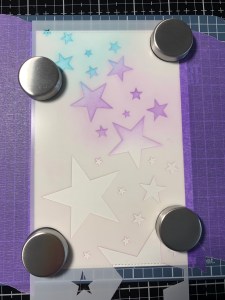
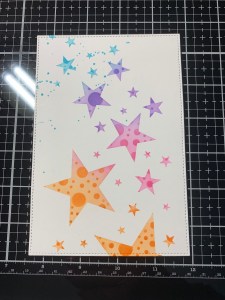
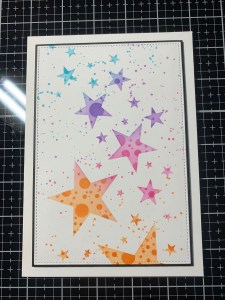
I now remove the magnets and shift the dots stencil down to cover the bottom portion of the panel then blend over the remaining stars. I can now remove both stencils and have a panel with blended stars and dots.

To break up the stark white of the panel and to add some interest I take the four colors of ink and press them onto my Glass Mat. I then pick up the colors one at a time starting with the blue using a small wet paintbrush and spatter each color over the coordinating colors.


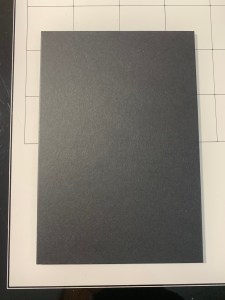
Next, I take the largest rectangle die from the Master Layouts 8 Die Set and cut out of Black Cardstock, running them through my Big Shot. I then add Liquid Glue to the back of my blended panel and adhere it over the black panel.
For my card base I place a 7″ x 10″ piece of White Cardstock into my Scor Buddy and score it at 5″, creating a side folding 5″ x 7″ card base. I then add a piece of Fun Foam to the back of my panel and mount it onto the card base using Liquid Glue.
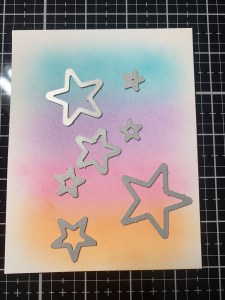
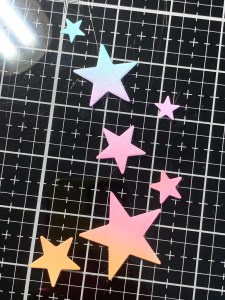
I now want to create some coordinating stars that I can pop up on my panel. To do this, I use my Blending Brushes and blend Blue Lagoon Ink, Wild Lilac Ink, Passionate Pink Ink and Tangerine Twist Ink onto a panel of White Cardstock. I then take several sized star dies from the Stars Die Set and position them over my blended panel, I lay them out so that each die covers a solid color as well as a blended part of the panel then run them through my Big Shot. To intensify the color a bit I go over each star die cut with the remaining ink on my Blending Brushes. I set the die cut stars aside while I work on a greeting.

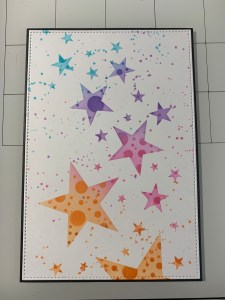
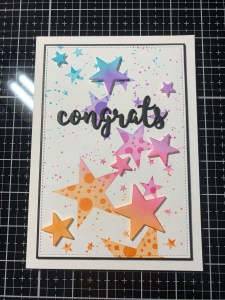
Taking the outline die from the Congrats Layered Die Set I cut out of Black Cardstock four times, running them through my Big Shot. Using Liquid Glue I stack and glue the die cuts together. Finally, I add Liquid Glue to the back of the stacked die cut and mount it onto my card front.


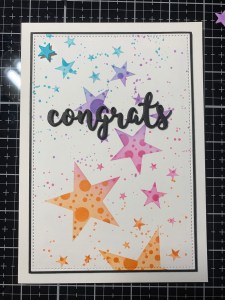
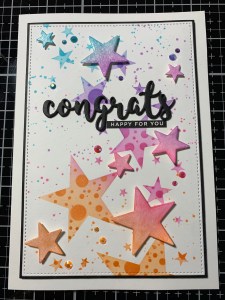
I now take the die cut stars and add Foam Squares to the backs then mount them as if they were cascading down the card. For some added sparkle I take my Aqua Shimmer Pen and brush over each star.

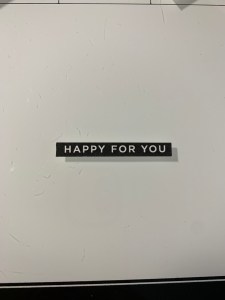
Next, I choose a sentiment from the Reverse Union Of Love Sentiment Strips and cut it down to a thin strip using my Guillotine Paper Trimmer. I then add Liquid Glue to the back of the strip and adhere it just below my greeting.

To finish off my card I use my Jewel Picker and add some Sparkle Rainbow Jewels with Liquid Glue along with some tiny shooting stars from the Meteor Shower Embellishment Box and this completes my card.
I hope you enjoyed today’s card! I love stars as they are useful in so many different ways! My card can be used for many different celebrations with the mix of colors. I think this would also make a great baby congrats card by changing the colors to soft pinks or blues and would make a great graduation card using the school colors! I will be out the rest of this week and will be returning on Monday with a card using a brand new stamp set from the upcoming new release from Gina K. Designs that goes live Monday January 24th at 7:00pm!! See you then!
If this is your first time visiting my blog, welcome and I hope you return. If you are a returning visitor, thank you so much for your support!
If you would like to be notified by email each time I post a new project, there is an option to add your email (located at the top menu, or on the right side of my page) then hit the subscribe button. Should you have any questions or comments please leave them in the comments section. I’d love to hear from you and what you thought about today’s card.
Thank you for visiting and I hope you come back soon!
Happy Stamping and God Bless!!
Jeannie

Love this. You are such an inspiration! Your directions are so easy to follow. Thanks for sharing your talent.
LikeLike
Aww, thank you so much Barb, I really appreciate your kind words!!
LikeLike
Love the technique! Will definitely be trying it out with the stencils I have!!
LikeLike
Yes!!! It is such a fun technique that can be used with so many different kinds of stencils… I love stencils!!
LikeLike
Oh. My. Goodness. LOVE this card!!! Thanks for the step by step, I will definitely give this a try!!!
LikeLike
Thank you so much Sandy!! Have fun!!
LikeLike