
I want to start out by thanking everyone for the support and nice comments you all leave for me. I truly appreciate the support of this blog!! I enjoy card making and bringing my creations to you, this wouldn’t be possible without your support, so again, thank you!! *Affiliate links are used at no additional cost to you. When you purchase products through my links I receive a small commission from these sales, which helps me to purchase new products for the cards I share on my blog. Thank you so much for your support, it is greatly appreciated!! Don’t forget to check out my previous blog for many more card projects! You can find them HERE.
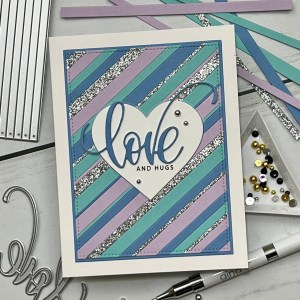
Hello, and welcome to my blog!! Today, I created a background using a strips die to create cardstock strips with glitter cardstock accents. This is a fun technique that allows you to use any colors with regular cardstock, specialty cardstock, patterned papers or even cut up backgrounds that you have created. This is especially great for backgrounds that you have created but weren’t happy with, once cut into strips, they take on a whole new look! This technique can also be done using strips that are cut using a paper trimmer. I do like getting the nice, even cuts and beveled edges that the dies create. The set I use for my strips come in four different widths and are priced great… they are slimline dies so they work for most any sized cards! Today I have one card using this technique and will use the heart shape I cut out for a second card that will be coming up in my next blog on Monday. I love creating panels that can be used for two cards, so fun!! Let’s get started!!
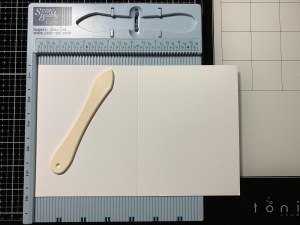
I will be doing all of my work today on my Tim Holtz Glass Media Mat.
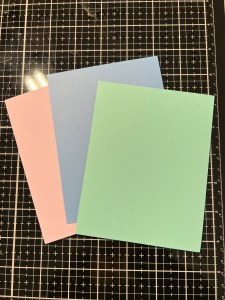
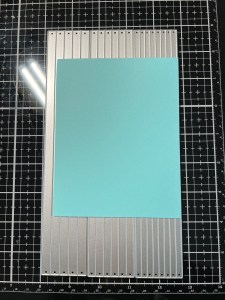
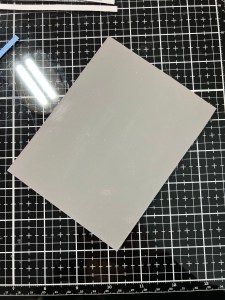
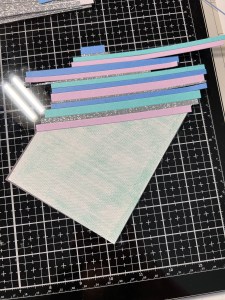
To start I choose three colors of cardstock cut into 4 1/4″ x 5 1/2″ panels using my Guillotine Paper Trimmer. I chose three colors, however, you could use as many colors as you would like! I then take three of the strip dies from the Slimline Strips Die Set, line them up together then add tape to the backs, holding them together for getting the most out of my die cutting. I then line the dies up over my Powder Blue Cardstock panel and run them through my Platinum 6 Die Cutting Machine.
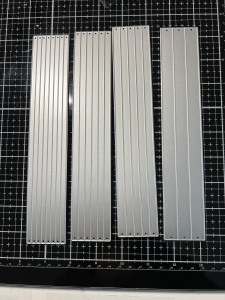
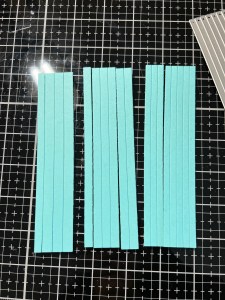
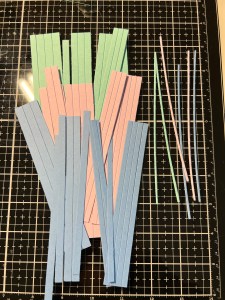
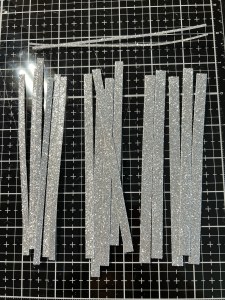
I then line up the dies over my Lovely Lavender Cardstock and Sea Glass Cardstock panels and run them through my P6. I repeat the process with a Glitter Cardstock panel as well for some accent pieces. There are two very thin pieces of cardstock left from where the dies are taped together, I save and use these pieces as well. To remove all of the little “hairs” left on the edges of each strip, I use a Sanding Block to gently remove them to give a clean look.
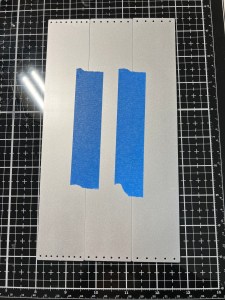
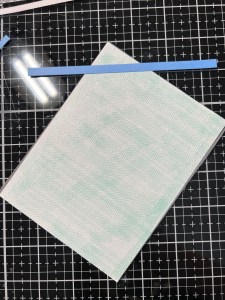
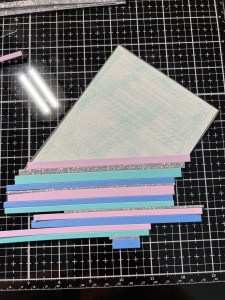
Next, I use a 4 1/4″ x 5 1/2″ piece of Media Grip to hold my paper in place while I add all of the strips. I place the Media Grip onto my Glass Mat with the opposite corners lined up on one of the measured lines of my mat. I want to add a diagonal look to my panel so I found this to be an easy way to make sure the strips are straight. I then cut a 4 1/4″ x 5 1/2″ piece of thin copy paper using my Guillotine Paper Trimmer and add Dot Runner Tape over the entire panel then place it over the piece of Media Grip. Other options would be to add Micro Dot Sheets or Adhesive Sheets to the panel or even adding Liquid Glue onto the back of each strip before placing them onto the panel.

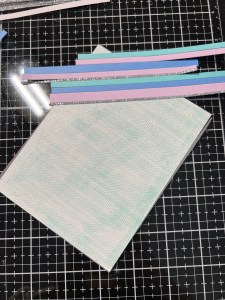
I now take my first strip and lay it across the top corner, using the lines on my Glass Mat to line it up and press it down. Now that I have my first strip down straight I alternate different colored strips, butting them up to the previous strip and press them into place. I like to randomly place different colors and throw in a glitter strip every few strips to add some sparkle. I add strips on this end almost half way down the panel.
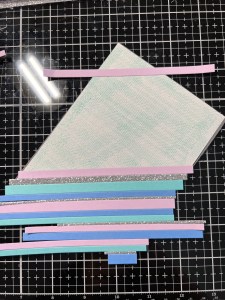
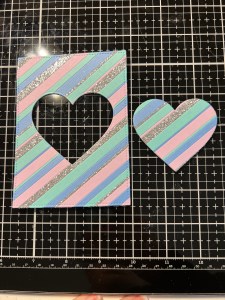
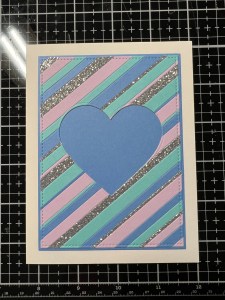
Next, I rotate the panel to work on the opposite corner and again, line up my first strip using the grid lines on my mat. The reason I rotated my panel is because I planned on having these strips on opposite ends and coming up with a sentiment for the open center. Well, as I was adding the strips on the second corner I decided to just completely cover the panel and cut out the center to add a sentiment. Luckily for me, the tiny last strip was a good fit! *When creating a full panel, to ensure all of the strips fit nicely, work from one corner of the panel and go all the way down, do not rotate.
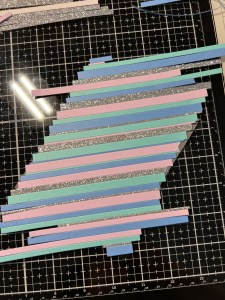
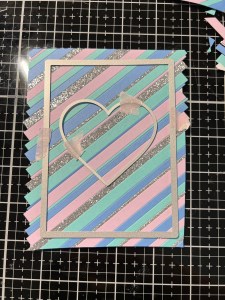
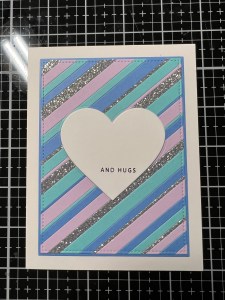
Now that all of the strips have been added, I cut off most of the over hang then take the largest stitched rectangle die from the Master Layouts 2 Die Set and tape it into place. I then take a heart die from the Nesting Hearts Die Set and center it within the rectangle, also taping it into place then run them through my P6.
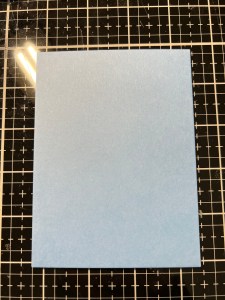
Taking the largest rectangle from the Master Layouts 2 Die Set and cut out of Sea Glass Cardstock, running them through my P6. Using Liquid Glue, I adhere the two panels together. I then place a 5 1/2″ x 8 1/2″ piece of White Cardstock into my Scor Buddy and score it at 4 1/4″, creating a side folding card base. I then mount the panel onto my card base using Liquid Glue.
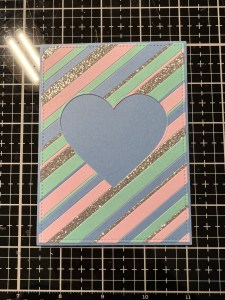
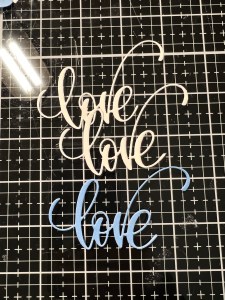
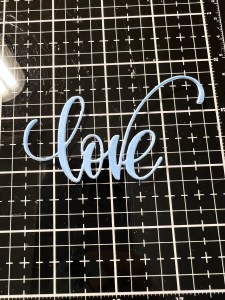
For my greeting, I take the outline die from the Love And Shadow Die Set and cut out of White Cardstock two times and once out of Powder Blue Cardstock once, running them through my P6. Using Liquid Glue, I stack the die cut pieces together with the blue being on top.
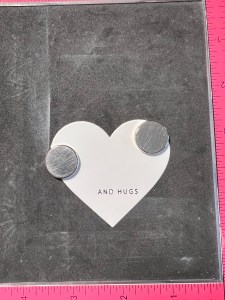
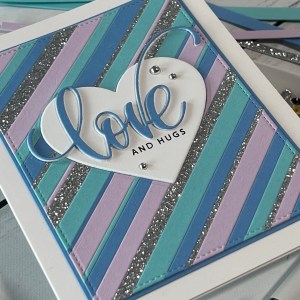
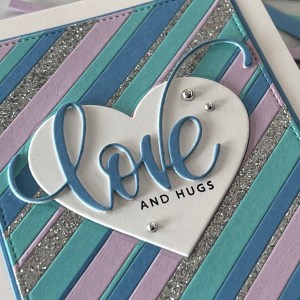
Next, I take the same heart die used to cut out the center of my panel and cut out of White Cardstock three times, running them through my P6. To stamp a sentiment, I place one of the die cuts into my MISTI Stamp Positioner and using the stacked love die cut piece, I figure out my stamp placement. I then remove the love die cut and stamp the sentiment onto the heart using Versafine Clair Nocturn Ink. Using Liquid Glue I stack and glue the other two hearts behind the sentiment then glue them into the opening on my card front. I also add Liquid Glue to the back of the love die cut and adhere it just above the stamped sentiment.

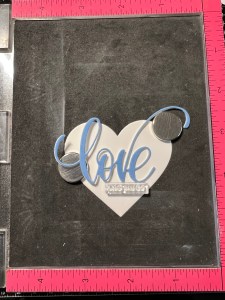
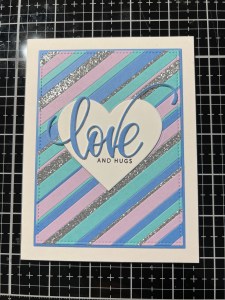
To finish, I use my Pick & Stick Tool to add some Silver Pearls with Liquid Glue and this completes my card.


I hope you enjoyed today’s card and remember to come back to my blog on Monday to see the second card I created using the leftover heart die cut!! I had fun creating this background and having a leftover piece to create another card, without having to make another striped background! This would be a fun card to create in pinks and reds for Valentine’s Day also. I think this technique would look so beautiful using strips of alcohol inked pieces. This is also a great technique for using up those scraps we all save, so many possibilities!!!
If this is your first time visiting my blog, welcome and I hope you return. If you are a returning visitor, thank you so much for your support!
If you would like to be notified by email each time I post a new project, there is an option to add your email (located at the top menu, or on the right side of my page) then hit the subscribe button. Should you have any questions or comments please leave them in the comments section. I’d love to hear from you and what you thought about today’s card.
Thank you for visiting and I hope you come back soon!
Happy Stamping and God Bless!!
Jeannie

What a fun card. I have a different die that cuts strips that I think will work for this technique. There are so many possibilities and this is a great way to use up scraps.
LikeLike
Thank you Judy!! Yes, there are so many different strip dies available, all of them would work for this technique, even a paper trimmer would work! Have fun playing, such a fun technique!!
LikeLike
Loved your card! Thanks for the link to the strip dies as well. That looks like a great set to have.
LikeLike
Thank you so much Betty!! The strips dies are a lot of fun!!
LikeLike