
I want to start out by thanking everyone for the support and nice comments you all leave for me. I truly appreciate the support of this blog!! I enjoy card making and bringing my creations to you, this wouldn’t be possible without your support, so again, thank you!! *Affiliate links are used at no additional cost to you. When you purchase products through my links I receive a small commission from these sales, which helps me to purchase new products for the cards I share on my blog. Thank you so much for your support, it is greatly appreciated!! Don’t forget to check out my previous blog for many more card projects! You can find them HERE.
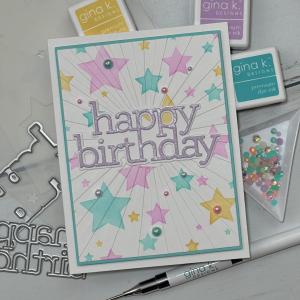
Hello, welcome to a brand new year!! I hope everyone had a wonderful holiday season and pray that 2023 is filled with many blessing for all! I want to thank you all for the support you’ve given me in that last year, I so appreciate you!! My card making has gotten off track this past year with life happenings and a surgery. I’m working on getting things back to normal with this new year… thank you all for hanging with me! Today, I have a fun, colorful birthday card using stencils, an embossing folder and a die cut greeting. These are all simple techniques that create a fun, quick festive card. I love to stamp or ink blend images (including stamped sentiments) then run them through an embossing folder… it gives the texture but does not distort the images! With so many choices of embossing folders out there, this is a great technique to have fun with… so many options! Let’s get started!!
I will be doing all of my work today on my Tim Holtz Glass Media Mat.
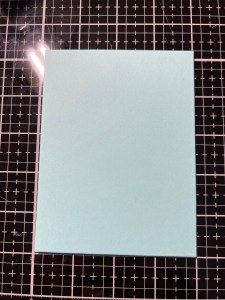
To start, I cut a panel out of White Cardstock using the second largest rectangle die from the Master Layouts 1 Die Set, running them through my Platinum 6 Die Cut Machine. I then place the panel into my MISTI Stamp Positioner and onto my Sticky Mat to hold it into place while I ink blend. *When using a sticky mat for the first time, be sure that it is not “too” sticky! I ruined my first panel while trying to remove it and had to start over. The key to removing cardstock from a stick mat is to bend (bow) the mat back, away from the cardstock panel, do not try pulling the panel from the mat as it could tear. Even using this method, my first panel was ruined. This particular mat was very sticky so before attempting another panel, I used an anti static bag and lightly rubbed it over the mat. This removed some of the stickiness leaving the mat with the right amount of stick to hold my cardstock while making it easier to remove my panel without damaging it. When finished using a stick mat, always remember to replace the acetate film over it to preserve its stickiness.
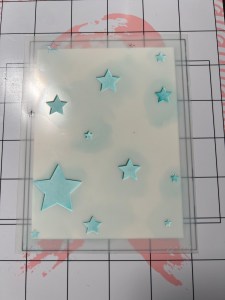
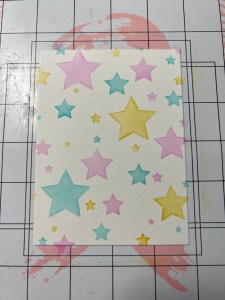
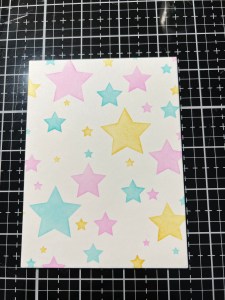
Taking the Dimensional Stars Stencils, I place the first stencil over my panel and press around the sides to adhere it into place on the sticky mat. Using my Blending Brush, I blend Sea Glass Ink over all of the openings then remove the stencil. *These particular stencils are not numbered and can be inked in any order, they are very easy to line up.
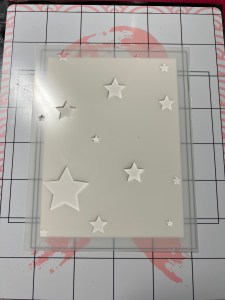

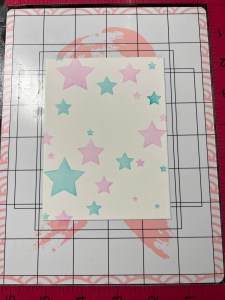
Next, I place the second stencil over my panel and blend Lovely Lavender Ink over all of the openings then remove the stencil.


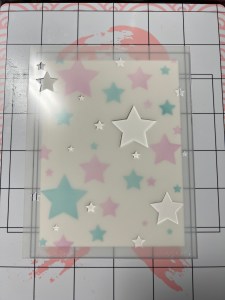
To finish, I place the third stencil over my panel and blend Sweet Corn Ink over the openings then remove the stencil. Now that my ink blending is done I can bow the sticky mat away from the cardstock to remove my panel.
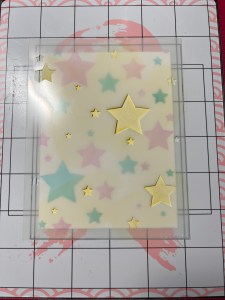
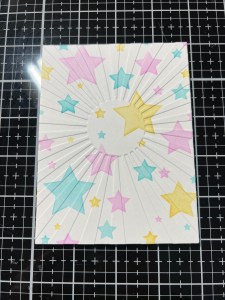
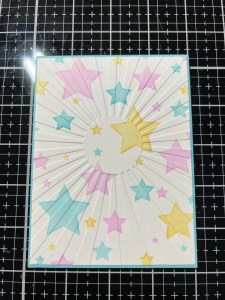
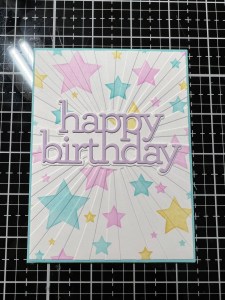
To add some texture and interest to my panel, I place it into the Sunburst Embossing Folder, lining it up so that the center of the rays is just a bit higher than center on the panel then run it through my P6. Taking the largest rectangle die from the Master Layouts 1 Die Set I cut out of Sea Glass Cardstock, running them through my P6. Using Liquid Glue I adhere the two panels together.
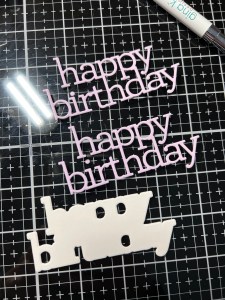
For a greeting I take the outline die from the CZ Happy Birthday Die Set and cut out of Lovely Lavender Cardstock two times, and take the coordinating shadow die to cut out of White Cardstock, running them through my P6. Using Liquid Glue I stack and glue the greeting together then glue it onto the shadow die cut.
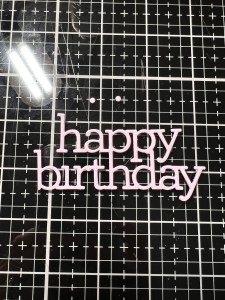
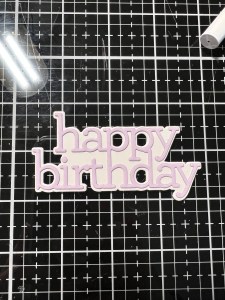
Next, I add Liquid Glue to the back of the greeting and adhere it over the center circle of the rays onto my card front. To add a bit of sparkle, I use my Aqua Shimmer Pen and go over the letters of my greeting.

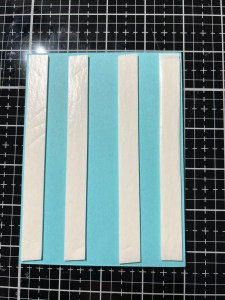
For a card base, I place a 5 1/2″ x 8 1/2″ piece of White Cardstock into my Scor Buddy and score it at 4 1/4″. For some dimension, I add Foam Tape to the back of the panel then mount it onto my card base.

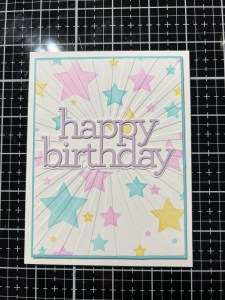
Using my Pick & Stick Tool, I add some colored pearls from the Sweetheart Shaker Mix with Liquid Glue and this completes my card.
I hope you enjoyed today’s card! This was such a fun, easy card to put together and can be used for any occasion of celebration. Using different colors and greetings would make for a great card for masculine, Valentines, baby, graduation, retirement, promotion, so many possibilities!! Think of using different stencils such as hearts, confetti, circles, etc… even stamped images or small sentiments would look great on the background! I love that the embossing folder does not distort the images but adds such a fun look and gives so much texture. If my card has inspired you, I would love to see your creations in the comments. It would be fun to see what you come up with, you can also tag me on social media, @kampakreations! Come back later in the week for another fun card project!
If this is your first time visiting my blog, welcome and I hope you return. If you are a returning visitor, thank you so much for your support!
If you would like to be notified by email each time I post a new project, there is an option to add your email (located at the top menu, or on the right side of my page) then hit the subscribe button. Should you have any questions or comments please leave them in the comments section. I’d love to hear from you and what you thought about today’s card.
Thank you for visiting and I hope you come back soon!
Happy Stamping and God Bless!!
Jeannie
