
I want to start out by thanking everyone for the support and nice comments you all leave for me. I truly appreciate the support of this blog!! I enjoy card making and bringing my creations to you, this wouldn’t be possible without your support, so again, thank you!! *Affiliate links are used at no additional cost to you. When you purchase products through my links I receive a small commission from these sales, which helps me to purchase new products for the cards I share on my blog. Thank you so much for your support, it is greatly appreciated!! Don’t forget to check out my previous blog for many more card projects! You can find them HERE.
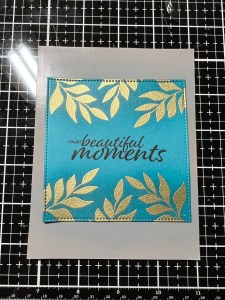
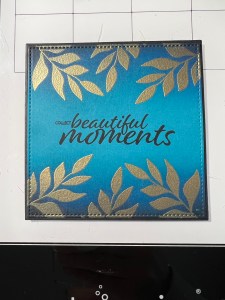
Today, I have a card using the Beautiful Moments stamp set, illustrated by Lisa Hetrick for Gina K. Designs’ brand new release! All products from the new release are available now, they can be found Here. Also included in this release is a new card kit, which is always such a tremendous value! I’m very intrigued and excited to find out more about the new Poly-Glaze Foiling Sheets that are used with Deco Foil and a laminator. With such popularity in different ways to add foil to card projects, this sounds like a very affordable option! **If you are interested in this new foiling product, Gina sells a good variety of foils on her site, if you would like even more color choices and varieties, (just be sure you are looking for the Deco Fancy Foil or the Deco Foil Transfer Sheets, NOT the hot foil) they can be found at ThermoWeb HERE. Ok, for my card I wanted to use one of my favorite techniques… dramatic ink blending!! This is a very simple technique but it really gives a “wow” factor when paired with metallic embossing. I chose the solid leaf cluster image to gold emboss onto a square panel, framing my sentiment. I then used three different shades of ink to blend, creating the dramatic look. I chose to mount my square panel onto an A2 card base for a different look, leaving some extra space to the side where I could stamp a silhouette image from the same set in black ink, tying it to the black stamped sentiment. All of the stamps, dies, inks, cardstock and embellishments I use are from Gina K. Designs. Let’s get started!!

I will be doing all of my work today on my Tim Holtz Glass Media Mat.
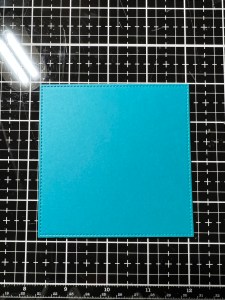
To start, I take the second largest stitched square die from the Master Layouts 3 Die Set and cut out of Tranquil Teal Cardstock, running them through my Platinum 6 Die Cut Machine. I then place it into my MISTI Stamp Positioner and center a sentiment from the Beautiful Moments Stamp Set then stamp it using Amalgam Obsidian Black Ink.


I now work on the leaves that will frame my sentiment. I place my stamp from the Beautiful Moments Stamp Set over the top left corner of the panel. I prep the panel with my Anti Static Powder Bag the stamp the image using Versamark Ink. I add Gold Embossing Powder and heat it with my Heat Tool. Leaving the stamp still attached to the door of my MISTI, I rotate the cardstock square to the opposite corner and again prep the corner with my Anti Static Powder Bag and stamp the image using Versamark Ink. Again, I add Gold Embossing Powder and heat it with my Heat Tool. *By leaving the stamp attached in the same position, I can rotate the panel to the opposite corner and stamp the exact same image placement.
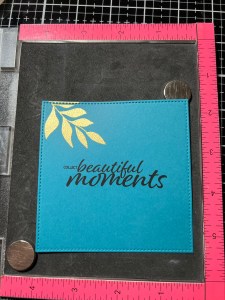

Next, I clean off the same stamp using my Stamp Cleaner, rotate the square panel then reposition the stamp over the corner. I again prep the corner with my Anti Static Powder Bag and stamp the image using Versamark Ink, add Gold Embossing Powder and heat it with my Heat Tool. I then rotate the panel to the opposite corner and repeat the process. To finish my stamping, I clean off the stamp and position it between the previous two images, and repeat the process.

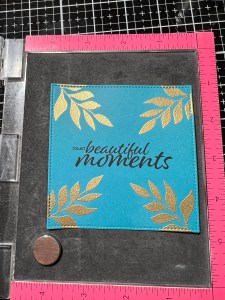
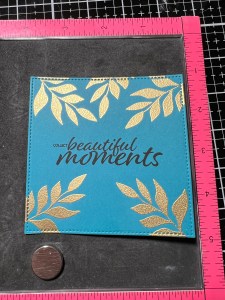
Now it’s time to do some ink blending. I place my panel over a piece of Media Grip (that I have cut down to be A2 size) then take my Blending Brush and blend Tranquil Teal Ink over the embossed leaves. I take a soft cloth and buff off any ink left on the embossed images before moving onto the next color. Next, I blend Blue Denim Ink over the embossed leaves, this time about half way up each image as I want to create a gradient blend, then buff the ink off of the embossed images. To deepen and intensify the gradient, I blend Black Onyx Ink to just the edges and corners of the panel, fading into the previous color then again buff off any ink left on the embossed leaves and this completes my ink blending. *Using Media Grip is a great way to hold your cardstock in place while ink blending.

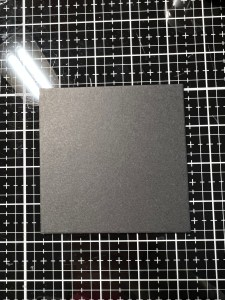
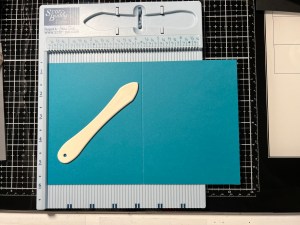
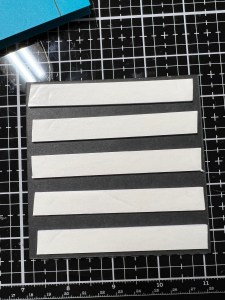
Taking the second largest square layering die from the Master Layouts 3 Die Set, I cut from Black Cardstock, running them through my P6. I then use Liquid Glue to layer the two panels together. I then place a 5 1/2″ x 8 1/2″ piece of Tranquil Teal Cardstock into my Scor Buddy and score it at 4 1/4″, creating my card base.
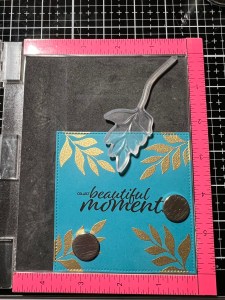
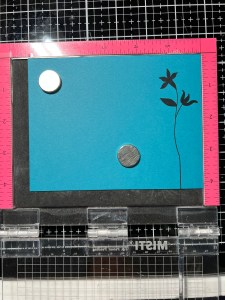
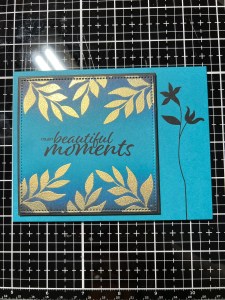
I want to stamp an image onto the open area of my card base. To do this, I place the card base into my MISTI and place the panel where it will later be mounted so I can figure out my stamp placement. I then position an image from the Beautiful Moments Stamp Set, remove my panel and stamp the image using Amalgam Obsidian Black Ink.
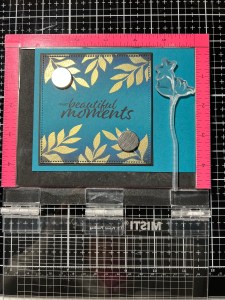
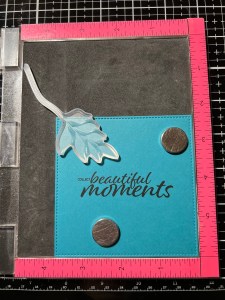
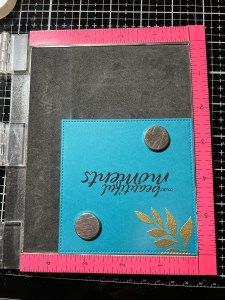
To add some dimension, I add Foam Tape to the back of the panel then mount it onto my card base, centering it so it has equal margins on the three sides. *Because foam tape can be so sticky, a tip I like to use is after removing the release paper, I add some Liquid Glue over the foam before mounting it onto the card front. The glue allows a little wiggle room to get things lined up.
Using my Pick & Stick Tool, I add Gold Pearls with Liquid Glue and this completes my card.
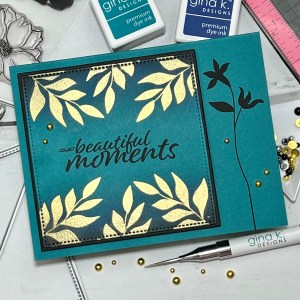
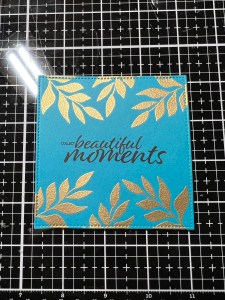
I hope you enjoyed today’s card and learned how easy it is to get a dramatic ink blend to help your metallic embossing stand out. This technique really adds to an otherwise plain embossing. I could have used this panel to make a square card also, I just thought it would be fun to place it on an A2 panel to create something a little different! Don’t forget to check out Gina’s new release if you get a chance. She will be live on Facebook and YouTube starting at 7:00pm CST tonight. If you miss the live, you can always watch the replay. Gina is so much fun to watch as she goes through each new product up close and always ends her lives with a fun card project.
If this is your first time visiting my blog, welcome and I hope you return. If you are a returning visitor, thank you so much for your support!
If you would like to be notified by email each time I post a new project, there is an option to add your email (located at the top menu, or on the right side of my page) then hit the subscribe button. Should you have any questions or comments please leave them in the comments section. I’d love to hear from you and what you thought about today’s card.
Thank you for visiting and I hope you come back soon!
Happy Stamping and God Bless!!
Jeannie
