
I want to start out by thanking everyone for the support and nice comments you all leave for me. I truly appreciate the support of this blog!! I enjoy card making and bringing my creations to you, this wouldn’t be possible without your support, so again, thank you!! *Affiliate links are used at no additional cost to you. When you purchase products through my links I receive a small commission from these sales, which helps me to purchase new products for the cards I share on my blog. Thank you so much for your support, it is greatly appreciated!! Don’t forget to check out my previous blog for many more card projects! You can find them HERE.
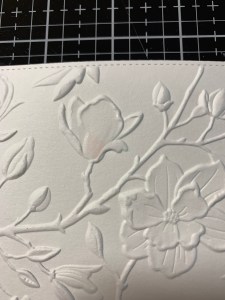
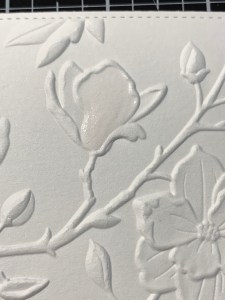
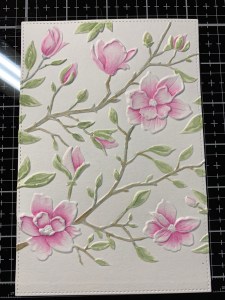
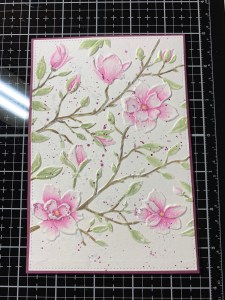
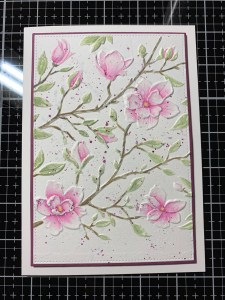
Have you ever watercolored over dry embossed images before?! It’s one of my favorite techniques and the 3D folder I used on today’s card was perfect with all of the raised 3D detail! Magnolia flowers are so delicate and beautiful I couldn’t wait to see how these would watercolor… I love the results!! I don’t make 5 x 7 cards too often and I don’t know why?! Using my new 5 x 7 Master Layouts 8 die set from Gina K. Designs, I was able to capture most of the design from the folder and felt that it filled this size perfectly! I will be using watercolor cardstock and Oxide inks for my watercoloring then finish off with a simple die cut greeting and sentiment. Let’s get started!!

I will be doing all of my work today on my Tim Holtz Glass Media Mat.
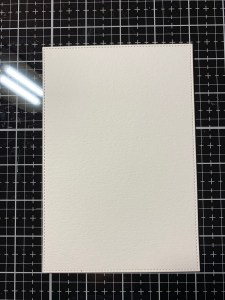
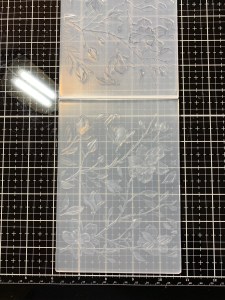
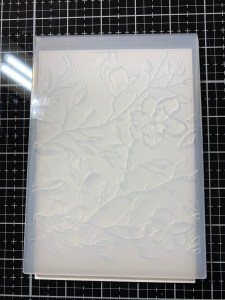
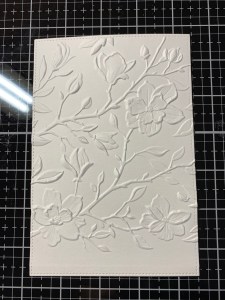
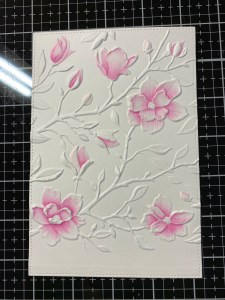
To start, I take the largest stitched die from the Master Layouts 8 Die Set and cut out of Watercolor Cardstock, running them through my Big Shot Die Cut Machine. Next, I lightly mist the back of my panel using my Distress Sprayer filled with clean water. I then place the panel into my Magnolia Branches 3D Embossing Folder and run it through my Big Shot. *When using 3D embossing folders, check the sandwich order of your die cutting machine.
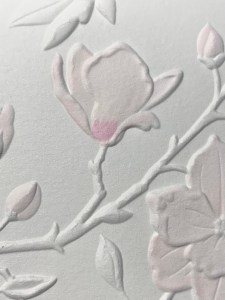
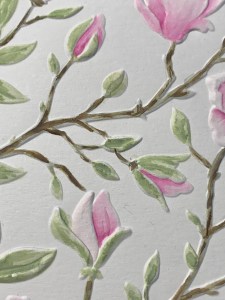
Using the white area of my Glass Mat I press several oxide ink pads onto the glass surface, this will be my ink palette. Next, I take my Water Brush filled with clean water and wet the first petal then mix some water with Spun Sugar Distress Oxide and add some ink to the base of the petal. I then use my Water Brush to blend the color out towards the tip of the petal. I repeat this process for each of the flowers and buds to lay down a base color.
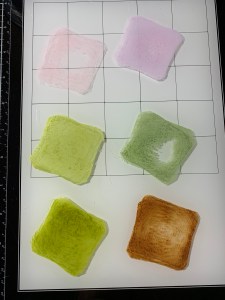


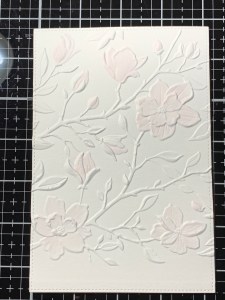
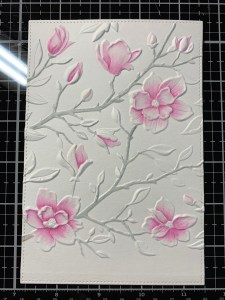
Using my Water Brush I water down some Seedless Preserves Oxide Ink and add it to the base of the petal and blend it out toward the tip about half way. I repeat this process for each of the remaining petals on the flowers and buds. To add depth and intensify the color, I go back with full strength Seedless Preserves Oxide Ink adding to the very base of each petal and blend it out just a bit. *To get a lighter shade of the same color I will add some water to the ink on my mat to dilute the color making it lighter when applied, then go back with the same color for another layer using it full strength, meaning I just dip my water brush into it.
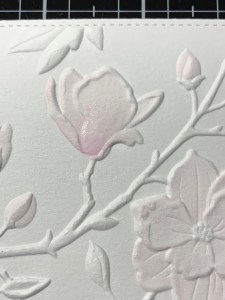

For the branches I use my Water Brush to add Weathered Wood Distress Oxide Ink. I then water down Bundled Sage Distress Oxide Ink and paint all of the leaves. To add some contrast, I add full strength Bundled Sage Distress Oxide Ink to each leaf being careful not to fully cover the previous color.
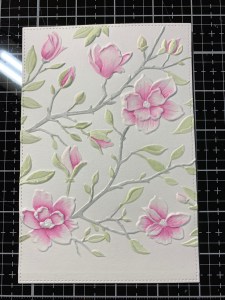
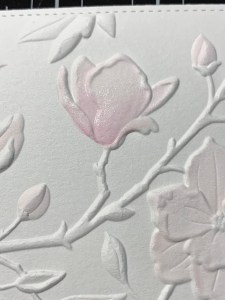
I now want to add some contrast and texture to the branches to achieve more of a wood like look. Using my Water Brush I add watered down Ground Espresso Distress Oxide Ink over the branches, again being careful not to cover up the previous color. I then go back with full strength Ground Espresso Distress Oxide Ink and apply it more sporadically, kind of “skipping” the Water Brush over the branches to give it more of a “bark” look. For the very centers of the flowers I added Dried Marigold Distress Oxide Ink and this completes my watercoloring.

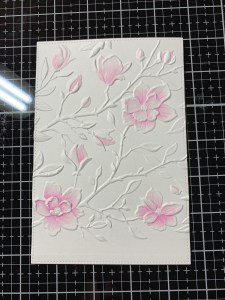
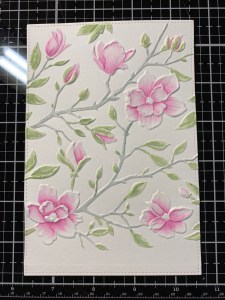
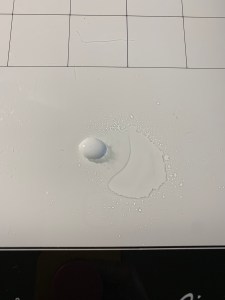
To give my panel some texture I add a small drop of white acrylic paint to my Glass Mat with a small amount of water. I mix it together then take a small paintbrush and spatter it over the entire panel and set it aside to dry.
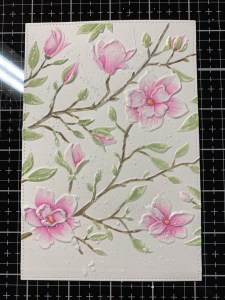
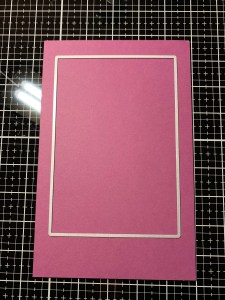
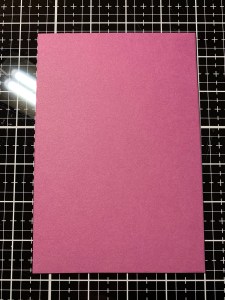
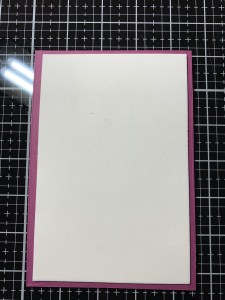
Taking the largest rectangle die from the Master Layouts 8 Die Set I cut out of Plum Punch Cardstock, running them through my Big Shot. Once my watercolored panel is completely dry, I use Double Sided Adhesive Tape and adhere the two panels together. I decided I wanted a little more color and interest to my panel so I mix a small amount of water with regular Seedless Preserves Distress Ink and spatter it onto the panel using a small paintbrush.

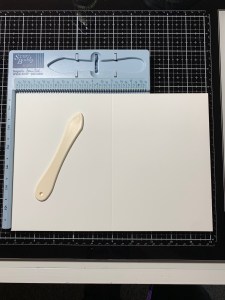
While my panel is drying I place a 7″ x 10″ piece of White Cardstock into my Scor Buddy and score it at 5″ creating a side folding card base. Now that my panel is completely dry, I adhere a piece of Fun Foam to the back of it using Liquid Glue then adhere it onto my card base.
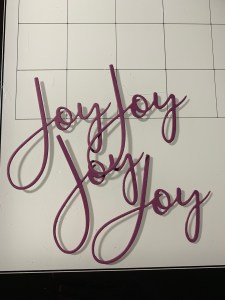
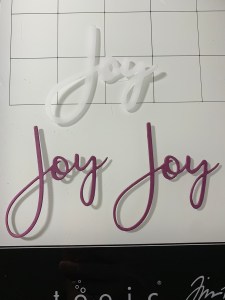
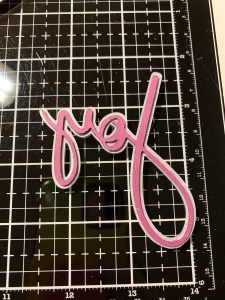
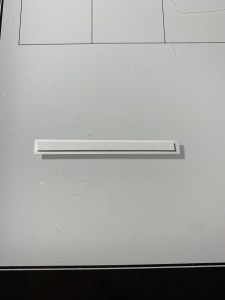
For my greeting I take the Large Joy Die and cut out of Plum Punch Cardstock four times, running them through my Big Shot. Using Liquid Glue I stack and glue two of the dies together then stack and glue the other two dies together. I then take the shadow die from the same die set and cut out of Vellum. I take one of the stacked die cuts and adhere it onto the top of the shadow die and take the other stacked die cuts and adhere it onto the back of the Vellum shadow die cut using Liquid Glue. *When using vellum for my shadow layer, I like to add stacked die cuts to the back to add a little lift so it isn’t laying flat against the background.

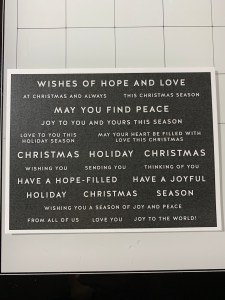
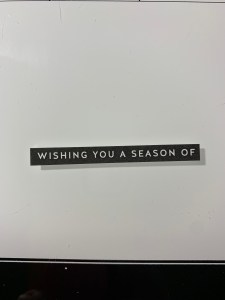
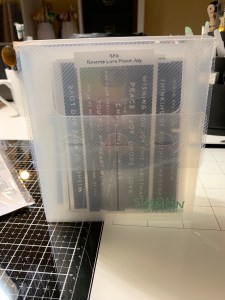
Next, I choose a sentiment from the Reverse Love Peace Joy Sentiment Strips and trim it down to a thin strip using my Guillotine Paper Trimmer. I then glue two thin scrap cardstock strips to the back of it using Liquid Glue. ***I wanted to show you a great way to store those preprinted sentiment strips. I use the Pawsitively Everything Clear Pockets which fits them perfectly! I then fit them all into the Pawsitively Everything Storage Boxes. Now I have each of my sentiment strip sets in their own pockets and keep them all in one box which makes it easy to find which set I am looking for!

To finish my card I use Liquid Glue and mount the greeting onto the front of my card then adhere the sentiment strip across the lower portion of my greeting.
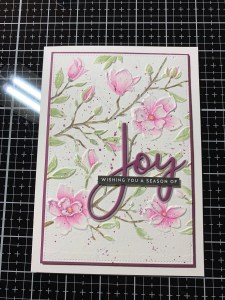
Using my Jewel Picker I add some Clear Round Drops with Liquid Glue and this completes my card!
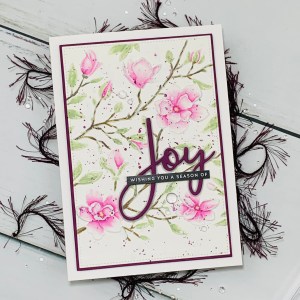
I hope you enjoyed today’s card! There are so many beautiful 3D folders that have come out in the last few years and I am thrilled to see more companies releasing them. Embossing folders can be used to add subtle texture to a background, or 3D folders can be used to give incredible detail! I like stepping up the 3D folders with watercoloring, there is so much detail in these folders which makes watercoloring effortless! I find the key to watercoloring with using embossing folders is to make sure you are using watercolor cardstock as the inks blend so easily. I like using my distress and distress oxide inks for my watercoloring. I find I like the oxides a little better for my florals as they have that soft, chalkiness to them so they give a little softer look. I really enjoyed creating this 5×7 card and look forward to using this size more. Though I used this folder on a 5×7 card, it could easily be used to fit a standard A2 card as well. I’ve always loved using my Master Layouts for creating even matted layers, now that I have the 5×7 master layouts I think you will see some larger cards mixed into my creations!
If this is your first time visiting my blog, welcome and I hope you return. If you are a returning visitor, thank you so much for your support!
If you would like to be notified by email each time I post a new project, there is an option to add your email (located on the right side of my page) then hit the subscribe button. Should you have any questions or comments please leave them in the comments section. I’d love to hear from you and what you thought about today’s card.
Thank you for visiting and I hope you come back soon!
Happy Stamping and God Bless!!
Jeannie

Beautiful card Jeannie!
LikeLike
Thanks so much Jess!!
LikeLike
I just love your tutorials and pictures. Thank you, you have a wonderful gift.
LikeLike
Thank you so much for your kind words Holly, I’m happy you enjoy my posts!!
LikeLike