I want to start out by thanking everyone for the support and nice comments you all leave for me. I truly appreciate the support of this blog!! I enjoy card making and bringing my creations to you, this wouldn’t be possible without your support, so again, thank you!! *Affiliate links are used at no additional cost to you. When you purchase products through my links I receive a small commission from these sales, which helps me to purchase new products for the cards I share on my blog. Thank you so much for your support, it is greatly appreciated!! Don’t forget to check out my previous blog for many more card projects! You can find them HERE.
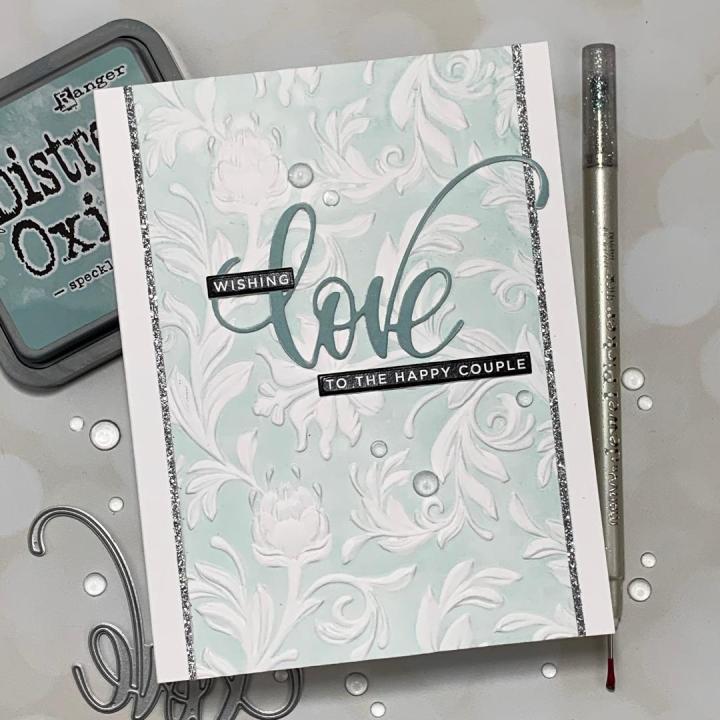
Today I have a card for you featuring an embossing folder with an inked background! I chose to use a beautiful 3D embossing folder for this technique, however this technique works with regular embossing folders as well. 3D embossing folders have become so popular and give such a beautiful look with so many different levels of dimension. Embossing folders can give subtle looks to a background, but by adding ink the images really pop! While any inks can be used for this technique, I love using my Oxide inks as they give such a soft, creamy result. The ink can be added by pressing the pad directly onto the folder, however, I like to apply my ink using a brayer. The brayer gives an even ink coverage and helps to eliminate any harsh lines that the direct ink pads can leave. I had fun trying different colors but in the end I chose Speckled Egg, this color is the perfect shade of a dusty kind of blue and is one of my favorites. Let’s get started!!

I will be doing all of my work today on my Tim Holtz Glass Media Mat.
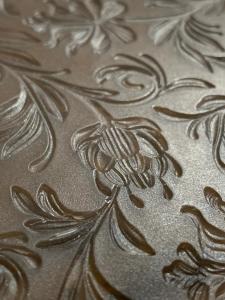
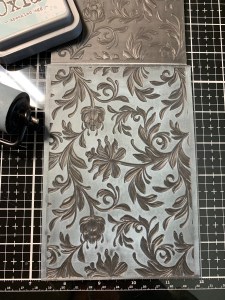
To start, I take my Distress Brayer and ink it up by rolling it over my Speckled Egg Distress Oxide ink pad several times. I then roll it onto the “inverted” side of my Botanical 3D Embossing Folder until I have even ink coverage over the background. *The inverted side of the folder (as shown in the photo) is the side where the background is smooth and the design is inverted rather that pushing up. You can see this and feel the side that is inverted. *Applying a layer or two of ink onto the folder will give lighter inked results, adding more layers of ink will give darker inked results.
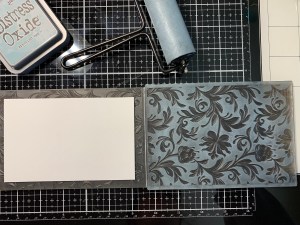
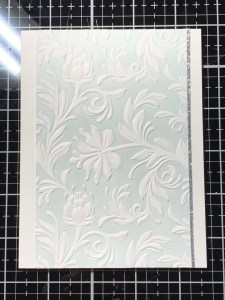
After inking up the folder I place a 4 1/4″ x 5 1/2″ piece of White Cardstock onto the un-inked side then close the folder onto the cardstock. Keeping the folder closed in my hand, I place it onto the platform then place a cutting plate on top and run it through my Big Shot Die Cut Machine. I then trim the sides down using my Guillotine Paper Trimmer making the panel 3 1/2″ x 5 1/2″. *Be sure to check the manual for using 3D folders with your die cut machine, these folders are thicker and require less plates. You can lightly mist the cardstock with water before placing into the folder to avoid cracking of the cardstock, I did not use any water with mine and had no problems.

Next, I place a 5 1/2″ x 8 1/2″ piece of White Cardstock into my Scor Buddy and score it at 4 1/4″, creating a side folding card base. I add Liquid Glue to the back of my panel then center and adhere it to the card base.


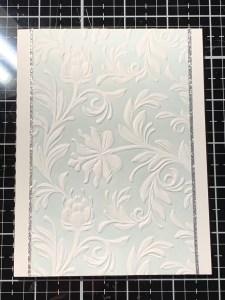
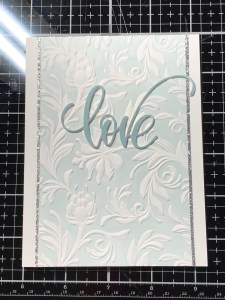
Using my Guillotine Paper Trimmer I cut two thin strips, about 1/16″ wide out of Silver Glitter Paper. I then run a fine line of Liquid Glue along both sides of my inked panel where it meets the card base then add the silver strips and press them along the edge, cutting off any overhang.

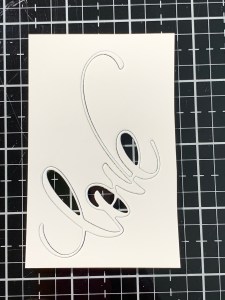
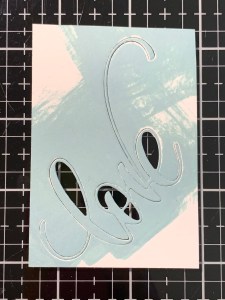
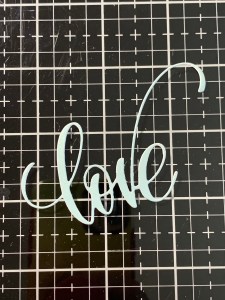
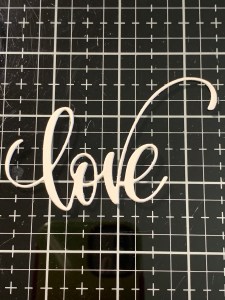
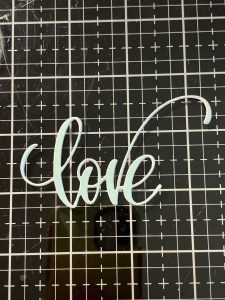
For a greeting I cut out of White Cardstock using the love die from the Love And Shadow Die Set, running them through my Big Shot. Leaving the die cut piece inside the cardstock, I take my Speckled Egg Distress Oxide ink pad and press it onto the die cut piece lightly dragging the pad until I have full coverage then remove the die cut from the cardstock. *Using the same color ink as I did with the folder really coordinates the look of colors. Because I added the ink pad directly to my die cut piece it created a much darker hue which helps the die cut to stand out from the background.
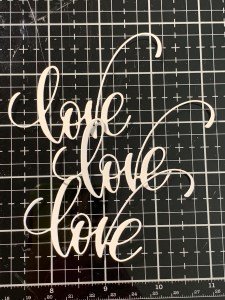
To give my greeting some dimension, I cut out of White Cardstock three more times, running them through my Big Shot. Using Liquid Glue I stack and glue the die cuts together then glue the inked die cut on top. I then mount the stacked greeting onto my card front using Liquid Glue, allowing the die cut piece to hang over the center panel a bit.
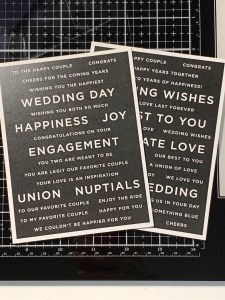
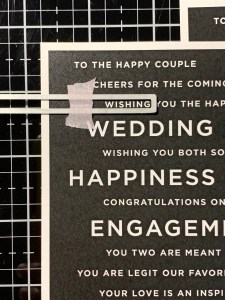
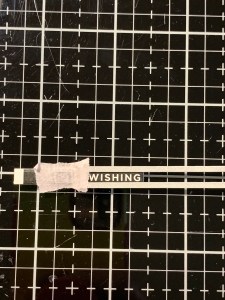
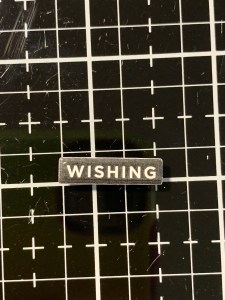
I now choose a couple of sentiments from the Reverse Union Of Love Sentiment Strips. Using my Sentiment Label Dies I cut out the two sentiments I want to use. For my first sentiment I only want one word so I line up my die to only cut out that word and run it through my Big Shot. I then line up the die to cut the other end and run them through my Big Shot. This is a great way to cut one or two words out of a sentiment or to shorten a sentiment if the die you are using is too long.

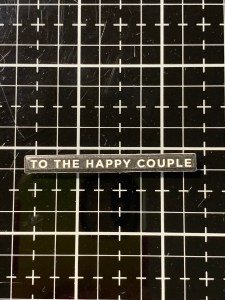
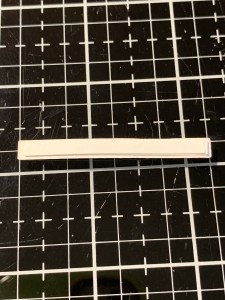
I repeat the process to cut out another sentiment. To give this sentiment a little more dimension I add two thin strips of scrap cardstock to the back using Liquid Glue then glue the sentiment just below my greeting. I add Liquid Glue to the back of the small sentiment and adhere it over the top of the greeting.

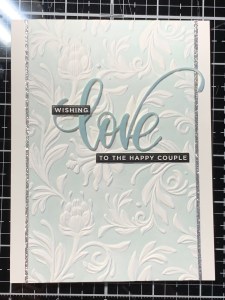
Using my Jewel Picker I add Dew Drops with Liquid Glue and this completes my card.
I hope you enjoyed today’s card, I love the way it turned out!! The background ink was just enough to make the detailed images pop while giving the card a soft look. This was such a fun technique to play around with! So many different companies have release embossing folders with the 3D being most popular now. While all embossing folders will work with this technique, I do have to admit that the 3D folders add a WOW factor!! Creating these backgrounds are so quick and easy and would be great for mass producing, just keep it simple and add a die cut greeting. I think it would be fun to create an assortment of colors and occasions to package up as a gift for someone!
If this is your first time visiting my blog, welcome and I hope you return. If you are a returning visitor, thank you so much for your support!
If you would like to be notified by email each time I post a new project, there is an option to add your email (located at the top menu, or on the right side of my page) then hit the subscribe button. Should you have any questions or comments please leave them in the comments section. I’d love to hear from you and what you thought about today’s card.
Thank you for visiting and I hope you come back soon!
Happy Stamping and God Bless!!
Jeannie

Pretty card. Need to try it!! Complete helpful directions!
LikeLike
Thank you so much Jan!! It is such a fun technique, I hope you give it a try! I’m happy that you found my blog helpful.
LikeLike
Such a beautiful card and simple. I notice that you use liquid glue. When I use liquid glue, it always makes my card stiff and buckles. Is it the glue that I am using or is it the paper? I’m using Tombow Aqua Mono. Or am I possible using too much? Need help. Thank you
LikeLike
Thank you so much Carolyn!! It could be that maybe you’re using too much glue, I’m not sure. I use the Bearly Art Glue or Gina K. Designs Connect Glue when I use liquid. When applying glue I use very thin amounts as liquid glue goes a long way. I also apply the glue to all four edges and corners and squiggle it over the middle. Hope this helps you out. For cardstock, I mostly use 100lb or higher. Happy crafting!!
LikeLike
Thanks,
I think I’ll try the Bearly Art Glue and compare to what I have. I do use the 110lb cardstock. I have also tried quite a few of your cards and love them.
LikeLike
You will have to let me know if the glue makes a difference. The Bearly Art Glue comes with different tips for flow control, I do use the small precision tip. Yay!! I’m happy that you’ve tried some of my cards, it’s good to hear, thank you!!
LikeLike