
I want to start out by thanking everyone for the support and nice comments you all leave for me. I truly appreciate the support of this blog!! I enjoy card making and bringing my creations to you, this wouldn’t be possible without your support, so again, thank you!! *Affiliate links are used at no additional cost to you. When you purchase products through my links I receive a small commission from these sales, which helps me to purchase new products for the cards I share on my blog. Thank you so much for your support, it is greatly appreciated!! Don’t forget to check out my previous blog for many more card projects! You can find them HERE.
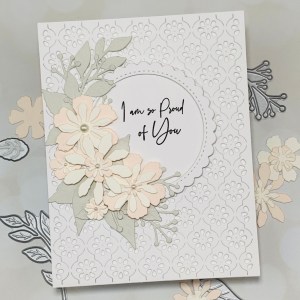
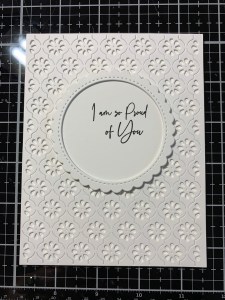
Today I have a card that uses mostly die cuts! From my background to the framed stamped sentiment to the beautiful florals, this card was so fun to make! I’ve owned the Small Tattered Floral dies for many years, yet I don’t think I’ve ever made a card with them! These die cut flowers are so beautiful when layered together the color combinations are endless. I also used the Foliage Fillers die set from Gina K. Designs to add to my greenery. The Daisy Chain Cover Plate that I used is brand new to me and gave the perfect backdrop to my design. My first intensions were to create my florals using some Oxide Ink blended cardstock (which were also beautiful!) but then I remembered that I had some pale cardstock colors from Gina K. and decided to go for a soft look which paired perfectly with the dainty look of the daisy background. While I love the subtle look of white on white for a background, this cover plate would also look great using colored cardstock. Let’s get started!!
I will be doing all of my work today on my Glass Media Mat.
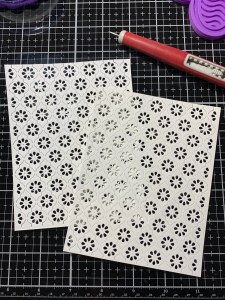
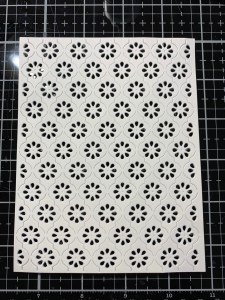
To start, I use my Guillotine Paper Trimmer and cut two 4 1/4″ x 5 1/2″ panels out of White Cardstock. I then take the Daisy Chain Cover Plate and cut out of both panels, running them through my Big Shot Die Cut Machine. I use my Retractable Craft Pick to remove any pieces that didn’t fall out of the panel then add some Liquid Glue to the back of one of the panels and stack to adhere to two together. **A tip that I find works well, is to use a Metal Adapter Plate (under your bottom plate) and place the die, cut side up when you run it through your die cut machine. I find that it gives good cutting and the little pieces fall out better. For some machines the metal shim along with the cover plate is too much, so a panel or two of cardstock instead of the metal shim could also be used for added pressure.

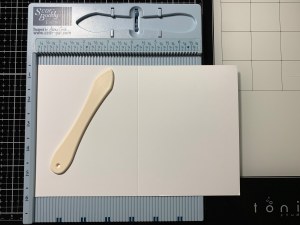
Next, I place a 5 1/2″ x 8 1/2″ piece of White Cardstock into my Scor Buddy and score it at 4 1/4″ creating a side folding card base. Using Liquid Glue I adhere my die cut panel onto the card base. *A tip when using liquid glue on panels, remember that a small amount goes a long way. Using too much will cause panels to buckle and warp on the card base. Using a precision tip glue bottle helps to minimize the amount of glue applied.

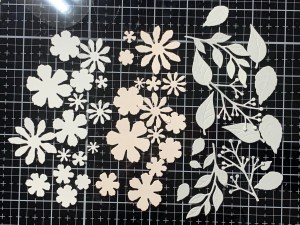
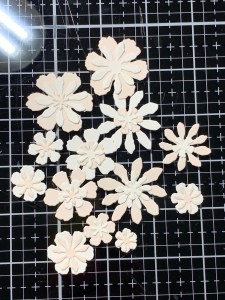
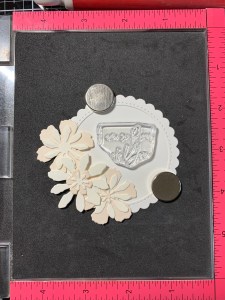
Using the Small Tattered Florals Die Set and the Foliage Fillers Die Set I cut out of Barely There Cardstock, Wisper Cardstock, and Ivory Cardstock, running them all through my Big Shot. Taking my Liquid Glue I stack and glue some of the floral die cuts together, I will not be using all of these on today’s card and will save them for a future project.
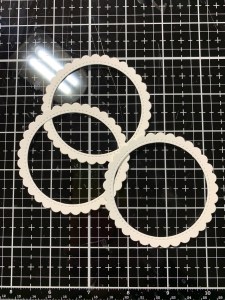
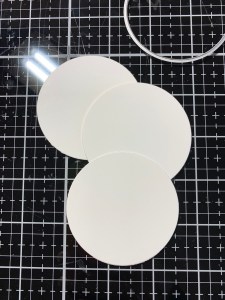
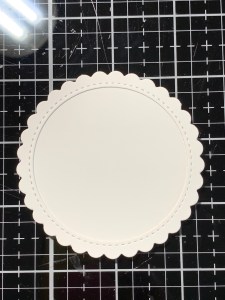
Next, I take the smaller die from the Stitched Scallop Circle Die Set and cut out of White Cardstock three times, running them through my Big Shot. I will be using the outer scallop die cuts. I then take a die from the Nested Circles Die Set and cut out of White Cardstock three times, running them through my Big Shot. Using Liquid Glue I adhere one of the scallop ring die cuts over one of the circle die cut pieces for now.
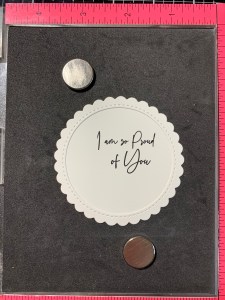
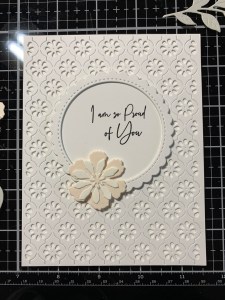
I place the die cut into my MISTI Stamp Positioner and layout a few of the floral die cut pieces to figure out my stamp placement. I then choose a sentiment from the Stay Positive Stamp Set and stamp it onto the die cut piece using Versafine Clair Nocturn Ink. Now that my sentiment is stamped I give it a few minutes to dry then use Liquid Glue to stack and glue the remaining two scallop die cut pieces together then glue them over the scallop die cut of my sentiment. I also glue the remaining two circle die cuts to the back of the sentiment using Liquid Glue. *You could use the sentiment die cuts as is without stacking the other two, but I wanted to add some dimension to mine so it would stand out a bit more from the background.

I now start assembling my card. Using Liquid Glue I adhere my sentiment die cut onto the center of my card, and a bit more towards the top. I then glue the larger florals to the lower left side of the scallop ring. Because the scallop ring is stacked and has more height, I add small Small Foam Squares to the petals that hang over the inside of the scallop ring to give them more stability.
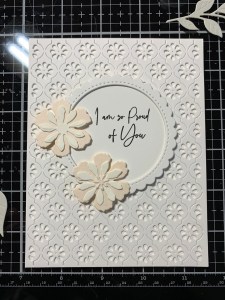
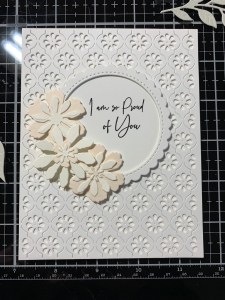
Using Liquid Glue I add my leaves and vine die cut pieces behind the flowers. I did add some Small Foam Squares to the leaves of the top vine pieces to give them a bit of dimension. I also added two small flowers to the arrangement.
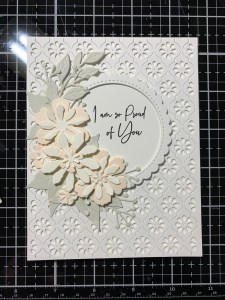
To add a little detail to the flowers I used my Jewel Picker and added some pearls from my stash to the centers using Liquid Glue and this completes my card.
I hope you enjoyed today’s card, I love how it turned out with the soft colors of the pale cardstock. This card could easily be used for wedding, anniversary, baby, get well, sympathy or really and occasion by changing up the sentiment. Any color of cardstock can be used, you could even create your own colors by ink blending onto white cardstock to get the color you want then die cut from the ink blends. I can’t believe this die set sat in my stash for so many years without being used! I will definitely be pulling this set out again soon for future cards!
If this is your first time visiting my blog, welcome and I hope you return. If you are a returning visitor, thank you so much for your support!
If you would like to be notified by email each time I post a new project, there is an option to add your email (located at the top menu, or on the right side of my page) then hit the subscribe button. Should you have any questions or comments please leave them in the comments section. I’d love to hear from you and what you thought about today’s card.
Thank you for visiting and I hope you come back soon!
Happy Stamping and God Bless!!
Jeannie

This is such a gorgeous card. I love the design.
LikeLike
Thank you so much, I’m glad you liked it!!
LikeLike
You never disappoint Jeannie. Another beautiful creation. Love it
LikeLike
Thank you so much Barb!!
LikeLike