I want to start out by thanking everyone for the support and nice comments you all leave for me. I truly appreciate the support of this blog!! I enjoy card making and bringing my creations to you, this wouldn’t be possible without your support, so again, thank you!! *Affiliate links are used at no additional cost to you. When you purchase products through my links I receive a small commission from these sales, which helps me to purchase new products for the cards I share on my blog. Thank you so much for your support, it is greatly appreciated!! Don’t forget to check out my previous blog for many more card projects! You can find them HERE.
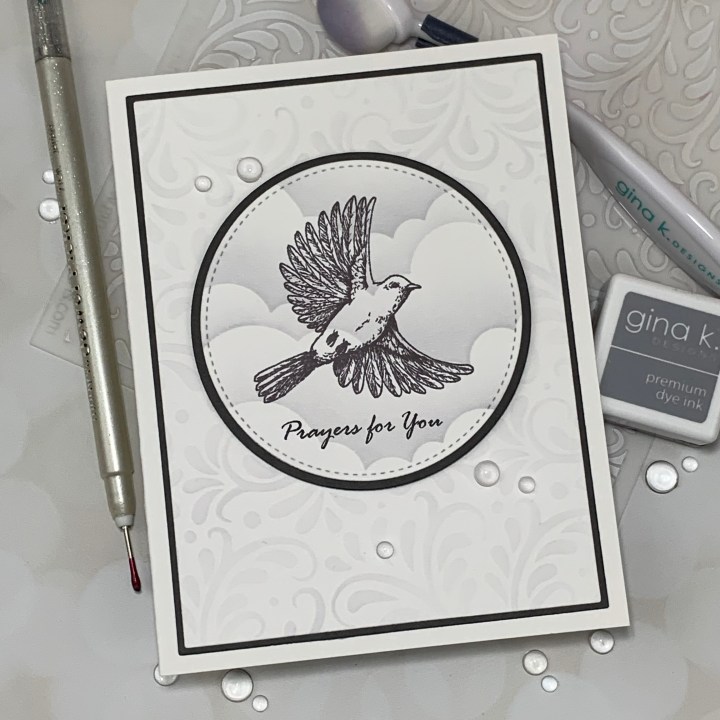
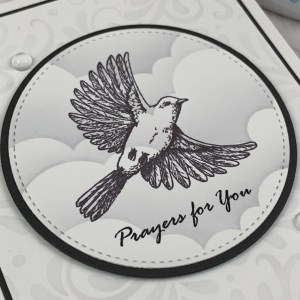
Today I have created a card using the brand new Fearless Flyers stamp set from the new release for Gina K. Designs, which is available right now! Gina’s live presentation of all her new products starts at 7:00 PM CST tonight over on her YouTube channel and Facebook page. If you miss the live, be sure to watch the replay for a close look at all of the brand new products! If you missed out and have been waiting for Gina’s last kit, Watercolor Spring to restock, it is finally here!! I HIGHLY suggest if you are at all interested in this kit that you purchase it NOW. Gina ordered more plus extras but this is a highly sought after kit. This time around if the kit sells out again it will not be restocked. However, when her next kit comes out (June) the contents of this current kit will be sold separately. This was a hugely popular kit that had sold out in a record 3 hours!! This kit is filled with so much beautiful product which includes a layered floral stamp set with coordinating dies, an assorted sentiments stamp set, layering stencils, gorgeous patterned paper, ephemera and six ink cubes in brand new colors!!! Gina always packs so much into her kits and offers it at an incredible price!! Also available separately are the six new ink colors in full size ink pads! I am just as excited to see the new items from this release as all of you! You can view the new items on Gina’s website by clicking on the “What’s New” category or by clicking HERE. When I received my stamp set, Fearless Flyers my eye went straight to the image of a bird with its wings spread in flight. I thought this image would make a beautiful, peaceful card to let someone know that they are in your prayers by using a heartfelt sentiment from the set. I kept my card simple and neutral in color by using a soft gray ink color. All of the stamps, inks, cardstock and dies I used are from Gina K. Designs (the stencil is not). Let’s get started!!

I will be doing all of my work today on my Tim Holtz Glass Media Mat.
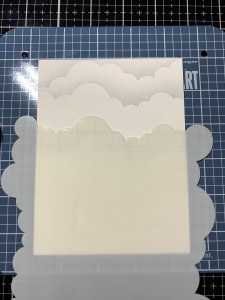
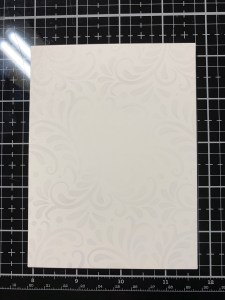
Using my Guillotine Paper Trimmer, I cut a 4 1/4″ x 5 1/2″ panel out of White Cardstock. I then place the panel onto my Make Art Stay-tion and line up my Cloudy Stencil over the top portion of the panel then secure it down using the magnets. Taking a Mini Blending Brush, I blend Soft Stone Ink over the edge of the stencil fading out the ink out onto the cardstock.


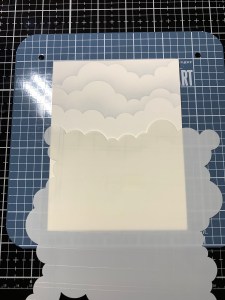
I take a damp cloth and wipe the ink off then rotate my Cloudy Stencil to use another edge and secure it in place with the magnets. *This stencil has four sides with different cloud formations, the stencil can also be flipped over to reverse the formations. Again, I take my Mini Blending Brush and blend Soft Stone Ink over the edge of the stencil and fade the ink out onto the cardstock.
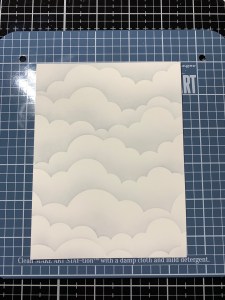
I clean the ink off my Cloudy Stencil and continue to rotate and blend the ink as I move down the panel until the panel is covered in clouds.
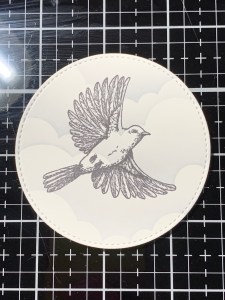
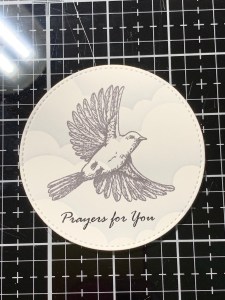
To stamp my image, I place the panel into my MISTI Stamp Positioner and take the stitched circle die from Master Layouts 8 Die Set and lay it over a portion of the cloud formation that I like as I will be using this same die to cut from the panel after my stamping. I then take an image from the Fearless Flyers Stamp Set and center it inside of the die, leaving some room at the bottom for a sentiment. I close the door of my MISTI to pick up the stamp then remove the die. I then ink up the stamp using Slate Ink and stamp the image onto the panel. I ended up stamping the image two times to get dark, crisp results.
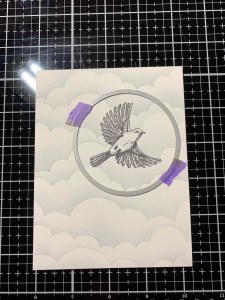
I now take the same stitched circle die from the Master Layouts 8 Die Set, center it over my stamped image and hold it in place with tape. I then run the panel through my Big Shot Die Cut Machine and I now have my image cut out with room to stamp a sentiment at the bottom.
To stamp a sentiment, I place the circle die cut into my MISTI, holding it in place with the magnets. Taking a sentiment from the Fearless Flyers Stamp Set, I line it up under my stamped image then stamp the sentiment using Amalgam Obsidian Black Ink.
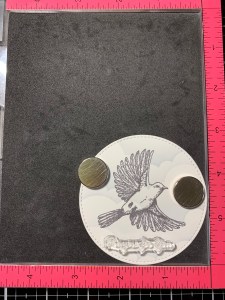
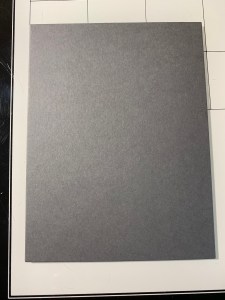
Next, I take the plain circle die from the same Master Layouts 8 Die Set and cut out of Slate Cardstock, running them through my Big Shot. I then use Liquid Glue to mat the two die cuts together.


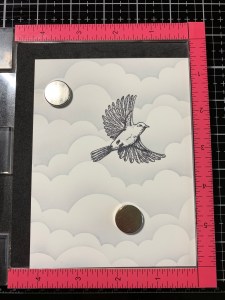
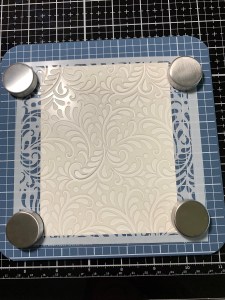
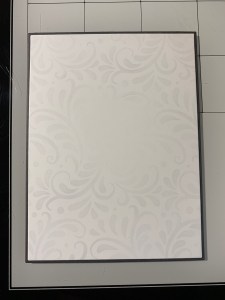
To create a soft background for my focal image I place a 4 1/4″ x 5 1/2″ piece of White Cardstock onto my Make Art Stay-tion and place the Harvest Flourish Stencil on top, holding it in place with the magnets. Using my Mini Blending Brush I blend Soft Stone Ink over the stencil with a light hand, allowing the ink to fade out and soften toward the outside edges a bit. *I didn’t apply ink over the center as this is where my focal image will be mounted.
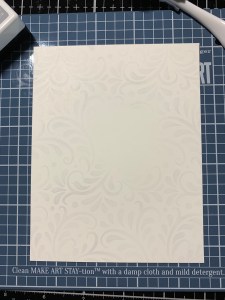
Next, I take the smaller rectangle die from the Master Layouts 1 Die Set and cut from the stenciled panel, I also take the largest rectangle die from the same Master Layouts 1 Die Set and cut out of Slate Cardstock, running them all through my Big Shot. I then used Liquid Glue to adhere the panels together.
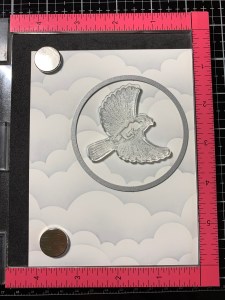
To give my focal image some solid dimension I took the stitched circle die from the Master Layouts 8 Die Set and cut out three times from some scrap cardstock. I then stacked and glued them together then glued them to the back of my focal image. Using Liquid Glue I adhered my blended panel onto a White Cardstock card base then mounted the focal image onto the front, slightly above center.

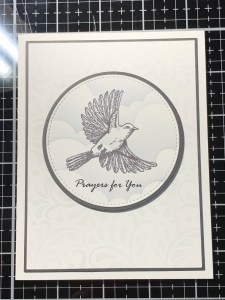
With my Jewel Picker I added a few Dew Drops with Liquid Glue and this completes my card.
I hope you enjoyed today’s card. I loved combining the two stencils to give my image a soft, gentle feel. The images from this stamp set are great for any type of coloring medium, however, I wanted to show that lined art doesn’t always have to be colored. These types of stamps are also great for making quick, simple cards. Be sure to check out Gina’s live tonight (or on replay) on her YouTube Channel HERE or on her Facebook page. It’s always fun watching her lives and the card project that she creates at the end!
If this is your first time visiting my blog, welcome and I hope you return. If you are a returning visitor, thank you so much for your support!
If you would like to be notified by email each time I post a new project, there is an option to add your email (located at the top menu, or on the right side of my page) then hit the subscribe button. Should you have any questions or comments please leave them in the comments section. I’d love to hear from you and what you thought about today’s card.
Thank you for visiting and I hope you come back soon!
Happy Stamping and God Bless!!
Jeannie
