I want to start out by thanking everyone for the support and nice comments you all leave for me. I truly appreciate the support of this blog!! I enjoy card making and bringing my creations to you, this wouldn’t be possible without your support, so again, thank you!! *Affiliate links are used at no additional cost to you. When you purchase products through my links I receive a small commission from these sales, which helps me to purchase new products for the cards I share on my blog. Thank you so much for your support, it is greatly appreciated!! Don’t forget to check out my previous blog for many more card projects! You can find them HERE.
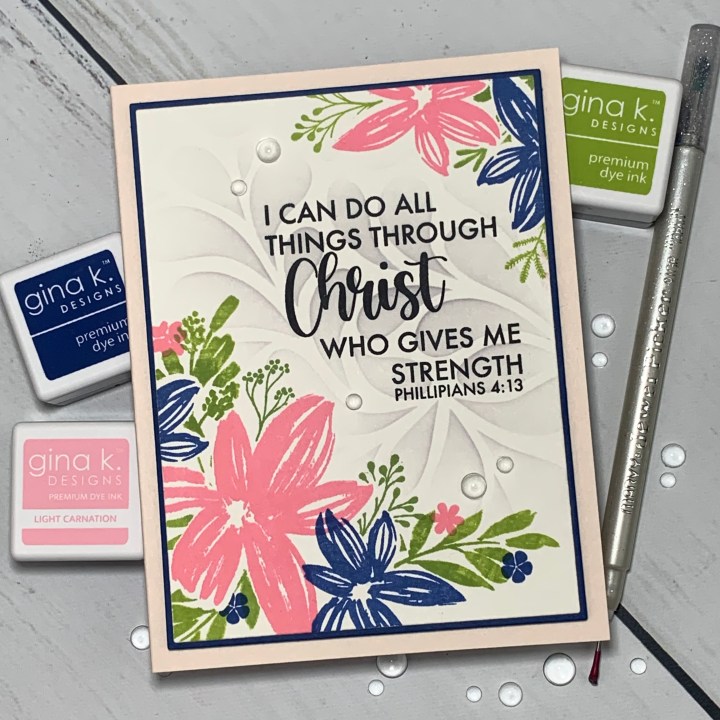
Today, I have a card using the Wonderful In Every Way and Sympathy & Love stamp sets. Both of these sets are brand new and part of the Gina K. Designs June release that is live right now! Starting at 7:00 PM tonight (CST) Gina will go live on both her YouTube channel and Facebook page with a close up look at all of the new products from this release, Gina also makes a quick card project at the end of her live presentation. Included in tonight’s release is a brand new KIT as well as stamps, dies, stencils, embellishments and a new incentive stamp set!! If you miss the live, be sure to catch the replays. All of the new products from the June release can also be found HERE. For today’s card I used a sentiment from the Sympathy & Love stamp set (which is filled with SO MANY encouraging sentiments) and surrounded it with the florals from the Wonderful In Every Way stamp set. I used the coordinating dies to mask off the florals and stamped some greenery from a couple of mini stamp sets. I love to mix and match stamp and die sets for even more use of my supplies! To add a little extra interest, I used a stencil and soft inking to go over my sentiment. All of the ink, cardstock, dies and stamps I use on today’s card are from Gina K. Designs. Let’s get started!!

I will be doing all of my work today on my Tim Holtz Glass Media Mat.
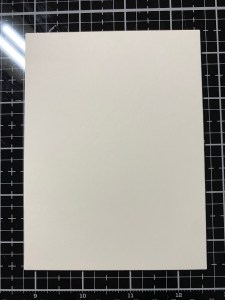
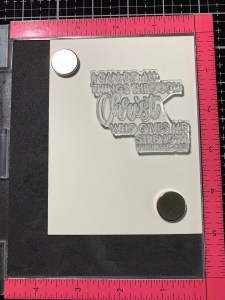
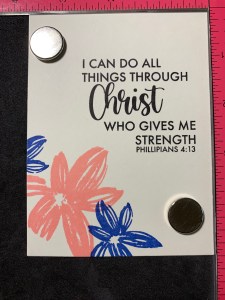
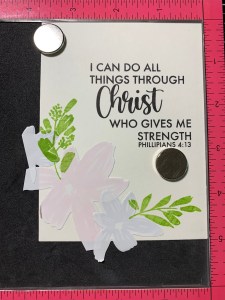
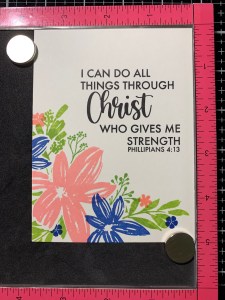
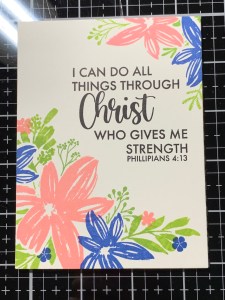
To start, I take the second largest rectangle die from the Master Layouts 1 Die Set and cut out of Ivory Cardstock, running them through my Big Shot Die Cut Machine. Next, I place the panel into the corner of my MISTI Stamp Positioner and position a sentiment from the Sympathy & Love Stamp Set over the top of my panel, a little off center. I then ink up the stamp with Amalgam Obsidian Black Ink and stamp it onto my panel.

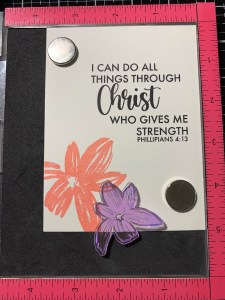
To add some color and design to my card, I take the large brushstroke floral from the Wonderful In Every Way Stamp Set and position it over the lower left corner of my panel and stamp it with Light Carnation Ink. I then take the smaller brushstroke stamp from the same Wonderful In Every Way Stamp Set and stamp the image on both sides of my first image using Blue Denim Ink.


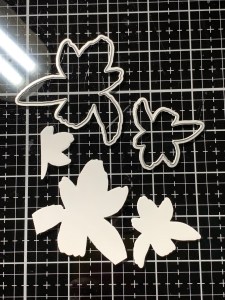
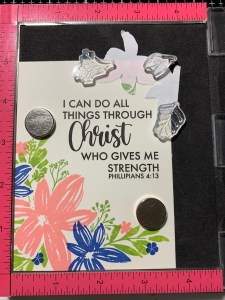
I want to stamp some greenery around these florals without covering up the images, to do this I take the coordinating dies from the Wonderful In Every Way Die Set and cut out of some scrap pieces of Masking Magic, running them through my Big Shot. I then remove the release paper and place the masks over my stamped images. Next, I choose a couple of images from the Grateful Greenery Mini Stamp Set and position them over the masked images so it looks like they are coming out of the florals. I then stamp them onto the panel with Grass Green Ink being sure to press down around the masked edges so the stamps make good contact onto the panel. I clean off the stamps then position them over the lower area of the large floral and stamp them with Grass Green Ink.
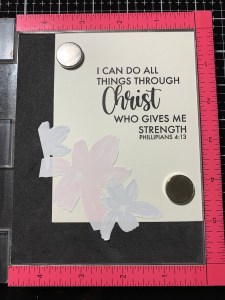

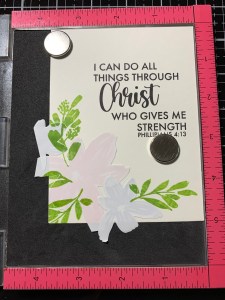
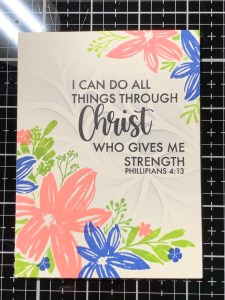
Next, I take two images from the Bitty Botanical Mini Stamp Set and position them over the top portion of the florals and stamp them using Grass Green Ink. I then took the small flower images from the same Bitty Botanicals Mini Stamp Set and stamp them using Light Carnation Ink and Blue Denim Ink over the greenery. Now that the stamping is finished in the lower corner, I remove the masks to reveal the beautiful floral arrangement.

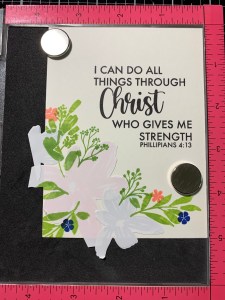
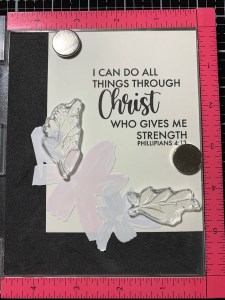
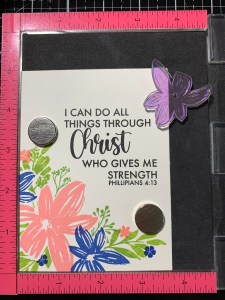
To work on the opposite corner, I flip my MISTI around and place the panel into the lower corner exposing the top right corner for stamping. For this corner, I take the same smaller floral image from the Wonderful In Every Way Stamp Set and position it partially over the corner of the panel. I then stamp the image using Blue Denim Ink and again with Light Carnation Ink. I again mask off the florals and choose some greenery images from the Bitty Botanical Mini Stamp Set and the Grateful Greenery Mini Stamp Set then stamp them using Jelly Bean Green Ink.
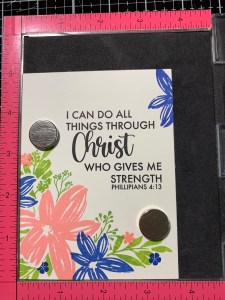


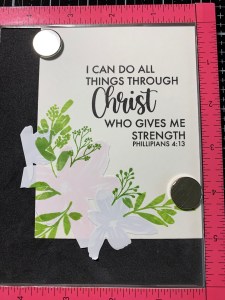
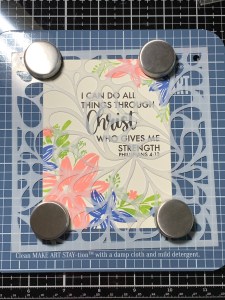
Once my stamping was complete, I thought the panel looked a little too stark and plain. To add some design and interest I placed the panel into my Make Art Stay-tion then placed my Water Droplets Stencil over the top and held everything in place with the magnets. Using my Blending Brush I blended some Soft Stone Ink a little heavier toward the center of the sentiment then faded the ink out. This stencil added a soft design to the plain center and tied everything together nicely. *When ink blending over a black stamped sentiment, be sure the ink is completely dry to avoid any smearing.
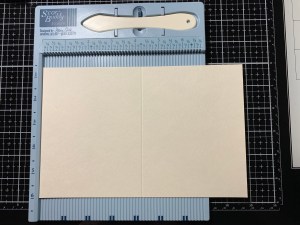
Taking the largest rectangle die from the Master Layouts 1 Die Set I cut out of Blue Denim Cardstock, running them through my Big Shot. Using Liquid Glue, I adhered the panels together. Next, I placed a 5 1/2″ x 8 1/2″ piece of Barely There Cardstock into my Scor Buddy and scored it at 4 1/4″, creating a side folding card base. I then added Foam Tape to the back of the panel and mounted it onto the card base.


Using my Jewel Picker, I added Dew Drops with Liquid Glue and this completes my card.
I hope you enjoyed today’s card. Using simple stamping with a little bit of masking can create beautiful designs to accent a sentiment. I love how the subtle stenciling toned down the stark area and made everything flow together nicely. I chose to use the coordinating dies to cut out my masks, however, you could also just stamp the images onto masking paper and cut them out with scissors to achieve the same results. Be sure to check out the rest of the new release on Gina’s live or catch it on replay… Gina NEVER disappoints!!
If this is your first time visiting my blog, welcome and I hope you return. If you are a returning visitor, thank you so much for your support!
If you would like to be notified by email each time I post a new project, there is an option to add your email (located at the top menu, or on the right side of my page) then hit the subscribe button. Should you have any questions or comments please leave them in the comments section. I’d love to hear from you and what you thought about today’s card.
Thank you for visiting and I hope you come back soon!
Happy Stamping and God Bless!!
Jeannie

Lovely card and great directions explaining everything.
LikeLike
Thank you so much Nana!!
LikeLike