
I want to start out by thanking everyone for the support and nice comments you all leave for me. I truly appreciate the support of this blog!! I enjoy card making and bringing my creations to you, this wouldn’t be possible without your support, so again, thank you!! *Affiliate links are used at no additional cost to you. When you purchase products through my links I receive a small commission from these sales, which helps me to purchase new products for the cards I share on my blog. Thank you so much for your support, it is greatly appreciated!! Don’t forget to check out my previous blog for many more card projects! You can find them HERE.
I want to let you know that Gina, from Gina K. Designs is offering one of her biggest sales of the year starting Friday, July 1st at 8:00 AM CST!! Sale ends at midnight, July 4th. *If you are interested in this sale, be sure to shop early as many popular items will sell out quickly. Shop as you normally would then enter the code JULY2022 at checkout. Be sure to also check out the Deal Of The Day as this category has been DEEPLY discounted!! (20% discount does not apply to Deal Of The Day or Clearance items) You can shop HERE for the sale, thank you for supporting my blog by shopping through my links (at no cost to you), I greatly appreciate you!!
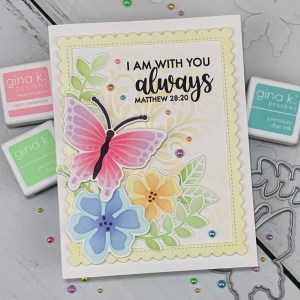
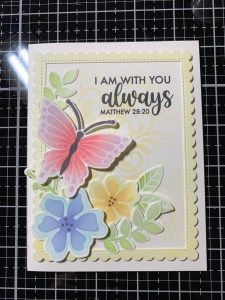
Today I have a card using the Fluttering Fall Layering Stencils Bundle to create a card of encouragement. This was a fun card to create that could be used for any occasion by simply changing the sentiment. This is a great bundle that is filled with stencils, stamps, coordinating dies and also a stand alone greeting die! I chose to use bright, cheerful colors for an uplifting feel but this design would look great in beautiful fall colors as well! All of the stamps, stencils, dies, inks, cardstock and embellishments I used are from Gina K. Designs. Let’s get started!!
I will be doing all of my work today on my Tim Holtz Glass Media Mat.
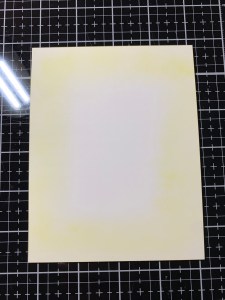
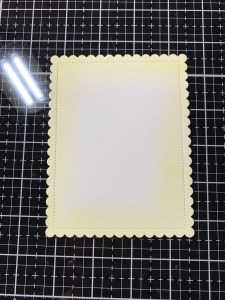
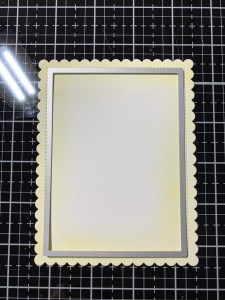
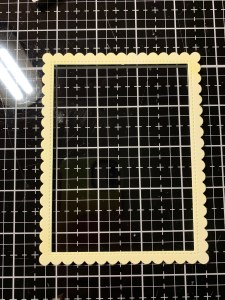
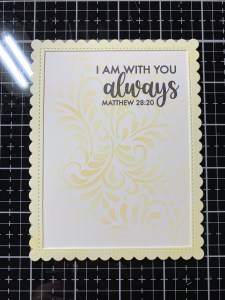
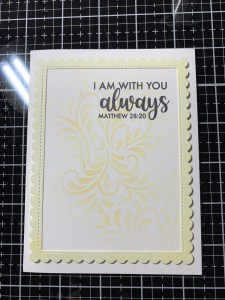
To start, I cut a 4 1/4″ x 5 1/2″ out of White Cardstock using my Guillotine Paper Trimmer. I then used my Blending Brush to softly blend Lemon Drop Ink around the four sides. Next, I took the scalloped rectangle die from the Master Layouts 4 Die Set and cut out of the blended panel, running them through my Big Shot Die Cut Machine. To create a frame from this panel I took the stitched rectangle die from the Master Layouts 5 Die Set and centered it between the stitching of the blended panel then ran them through my Big Shot.

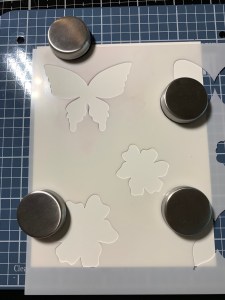
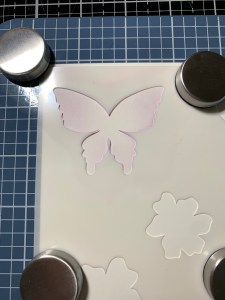
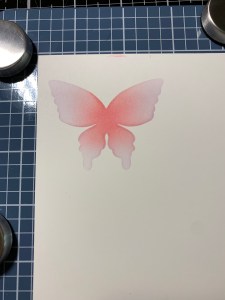
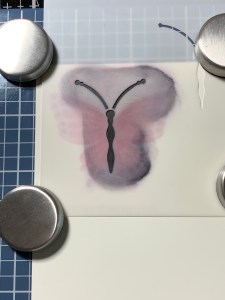
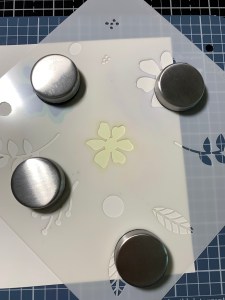
To create some elements for my card I place a piece of White Cardstock onto my Make Art Stay-tion then place the outline stencil (#1) from the Fluttering Fall Layering Stencil Bundle over the panel and hold everything down with the magnets. I then take my Blending Brush and lightly blend Lovely Lavender Ink over the butterfly opening. With the stencil still in place, I lightly blend Light Carnation Ink over the center area of the image, fading it into the previous color. To deepen and brighten the color a bit, I blend Medium Carnation Ink to the very center of the image then remove the stencil. *These stencils all have etching on the front side and labeled 1, 2 and 3. Be sure you are blending with the etching side up so that everything lines up and die cuts properly.

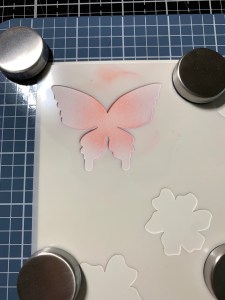

Next, I take the detail stencil (#2) and line it up over my blended image. I then go back with the same colors and again blend using my Mini Blending Brushes, this time with a heavier hand.
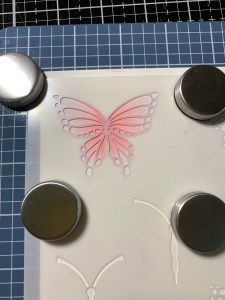

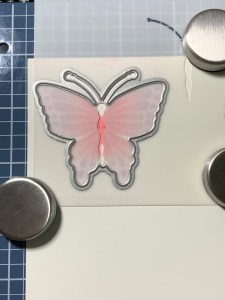
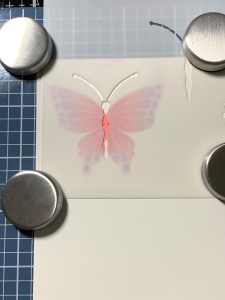
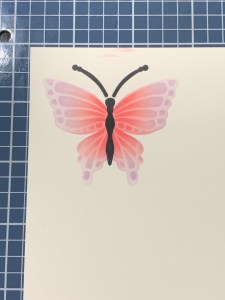
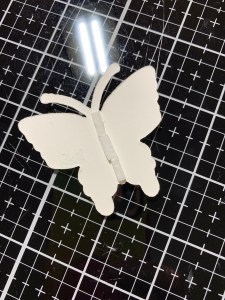
For the body of the butterfly you want to make sure to line it up correctly so that when it is die cut it lines up evenly and nothing gets cut off. To do this, I take the last stencil (#3) and take the coordinating die for this image from the same Fluttering Fall Layering Stencil Bundle and place it cut side up over the stencil so that everything is centered within the cutting area. I then slide the stencil over the blended image making sure it is lined up evenly and place the magnets over the stencil to hold it in place and remove the die. Using Slate Ink I blend with a heavy hand using my Mini Blending Brush until I have full coverage. Now that my ink blending is finished on this piece I take the coordinating die, line it up over the image and run it through my Big Shot. *Because this is a symmetrical design the die can be placed cut side up so the cutting area is easily seen to ensure and even cut when flipped over. Another way to line things up correctly would be to die cut the butterfly out before ink blending the body, then line up the stencil over the die cut piece and ink blend. I just prefer ink blending over a panel vs a small die cut piece. *I like to use the full size blending brushes for the bigger images to add soft blending and use my mini blending brushes for the smaller areas and shading.

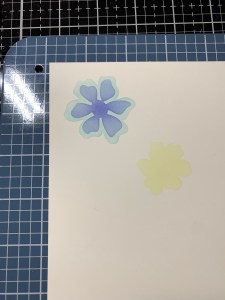
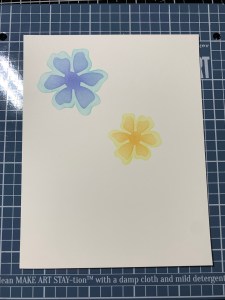
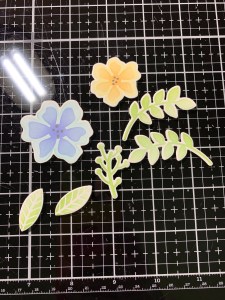
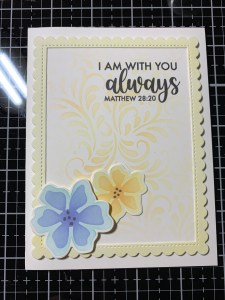
Taking the outline stencil (#1) I blend Ocean Mist Ink over the large flower image and blend Lemon Drop Ink over the small flower image with my Blending Brushes. I then go back with the #3 stencil, line it up and blend Wild Wisteria Ink over the large flower and Sweet Mango Ink over the small flower. For the center detail of both flowers I use the #3 stencil and blend Slate Ink.
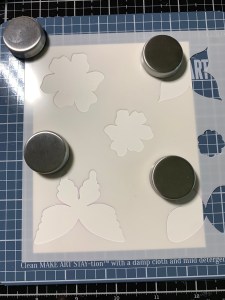

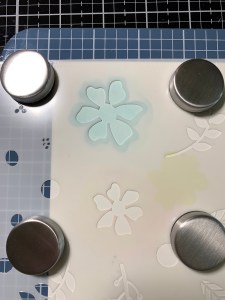

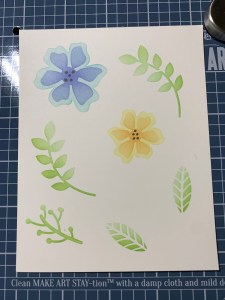
Using the same #3 stencil I blend all of the greenery and leaves with a full coverage of Applemint Ink and then blend a little bit of Jelly Bean Green Ink for some shading to the base and edge of the images. Now that my blending is complete I use the coordinating dies to cut out the images, running them through my Big Shot.
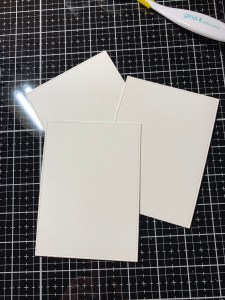
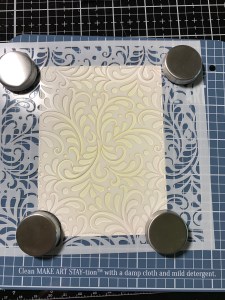
Using the same stitched rectangle die from the Master Layouts 5 Die Set (as I previously used to create the frame), I cut three times out of White Cardstock, running them through my Big Shot. Next, I placed one of these panels onto my Make Art Stay-tion then placed my Harvest Flourish Stencil over it and secured everything down with the magnets. I then use my Mini Blending Brush to blend Lemon Drop Ink over the center portion of the stencil and fade the ink out toward the edges. I then add a small amount of Sweet Mango Ink to some of the areas for a little color variation.


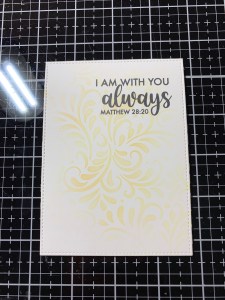
Now it’s time to stamp my sentiment. I place the blended panel into the corner of my MISTI Stamp Positioner and lay out the stenciled elements to figure out my stamp placement. I then choose a sentiment from the Sympathy & Love Stamp Set and position it towards the top right portion of my panel. I then remove the elements and stamp my sentiment using Amalgam Obsidian Black Ink.
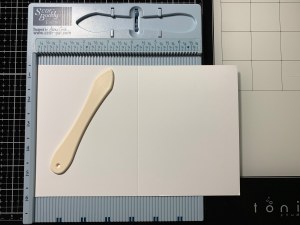
I give my sentiment several minutes to dry then add Liquid Glue to the edges of the panel and adhere the frame onto it. To give my panel some dimension I glue on the other two panels behind it using Liquid Glue. Next, I place a 5 1/2″ x 8 1/2″ piece of White Cardstock into my Scor Buddy and score it at 4 1/4″ creating a side folding card base. Using Liquid Glue I adhere my framed panel onto the card base.
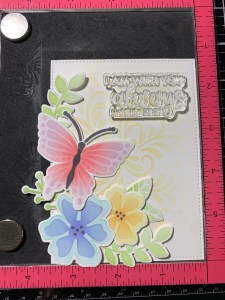
I now start to adhere the elements onto the card front. Using Liquid Glue I adhere the yellow flower down, I then add a Foam Square onto the back of the blue flower and adhere it down. I also add Liquid Glue to all of the greenery pieces and adhere them into place. For the butterfly I cut a Foam Square into three pieces and placed them along the backside of the body then adhered it at an angle between the flowers and sentiment.
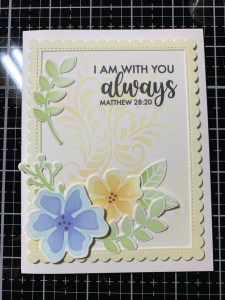
Using my Jewel Picker I added some Rainbow Pearls with Liquid Glue and this completes my card.
I hope you enjoyed today’s card and learned how simple layering stencils can be! Using the detailed stencil on the butterflies is also fun to add some sparkle and shine with glitter gel or even foil. This butterfly bundle would be great to use for any occasion, including Mother’s Day, birthdays, thinking of you, just because, etc. I think it would be so cute for a baby shower card as well! If you are visiting this post on or before July 4th, be sure to check out Gina’s generous sale on her site… you could get 20% off of this bundle!
If this is your first time visiting my blog, welcome and I hope you return. If you are a returning visitor, thank you so much for your support!
If you would like to be notified by email each time I post a new project, there is an option to add your email (located at the top menu, or on the right side of my page) then hit the subscribe button. Should you have any questions or comments please leave them in the comments section. I’d love to hear from you and what you thought about today’s card.
Thank you for visiting and I hope you come back soon!
Happy Stamping and God Bless!!
Jeannie
