
I want to start out by thanking everyone for the support and nice comments you all leave for me. I truly appreciate the support of this blog!! I enjoy card making and bringing my creations to you, this wouldn’t be possible without your support, so again, thank you!! *Affiliate links are used at no additional cost to you. When you purchase products through my links I receive a small commission from these sales, which helps me to purchase new products for the cards I share on my blog. Thank you so much for your support, it is greatly appreciated!! Don’t forget to check out my previous blog for many more card projects! You can find them HERE.
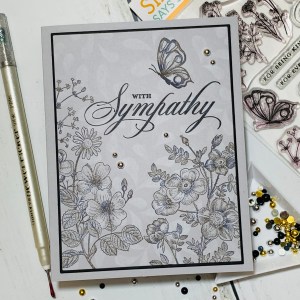
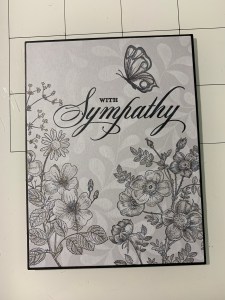
Today I have a card using a beautiful, stamp set called Vintage Garden which is part of the Dream Big release from Simon Says Stamp, which can be purchased separately. This set is currently part of the August Card Kit that is also available (while supplies last!). This stamp set has a vintage floral theme with several beautiful script greetings, a few sentiments to go along with them as well as two butterflies. Also available are coordinating dies for purchase. To create a soft, subtle background I used the new Talavera Vine Background stamp and stamped in white pigment in onto a soft gray cardstock. This was the perfect stamp to create just enough texture and design to the otherwise plain background without taking away from the images and greeting. This was a very quick and easy card to create and could be used for any occasion just by changing the greeting. Let’s get started!!
I will be doing all of my work today on my Tim Holtz Glass Media Mat.
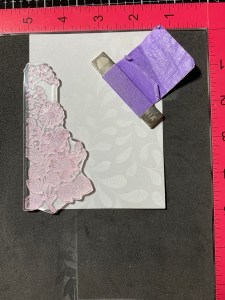
To start, I cut a 4 1/4″ x 5 1/2″ panel out of Soft Stone Cardstock using my Guillotine Paper Trimmer then placed it into my MISTI Stamp Positioner. Taking the Talavera Vine Background Stamp, I place it over the panel then pick it up with the door of my MISTI. I then ink up the stamp with White Pigment Ink and take a Blending Brush to lightly tap over the stamp to soften the ink then stamp it onto my panel. I repeat this process a couple of times until I have a soft stamped image. I then heat set the panel with my Heat It Craft Tool to dry the ink. *I dedicate one of my blending brushes to be used with my white pigment ink only. You do not want to mix pigment ink with dye inks on your brushes.
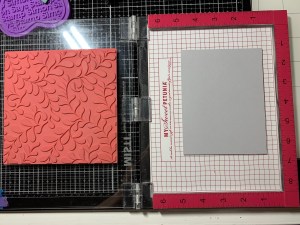
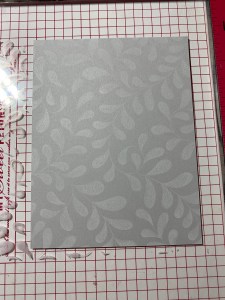

Taking the second largest rectangle die from the Master Layouts 1 Die Set I cut out of the inked panel, running them through my Big Shot Die Cut Machine.

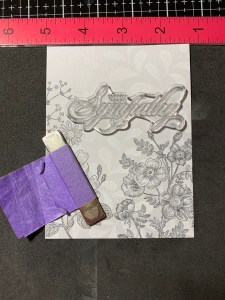
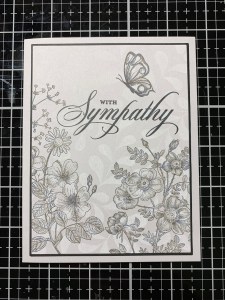
Now that my panel is cut down I place it back into my MISTI then choose and image from the Vintage Garden Stamp Set and place it over the lower left corner allowing it to hang off the edges a bit. I then ink the stamp with Slate Ink and stamp it onto the panel. Next I choose another image from the same set and position it over the bottom right corner, ink it up with Slate Ink then stamp it onto the panel.
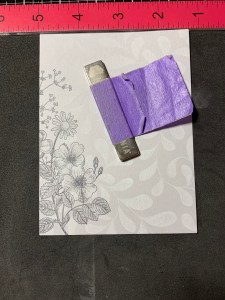
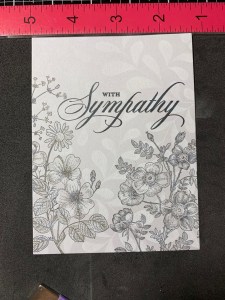
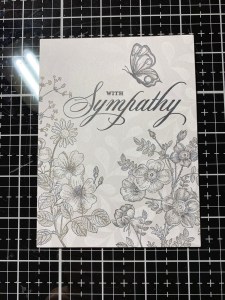
From the same Vintage Garden Stamp Set I choose a greeting and position it between the floral images then stamp it using Versafine Claire Nocturn Ink. I then position a butterfly image from the same set and stamp it using Slate Ink.

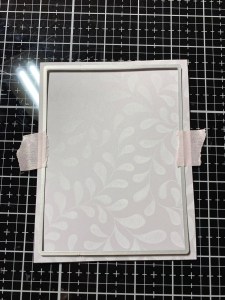
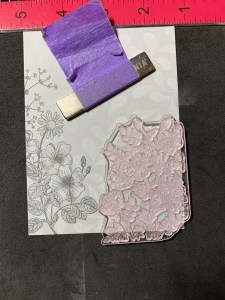
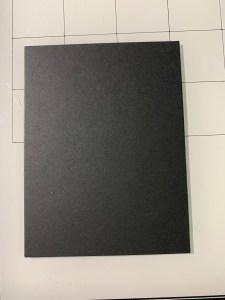
Taking the layering rectangle die from the same Master Layouts 1 Die Set I cut out of Black Cardstock, running them through my Big Shot. Using Liquid Glue I layer the two panels together.
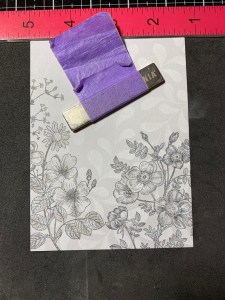
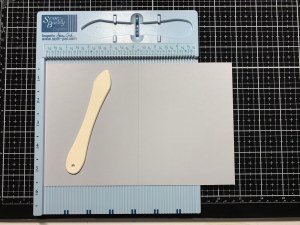
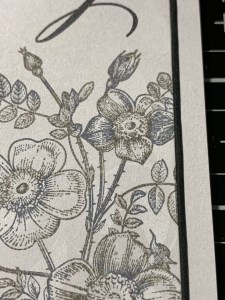
Next, I place a 5 1/2″ x 8 1/2″ piece of Soft Stone Cardstock into my Scor Buddy and score it at 4 1/4″, creating a side folding card base. I add Liquid Glue to the back of my panel and adhere it onto the card base. I found it very interesting that the areas where the slate ink was stamped over the white pigment ink, it actually turned blue! While it’s not what I expected or planned for, I thought it gave a nice look of variation to the stamped image! You can see this better if you can zoom in on the close up photo.
Using my Jewel Picker I added some Silver Pearls with Liquid Glue and this completes my card.
I hope you enjoyed today’s card. This was my first time using this stamp set and I LOVE the results I got. These florals really do have a bit of a vintage look and for this particular sympathy card, I feel it gives of a soft calming look with the font of the greeting. An overall very versatile set! Though I used this new background stamp for a subtle background today, it would also look great stamped in bold colors, embossed, resist techniques or great for a tone on tone effect!
If this is your first time visiting my blog, welcome and I hope you return. If you are a returning visitor, thank you so much for your support!
If you would like to be notified by email each time I post a new project, there is an option to add your email (located at the top menu, or on the right side of my page) then hit the subscribe button. Should you have any questions or comments please leave them in the comments section. I’d love to hear from you and what you thought about today’s card.
Thank you for visiting and I hope you come back soon!
Happy Stamping and God Bless!!
Jeannie

This card is so beautiful. Thanks for sharing your process.
LikeLike
Thank you so much!!!
LikeLike
Such a beautiful card – thank you for sharing!
LikeLike
Thank you so much Deb!!
LikeLike
Lovely card…… tyfs 🙂
LikeLike
Thank you so much Linda!!
LikeLike
Simply beautiful! Love your style😊
Sent from my iPhone
>
LikeLike
Thank you so much Barb!!
LikeLike