
I want to start out by thanking everyone for the support and nice comments you all leave for me. I truly appreciate the support of this blog!! I enjoy card making and bringing my creations to you, this wouldn’t be possible without your support, so again, thank you!! *Affiliate links are used at no additional cost to you. When you purchase products through my links I receive a small commission from these sales, which helps me to purchase new products for the cards I share on my blog. Thank you so much for your support, it is greatly appreciated!! Don’t forget to check out my previous blog for many more card projects! You can find them HERE.
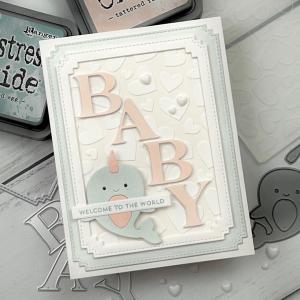
Today, I have a created a baby card using Oxide inks to create a soft, muted color palette. The two colors I used are my favorite go to colors when wanting a soft look. I use the Oxide inks to create a colored background using an embossing folder as well as ink blending for my layering panel and elements. Oxide inks are great for so many different uses, I even used it to stamp my sentiment and as you can see, it gives a nice crisp impression! I also used some decorative frame dies to add some interest to my layers. I thought the Narwhal Picture Book die gave touch of cuteness to this card and a great way to display the sentiment! Let’s get started!!
I will be doing all of my work today, on my Tim Holtz Glass Media Mat.
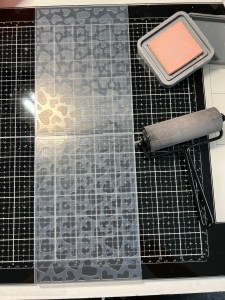
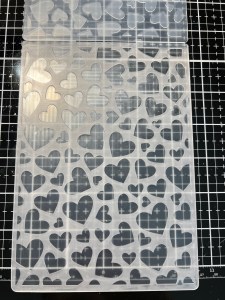
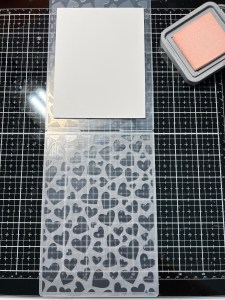
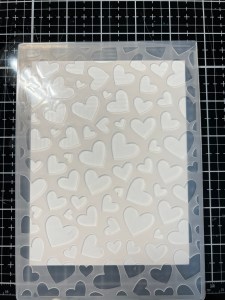
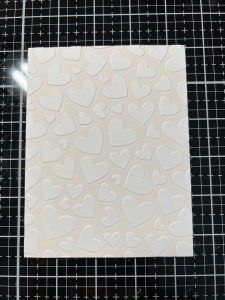
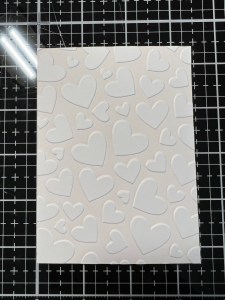
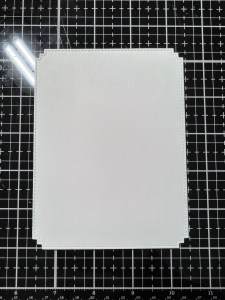
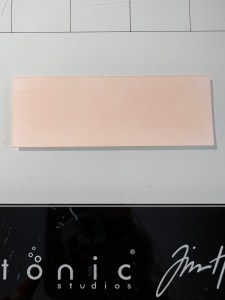
To start, I ink my Brayer with Tattered Rose Distress Oxide Ink then brayer over the inverted side of my Happy Hearts Embossing Folder, I ink the folder until I have even ink coverage. *The inverted side of the embossing folder is the side where the design is pressed into the folder so that the background is smooth. After inking my folder I place a 4 1/4″ x 5 1/2″ piece of White Cardstock onto the “un-inked” side then close the folder onto the cardstock and run it through my Platinum 6 Die Cut Machine. *Placing the cardstock onto the un-inked side of the folder is a great way to avoid shifting cardstock when trying to place on the inked side. Without re-inking my Brayer, I reapply the ink left on the Brayer to the embossing folder again, add a new panel of cardstock and run through my P6. I do this again for a third panel and now I have three panels to choose from, each having a different shade of the same color. I end up using the second panel with the middle shade.

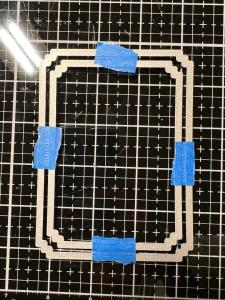
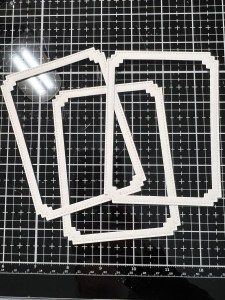
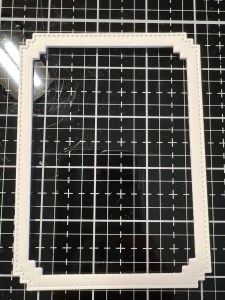
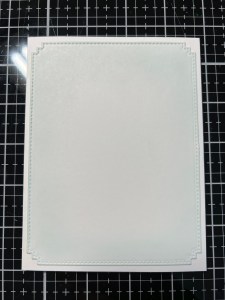
To make a frame for my panel, I take the second and third largest dies from the Matinee Rectangle Layers Die Set, center them and hold them together using tape then cut out of White Cardstock three times, running them through my P6. I then use Liquid Glue to stack and glue them together.
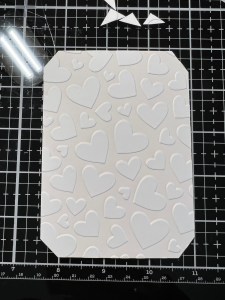
Going back to my embossed panel, I trim it down to be 3 3/8″ x 4 5/8″ using my Guillotine Paper Trimmer. I then cut off the corners and glue the panel onto the back of my frame using Liquid Glue.
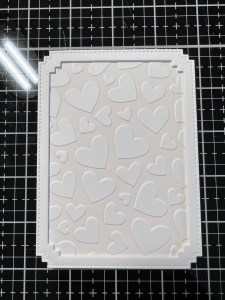
Taking the largest die from the same Matinee Rectangle Layers Die Set I cut out of White Cardstock, running them through my P6. Using my Blending Brush I lightly blend Speckled Egg Distress Oxide Ink around all of the sides and corners. When I’m satisfied with the shade, I adhere the panel onto a white card base using Liquid Glue. I then mount my framed panel onto the blended panel also using Liquid Glue.

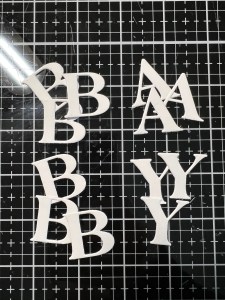
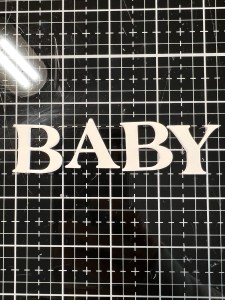
Using my Classic Type Alphabet Die Set I cut out the word “BABY” three times out of White Cardstock, running them through my P6. I then stack and glue the letters together using Liquid Glue. For the top layer of my letters, I use my Blending Brush to blend Tattered Rose Distress Oxide Ink onto a piece of White Cardstock then cut the word “BABY” from it, running them through my P6. I then used Liquid Glue to adhere them onto the stacked letters.

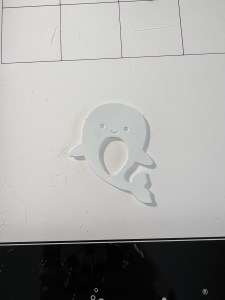
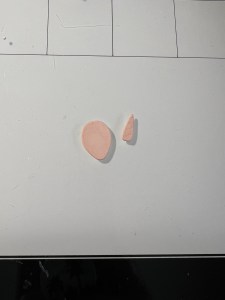
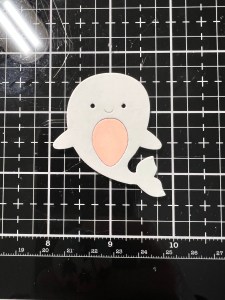
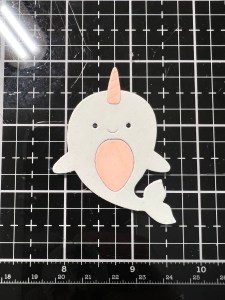
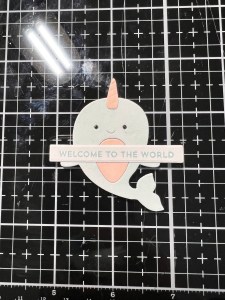
To create an image for my card, Using my Blending Brush, I blend Speckled Egg Distress Oxide Ink onto a piece of White Cardstock. I then take the Picture Book Jumping Narwhal Die and cut out of the blended panel, running them through my P6. I also blend Tattered Rose Distress Oxide Ink onto a small piece of white cardstock, this time a darker shade and cut out the belly and tusk sections of the die.


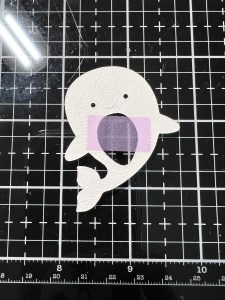
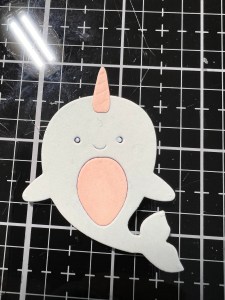
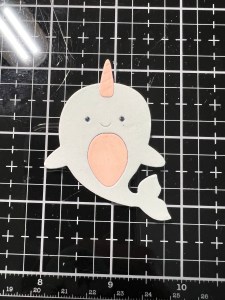
To attach the belly to my die cut narwhal, I place a thin piece of tape onto the back side of the belly opening. I then add Liquid Glue onto the die cut piece and press it into place. I also use Liquid Glue to adhere the tusk to the top of the head. For the eyes, I again add thin tape to the back the eye openings and add a small dot of Liquid Glue to the openings. Using a black marker I colored the small eyes from my previous cut and used my Stick & Pick Tool To place them onto the glue. *To make my die cut a bit more sturdy, I cut another narwhal body and glued it to the back. For a little shine, I also add a small drop of Glossy Accents to each eye after they were glued into place then set the die cut aside to dry. *The eyes could also be cut out of black cardstock and glued into place.
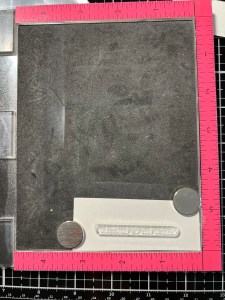
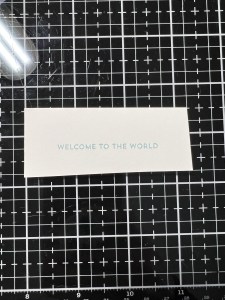
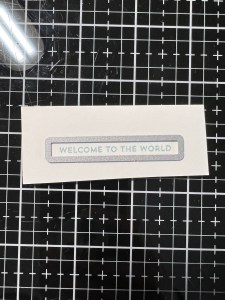
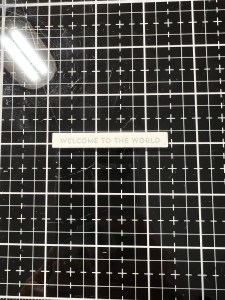
Next, I chose a sentiment from the Itty Bitty Baby Stamp Set and using my MISTI Stamp Positioner, I stamped it onto a piece of White Cardstock using Speckled Egg Distress Oxide Ink. I stamped this image a few times to get a crisp image. I allowed my stamped sentiment a few minutes to dry then used a die from the Sentiment Strips Die Set to cut my sentiment out, running them through my P6.
Using Liquid Glue I adhered my sentiment strip across the front of my narwhal like he is holding it. Next, I laid out my letters going down my card front at a diagonal, spacing them out evenly. I then adhered one letter at a time using Liquid Glue. To adhere my narwhal die cut, I added Foam Tape to the back of him and added Liquid Glue to his fin that would be overlapping the frame then mounted him into place.

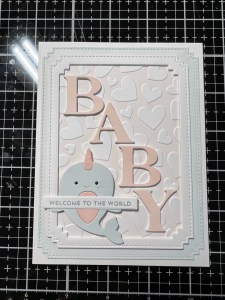
Using my Pick & Stick Tool I added three Tic Tac Jelly Drop Hearts to the open area of my card front using Liquid Glue and this completes my card.
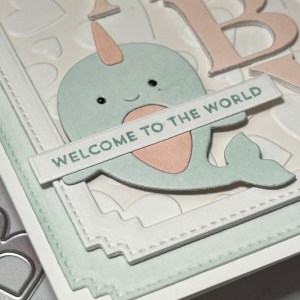
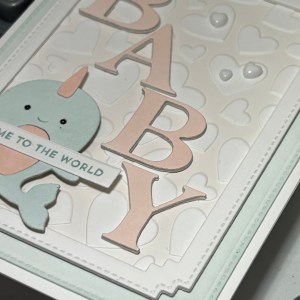
I don’t know what it is about baby cards but they are so fun to make! I tried to keep this card gender neutral so it could be given for a boy or a girl. I love the soft subtle background the embossing folder gave with the inking, it was just the right amount of color to help the hearts to stand out without making it too busy. The adorable little narwhal was the perfect touch to hold my sentiment and pull all of the colors together. If you like ocean critters, there are many different ones to choose from at Simon Says Stamp, just type in “Picture Book Dies” on their site… I still need to add a couple more to complete my collection!
If this is your first time visiting my blog, welcome and I hope you return. If you are a returning visitor, thank you so much for your support!
If you would like to be notified by email each time I post a new project, there is an option to add your email (located at the top menu, or on the right side of my page) then hit the subscribe button. Should you have any questions or comments please leave them in the comments section. I’d love to hear from you and what you thought about today’s card.
Thank you for visiting and I hope you come back soon!
Happy Stamping and God Bless!!
Jeannie

This is the first time I’ve seen your blog entries and am *so* impressed with the thoroughness and attention to *detail* that you give in your directions. I’m a programer by training and particularly appreciate your explicit step-by-step instructions.
oh yeah, and the card is adorable! 🙂
LikeLike
Thank you so much Shelley for your nice comments!
LikeLike