I want to start out by thanking everyone for the support and nice comments you all leave for me. I truly appreciate the support of this blog!! I enjoy card making and bringing my creations to you, this wouldn’t be possible without your support, so again, thank you!! *Affiliate links are used at no additional cost to you. When you purchase products through my links I receive a small commission from these sales, which helps me to purchase new products for the cards I share on my blog. Thank you so much for your support, it is greatly appreciated!! Don’t forget to check out my previous blog for many more card projects! You can find them HERE.
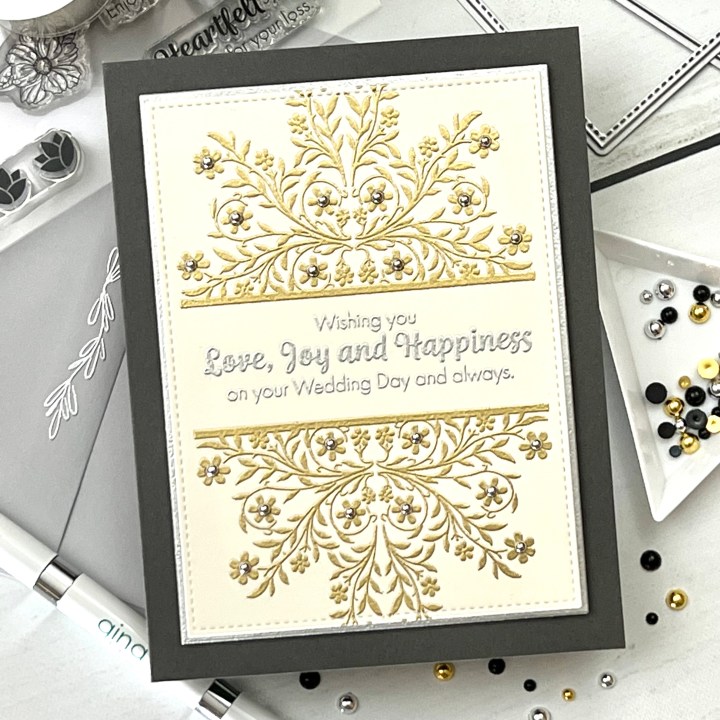
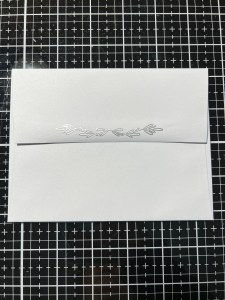
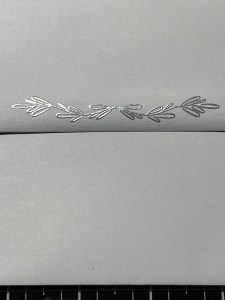
Welcome to Gina K. Designs March/April release! The release is live tonight at 7:00 PM CST where Gina will be showcasing the new products up close on Face Book and YouTube. You can also find the new products on her site under the “What’s New” category, or they can be viewed HERE. I was sent the “On The Inside” stamp set, illustrated by Debrah Warner for Gina’s release. While these sentiments were meant for stamping the insides of cards, I really liked the wedding sentiment and decided to pair it with the Flowing Florals stamp set and use it on the outside to create a simple, yet elegant card. This stamp set is so versatile for both the inside and outside of cards and also has some small elements to create borders or accents as well. I did use one of the elements from this set and embossed it onto the flap of an envelope. All of the stamps, dies, papers and ink I use are from Gina K. Designs. Let’s get started!!

I will be doing all of my work today on my Tim Holtz Glass Media Mat.
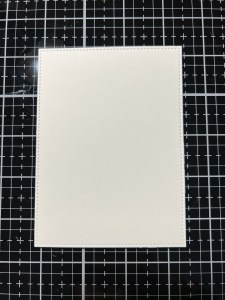
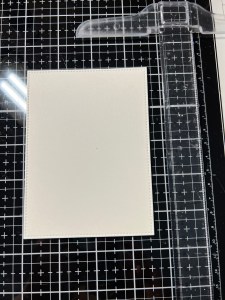
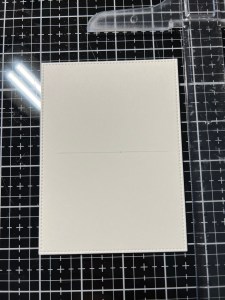
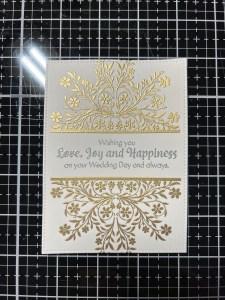
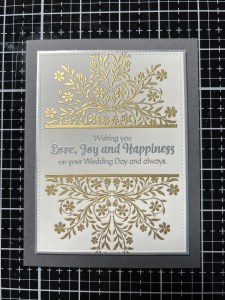
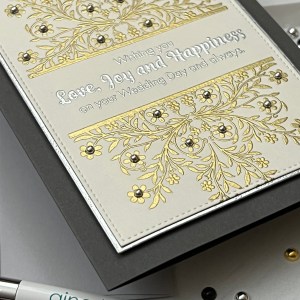
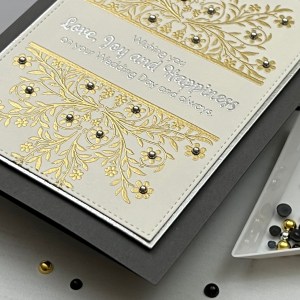
To start, I take the large stitched die from the Master Layouts 2 Die Set and cut out of Ivory Cardstock, running them through my Platinum 6 Die Cut Machine. I want to stamp a sentiment onto the center of my panel, to figure out the center point I use a pencil to mark the center point (2 1/8″). I then use my T-Square Ruler to lightly draw a line over the center of my panel. Next, I place the panel into my MISTI Stamp Positioner then choose a sentiment from the On The Inside Stamp Set and center it over the pencil line, leaving equal margins on both sides of the panel.
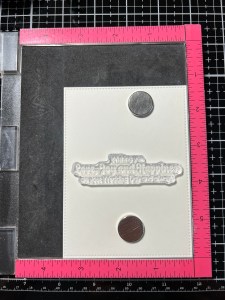
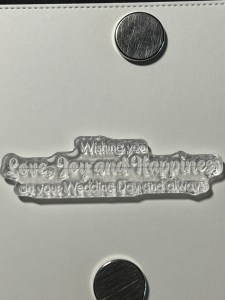
I then pick up the stamp with the door of my MISTI and erase the pencil line from my panel. I prep the panel with my Embossing Magic Bag then ink the stamp with Versamark Ink and stamp it onto my panel. Next, I add Silver Embossing Powder and heat it with my Heat Tool.
I now place the panel back into the corner of my MISTI and choose an image from the Flowing Florals Stamp Set. I center and place this image above my sentiment then pick it up with the door of my MISTI. Again, I prep the panel with my Embossing Magic Bag and ink up the stamp with Versamark Ink then add Gold Embossing Powder and heat with my Heat Tool. I rotate the panel and place it back into the corner of my MISTI and again prep the panel with my Embossing Magic Bag, ink up the stamp with Versamark Ink and stamp it onto the panel. I add Gold Embossing Powder and heat set it with my Heat Tool. *Because I centered my sentiment, the image design is equally spaced on both the top and bottom of it. By leaving the stamp attached to my MISTI and rotating the cardstock, the image stamps in the exact area of the panel on both ends.
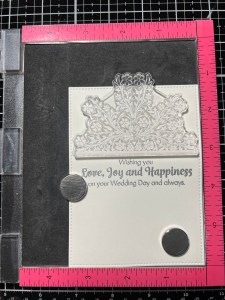

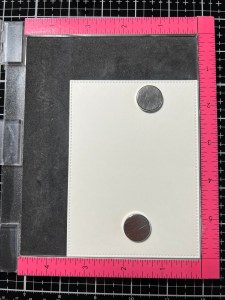
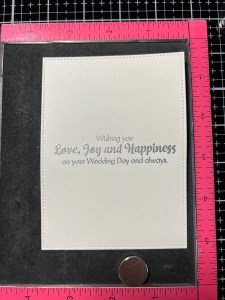
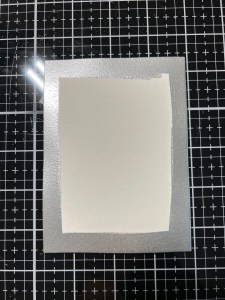
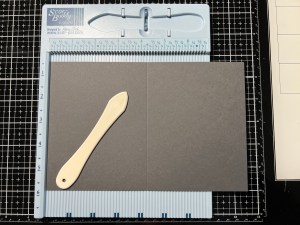
To create a mat for my panel, I take the largest rectangle die from the Master Layouts 2 Die Set and cut out of Ivory Cardstock, running them through my P6. I then used the side of my Versamark Ink Pad and applied it to all four sides of my panel then added Silver Embossing Powder and heat set with my Heat Tool. I now have a mat with silver edges. Using Liquid Glue I adhere my two panels together.
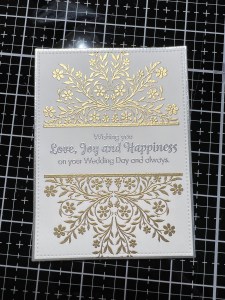
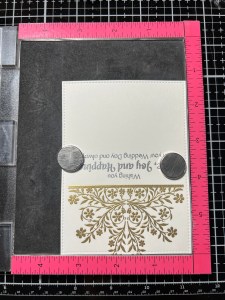
Next, I place a 5 1/2″ x 8 1/2″ piece of Slate Cardstock into my Scor Buddy and score it at 4 1/4″ to create a side folding card base. To add a little dimension, I add Foam Tape to the back of the panel then mount it onto my card base.
Next, I took a delicate image from the same On The Inside Stamp Set and stamped it onto the flap of a Soft Stone Envelope using Versamark Ink then heat set it with my Heat Tool. *When embossing the envelope, because the paper is so thin, I made sure my heat tool was good and hot then heated the embossing powder with quick bursts of heat, by moving my heat tool onto the image for just a second at a time then pulling the heat tool away. I repeated this until all of the powder was melted. This process helps avoid warping of the flap.
Using my Pick & Stick Tool, I add Silver Pearls to the centers of the bigger flowers of my stamped design with Liquid Glue and this completes my card.
I hope you enjoyed today’s card! As simple as this card was, I was so satisfied with the finished look! Sometimes, less is more and when creating a wedding card, simple metallic embossing is all that is needed to create an elegant look. I hope you find time to check out Gina’s new release, she always has such beautiful stamps, dies and stencils to add to her collection! Remember, you can catch the live where she shows the new products up close with examples from the illustrators and she always creates a beautiful card at the end. If you cannot catch the live, a replay will be on her YouTube channel to watch later!
If this is your first time visiting my blog, welcome and I hope you return. If you are a returning visitor, thank you so much for your support!
If you would like to be notified by email each time I post a new project, there is an option to add your email (located at the top menu, or on the right side of my page) then hit the subscribe button. Should you have any questions or comments please leave them in the comments section. I’d love to hear from you and what you thought about today’s card.
Thank you for visiting and I hope you come back soon!
Happy Stamping and God Bless!!
Jeannie

Absolutely lovely card – thanks for sharing.
LikeLike
Thank you so much Lynne and thank you for visiting!!
LikeLike