
I want to start out by thanking everyone for the support and nice comments you all leave for me. I truly appreciate the support of this blog!! I enjoy card making and bringing my creations to you, this wouldn’t be possible without your support, so again, thank you!! *Affiliate links are used at no additional cost to you. When you purchase products through my links I receive a small commission from these sales, which helps me to purchase new products for the cards I share on my blog. Thank you so much for your support, it is greatly appreciated!! Don’t forget to check out my previous blog for MANY more card projects! You can find them HERE.
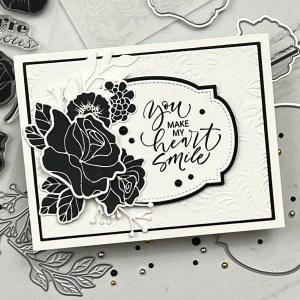
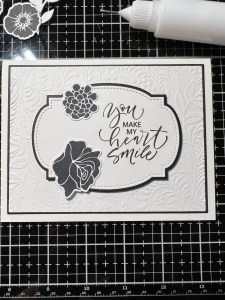
Happy Release Day!!! Gina K. Designs has a brand new release that goes live tonight at 7:00 PM CST. You can find all of the new release items HERE. Don’t forget to check out all of the new products, including a brand new bundle! Gina will be going live on her Facebook and YouTube channel where she will showcase each product up close and will wrap things up with creating a card project. Today, I have a card made with the brand new Bold Flowers stamp set. I kept my card simple using black and white elements to give a clean and classic look. This stamp set is great for all different kinds of techniques with the bold, solid images. All of the stamps, dies, cardstock, ink and embellishments I use are from Gina K. Designs. Let’s get started!!
I will be doing all of my work today on my Glass Media Mat.
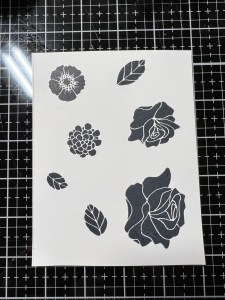
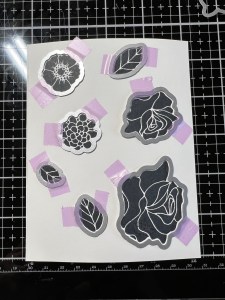
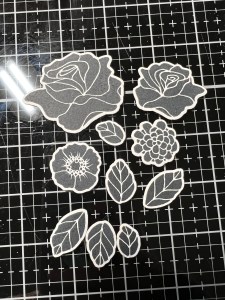
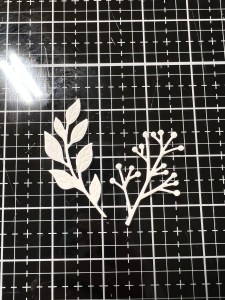
To start, I place a White Cardstock panel into my MISTI Stamp Positioner and place a variety of images from the Bold Flowers Stamp Set onto my panel. I pick up the stamps with the door of my MISTI and ink them using Black Onyx Ink. I then take the coordinating dies from the Bold Flowers Die Set and cut them out, running them through my Platinum 6 Die Cut Machine. I also take two of the dies from the Foliage Fillers Die Set and cut out of White Cardstock, running them through my P6. I set them aside while I work on my card.

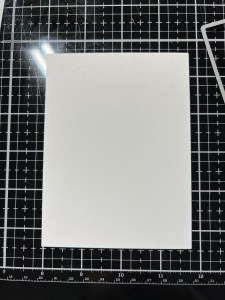
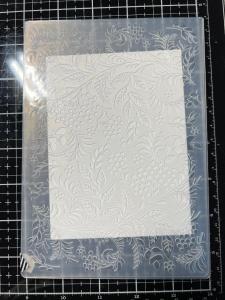
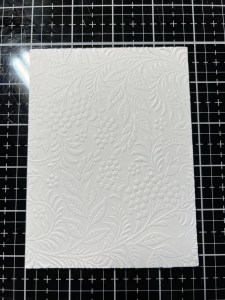
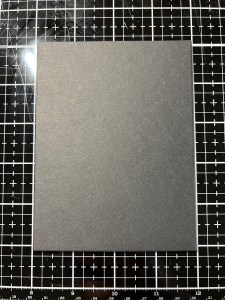
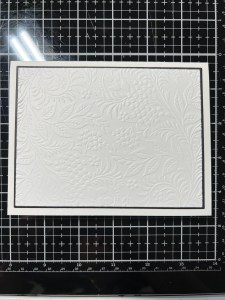
Using the second largest rectangle die from the Master Layouts 1 Die Set, I cut out of White Cardstock, running them through my P6. Next, I place the panel into my Tapestry Embossing Folder and run them through my P6. Using the layering die (the largest die) from the same Master Layouts 1 Die Set, I cut out of Black Onyx Cardstock, running them through my P6. I then add Liquid Glue to the back of my white panel and adhere it to my black panel.

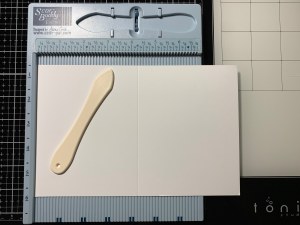
Next, I place a 5 1/2″ x 8 1/2″ piece of White Cardstock into my Scor Buddy and score it at 4 1/4″ to create my card base. Using Liquid Glue I mount my panels onto the card base. I will be creating my card with the fold at the top for a landscape presentation.
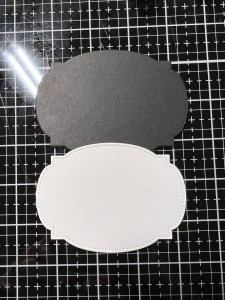
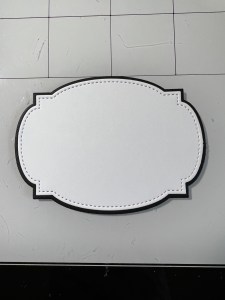
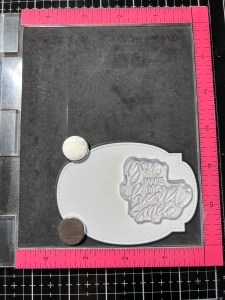
To create a base for my stamped images, I take the two label dies from the Master Layouts 10 Die Set and use the stitched die to cut out of White Cardstock and the layering die to cut out of Black Onyx Cardstock, running them through my P6. Using Liquid Glue I adhere the two die cuts together. Next, I place the label piece into the lower corner of my MISTI and secure it into place using the magnets. I choose a sentiment from the Watercolor Flowers Stamp Set and place it towards the right side of my label then stamp it using Black Onyx Ink.

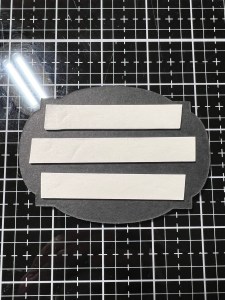
To add a little dimension, I place Foam Tape onto the back of my label piece the adhere it to the center of my card front.
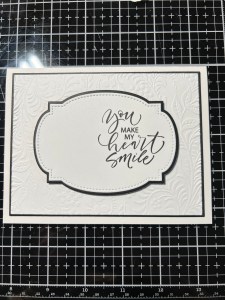
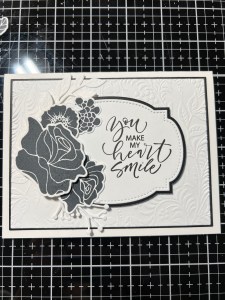
Now it’s time to start adding the elements to my card. I want to build my arrangement onto the left side of the sentiment along the curve of the label die cut piece. Using my Fine Tip Bottle filled with Liquid Glue, I begin by adhering the two outside flowers first. I then add in another flower along with the white sprigs. To give some separation and dimension, I add Foam Tape to the largest flower and adhere over the first two flower images. I finish my arrangement by adding the leaves and a piece of the sprig. I did add a piece of Foam Tape to the largest leaf at the bottom to create some separation.


Using my Pick & Stick Tool I add some Black Pearls scattered around the sentiment with Liquid Glue and this completes my card.
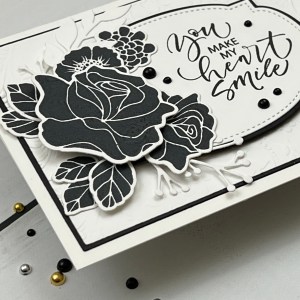
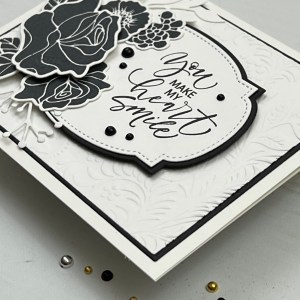
I hope you enjoyed today’s card, I love how quickly this card came together. I played around with colored ink and even embossing, but changed my mind in the end and decided on the black and white layout. I really love the results, it is a clean and simple look with the black really standing out against the white, simple yet elegant. This card can be made for any occasion and would make a beautiful wedding or shower card. You can’t go wrong with creating a background using an embossing folder, it adds a subtle look without taking away from the rest of the card. If you cannot catch Gina’s live at 7:00, be sure to check it out on replay on her YouTube channel to see lots of card examples from the illustrators!
If this is your first time visiting my blog, welcome and I hope you return. If you are a returning visitor, thank you so much for your support!
If you would like to be notified by email each time I post a new project, there is an option to add your email (located at the top menu, or on the right side of my page) then hit the subscribe button. Should you have any questions or comments please leave them in the comments section. I’d love to hear from you and what you thought about today’s card.
Thank you for visiting and I hope you come back soon!
Happy Stamping and God Bless!!
Jeannie
